Lighting Your Selfie 101: Indoor Lighting – Overcast Day
I’m not the queen of selfies. I just don’t take selfies. Here’s the thing, though. I do know how to manipulate light. Good selfie lighting is essential to good selfies! So let me share with you some of the tips I have to help you improve your selfies.
When I first endeavored to write this blog series about lighting your selfies, I was immediately overwhelmed. For a few reasons.
First: I would have to take selfies. A lot of selfies haha. Like I just said, I don’t take a lot of selfies. I had to be aware of what my face looked like and I had to learn my best angles (angles that my stepdaughter wouldn’t make fun of me for using haha).
Second: Lighting isn’t all that simple! There are different factors that affect lighting and breaking it down into bite-size chunks was a daunting task.
At any rate, my goal was to break it into manageable chunks that show you ways you can manipulate your light using at-home products or even cheap products you can get at a dollar store.
Natural Light – Inside On An Overcast Day
The day I decided to really dig into this project was an overcast day…because it was snowing….in May….yay Canada. With summer approaching, overcast days seemed like they may not be forthcoming so I leaped into action. The day was overcast but still bright.
Let me tell you why overcast lighting is the BEST lighting for photos. The clouds act like a diffuser that softens the light and shadows and creates lovely, even light for any image. It’s still important to know where the sun is in the sky, though, as shadows are still present. They are a hell of a lot softer, though.
When you’re inside on an overcast day, your shadows are going to be produced by the interior of your home. This first blog post is going to focus on interior selfies on an overcast day (don’t worry, there will be a blog about outdoor selfies on an overcast day). There are also a few selfies at different times during the day to show you how the direction of the light and the time of day affects the quality of it.
*A note: The images with my hair down were taken at 2pm in the afternoon. Images with my hair tied back were taken at 7pm, closer to sunset*
Try Facing The Window
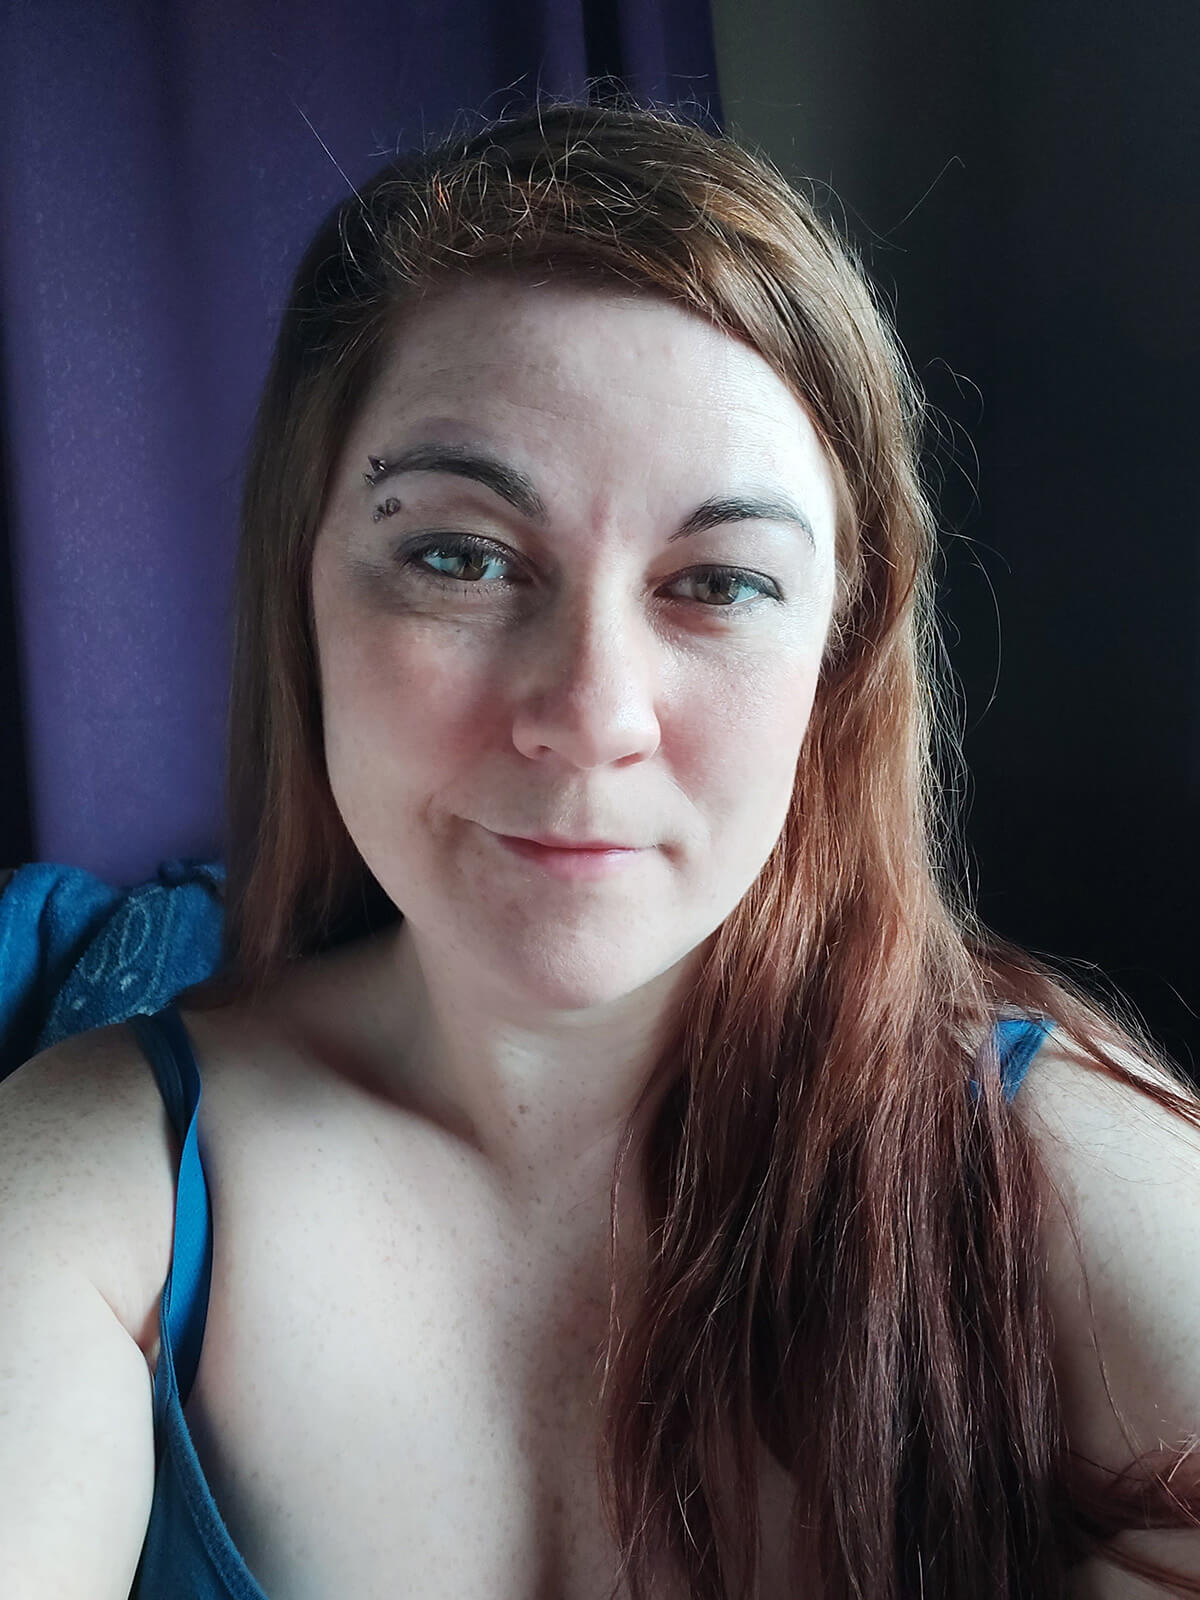
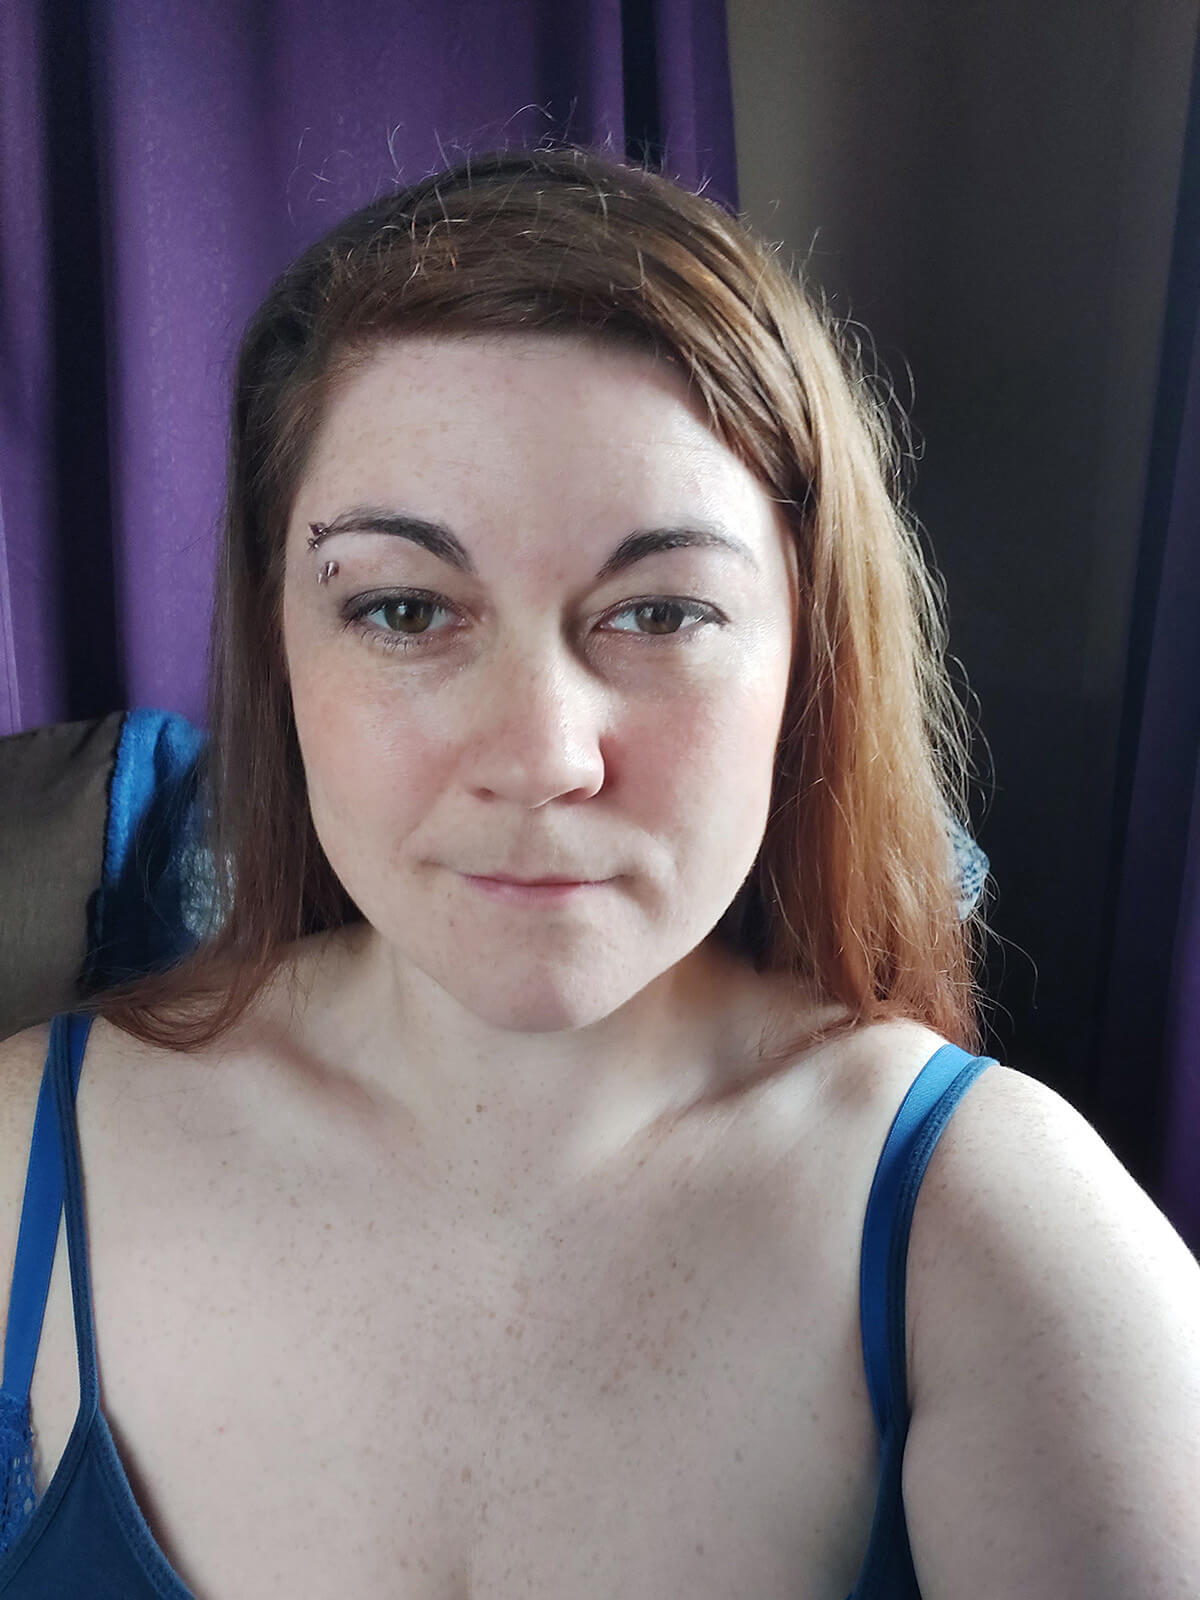
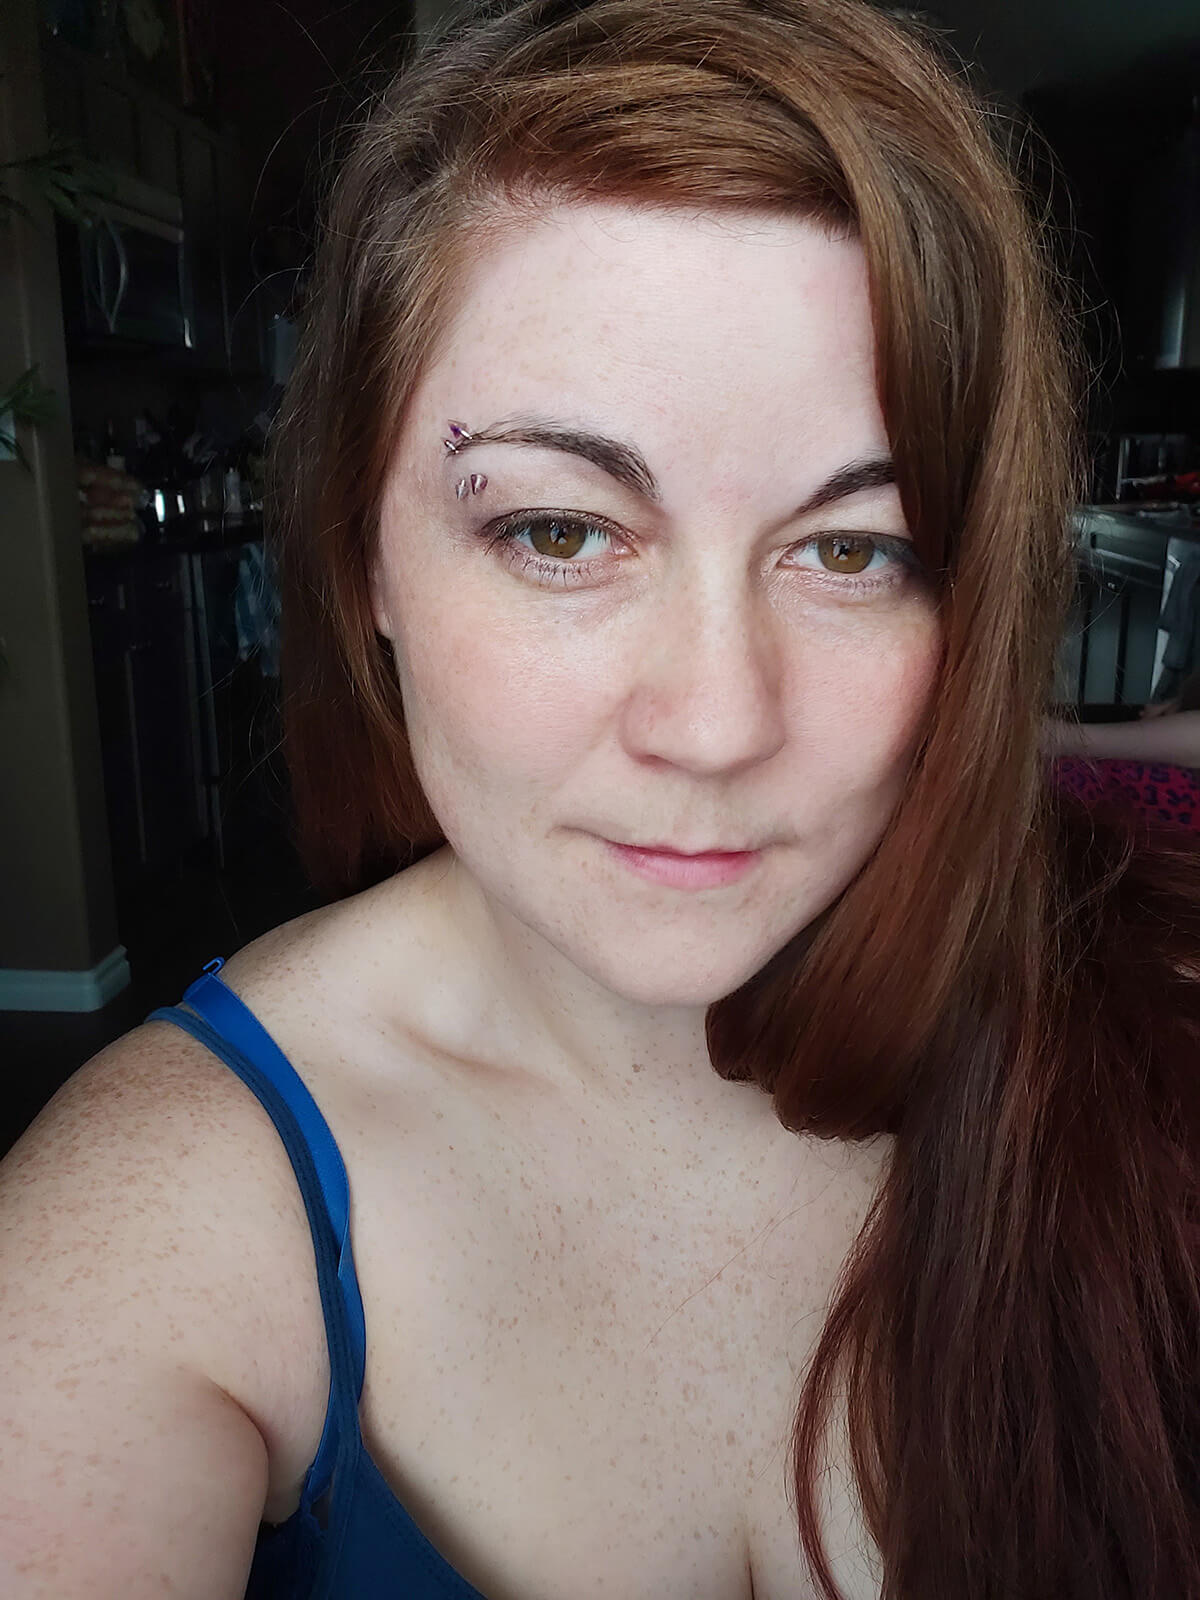
One easy way to reduce shadows on your face is to just face the window. Overcast light is already pretty even and turning your face towards the window will prevent shadows from the interior from falling on your face.
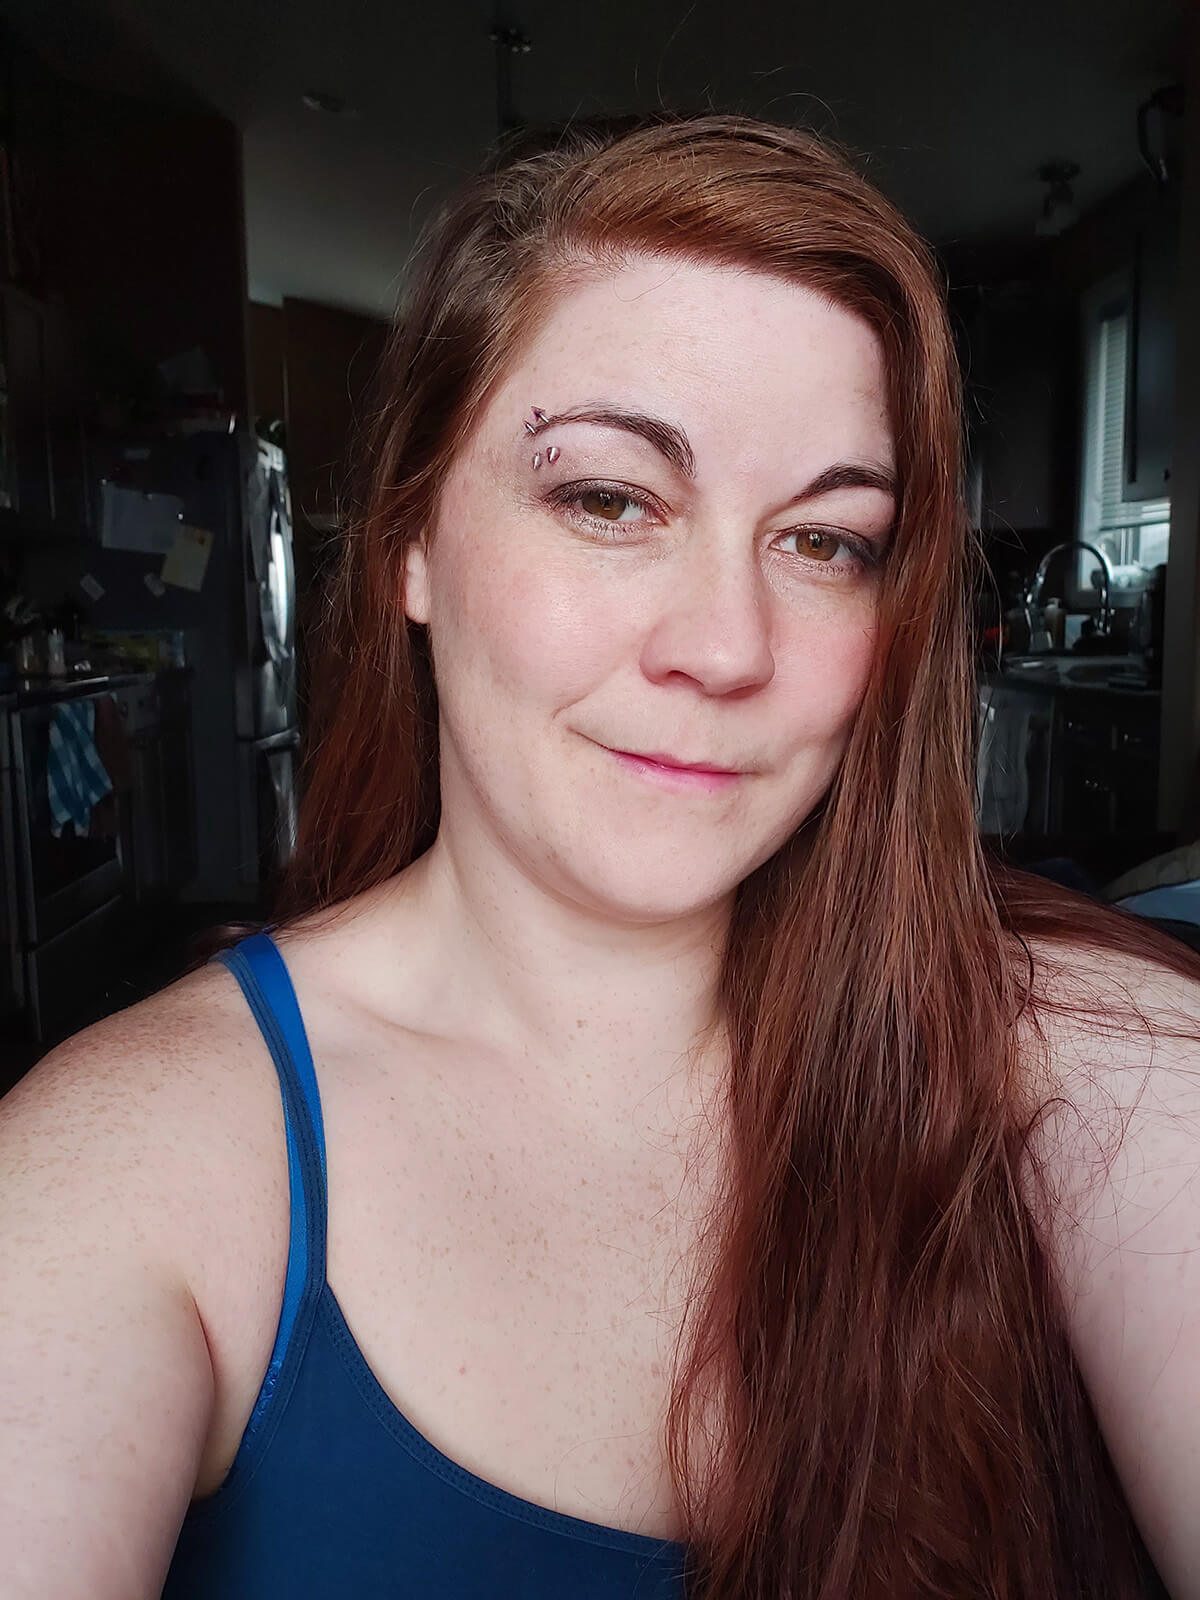
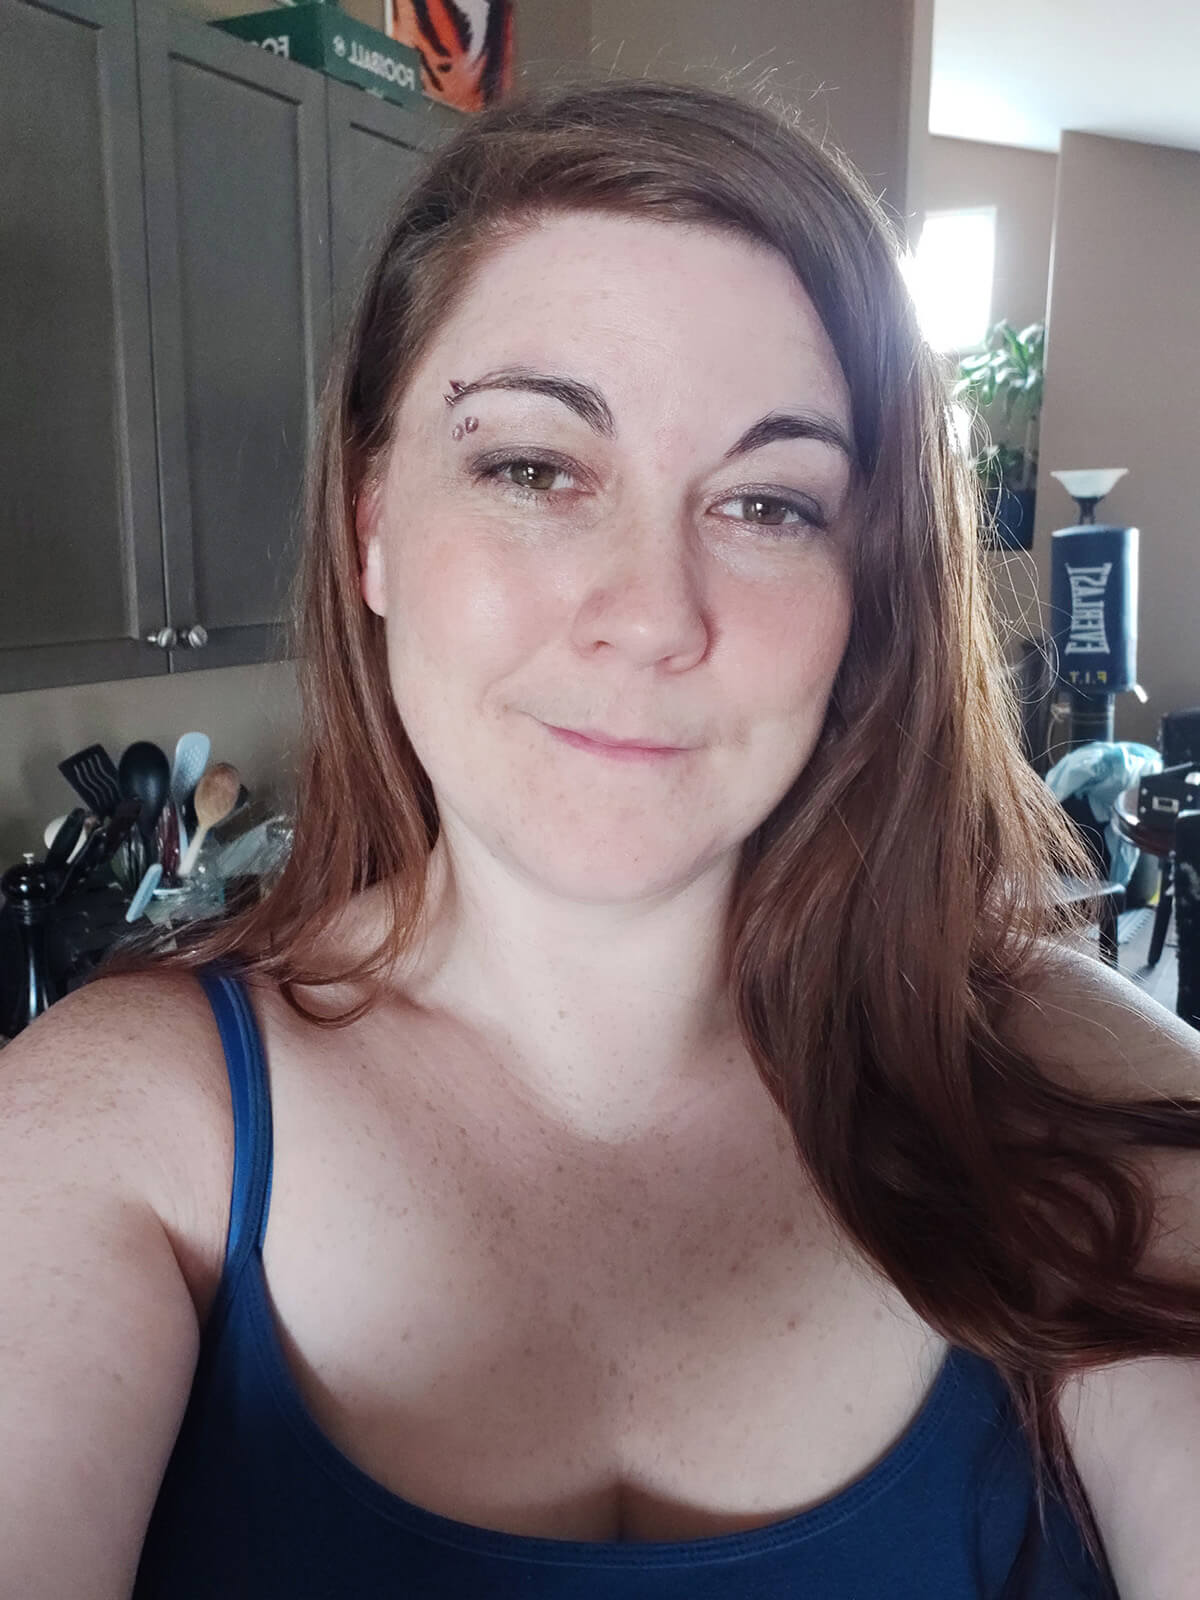
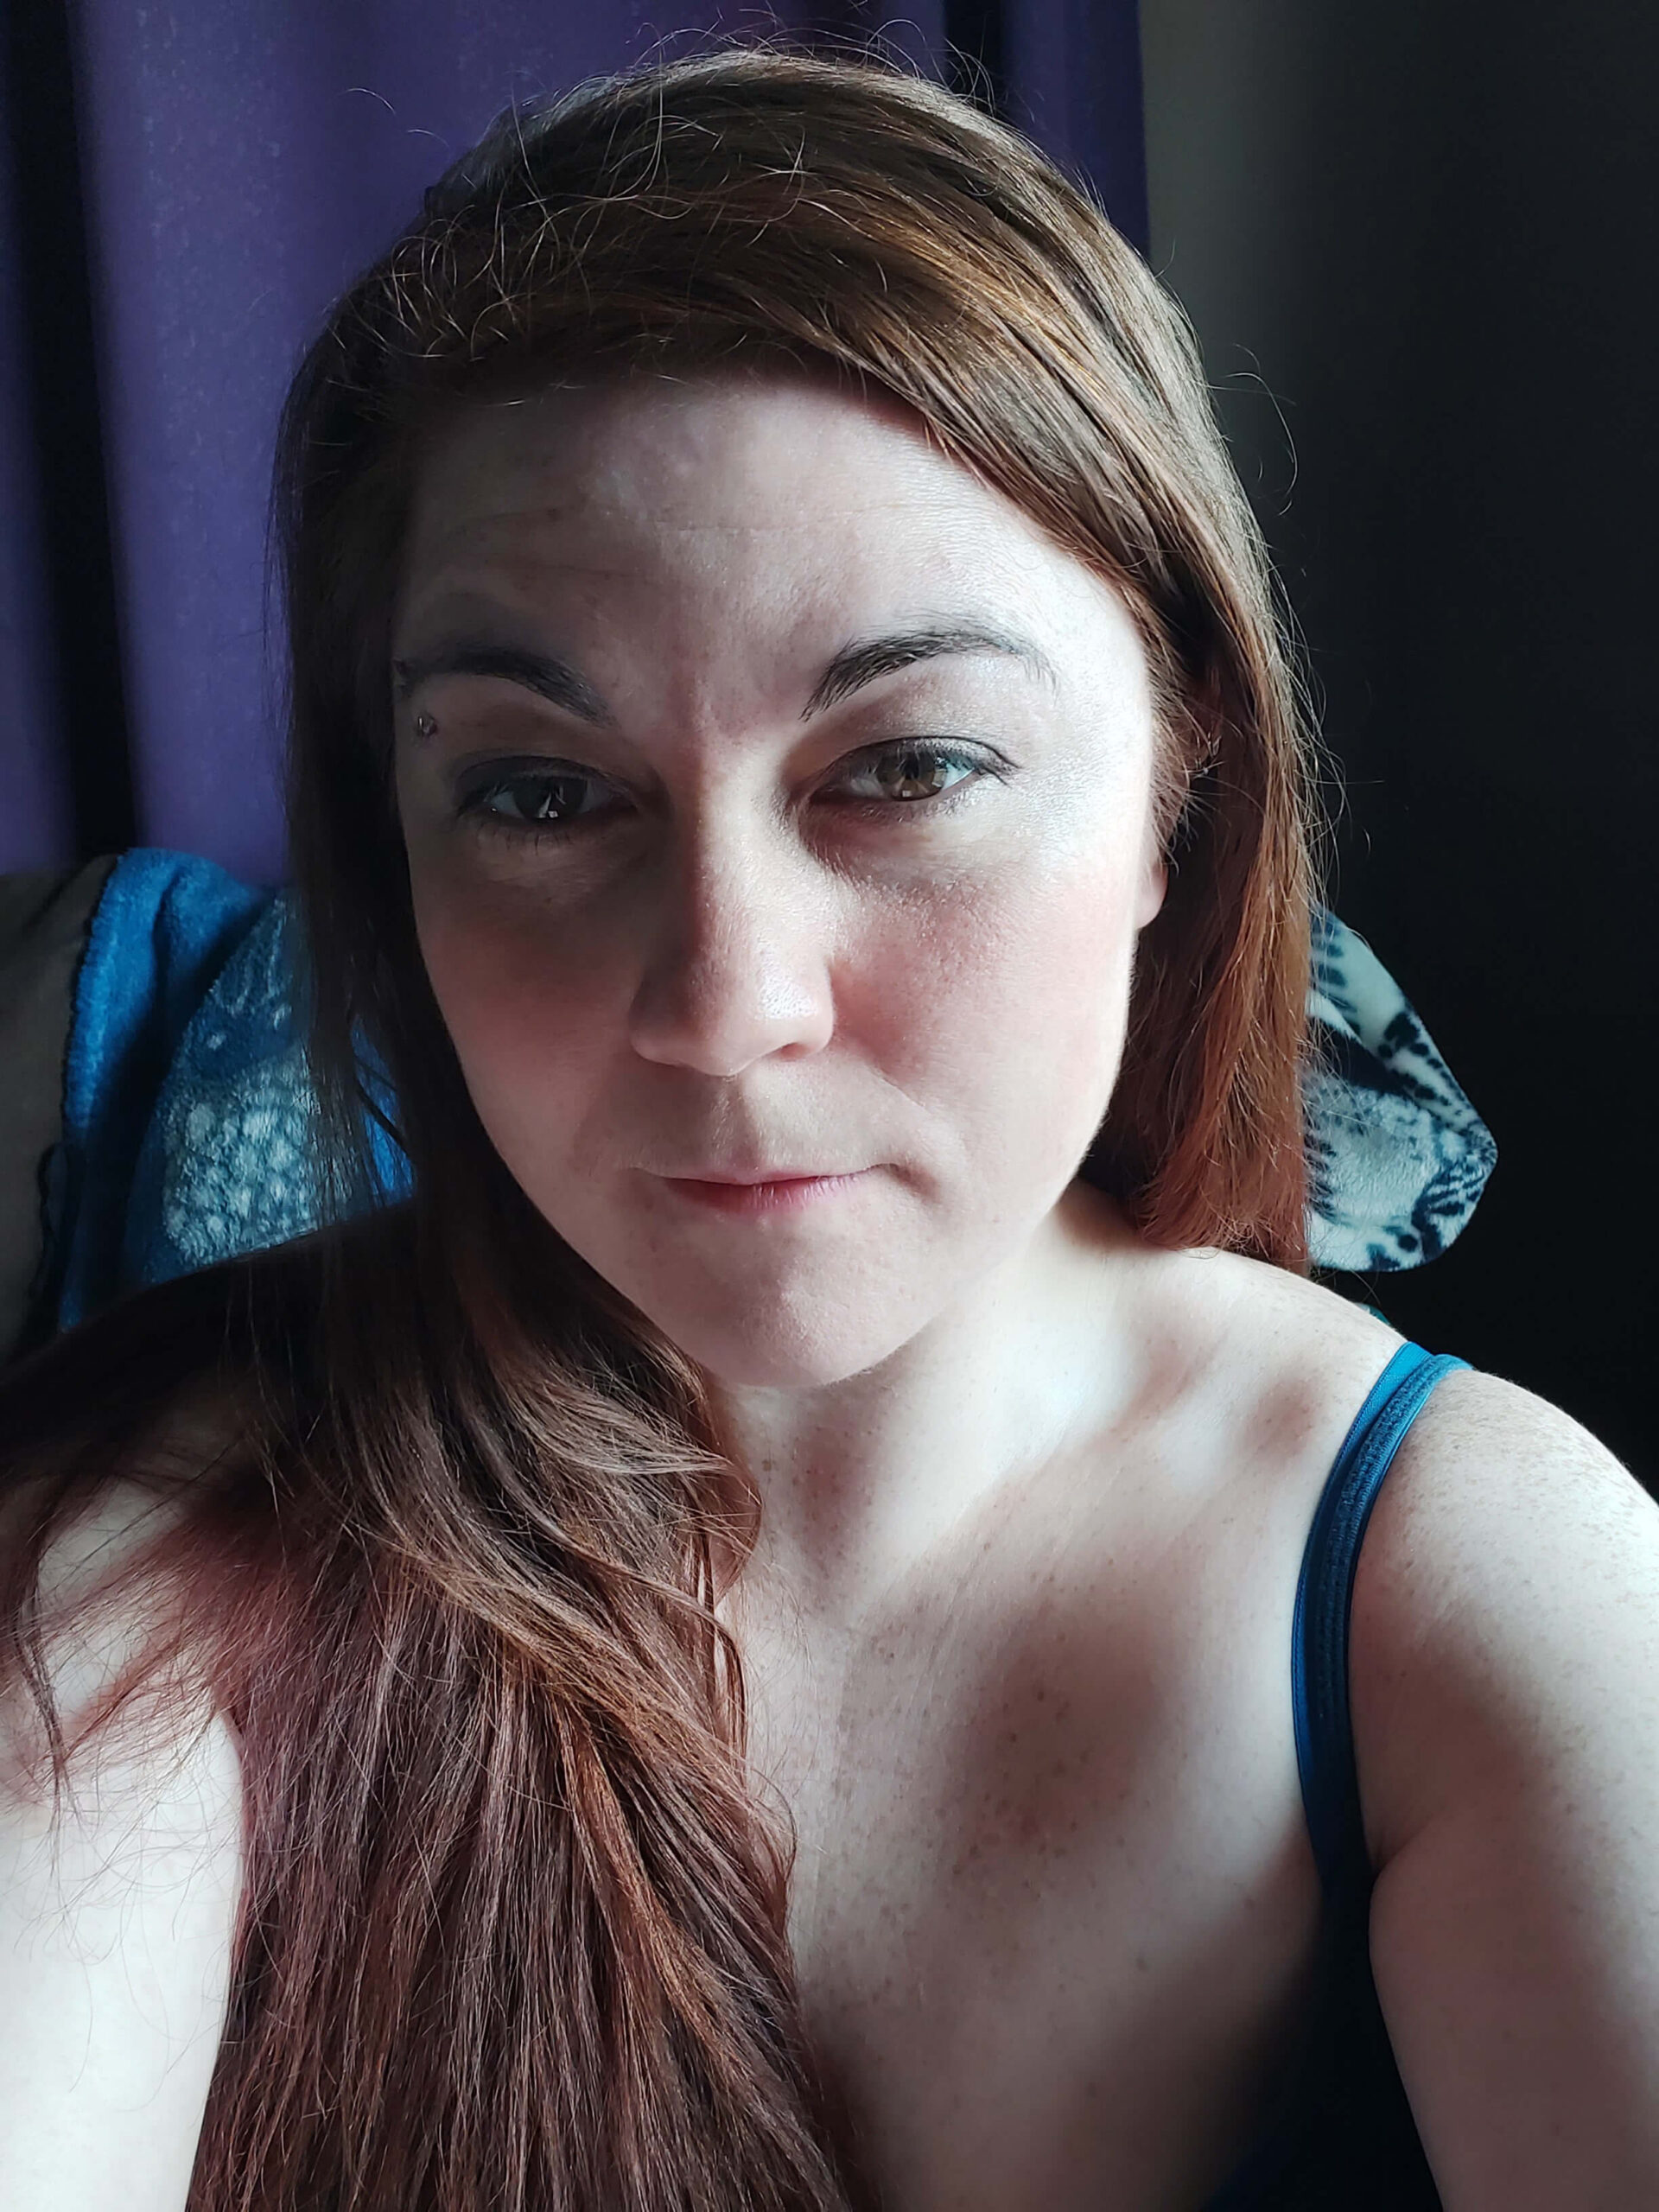
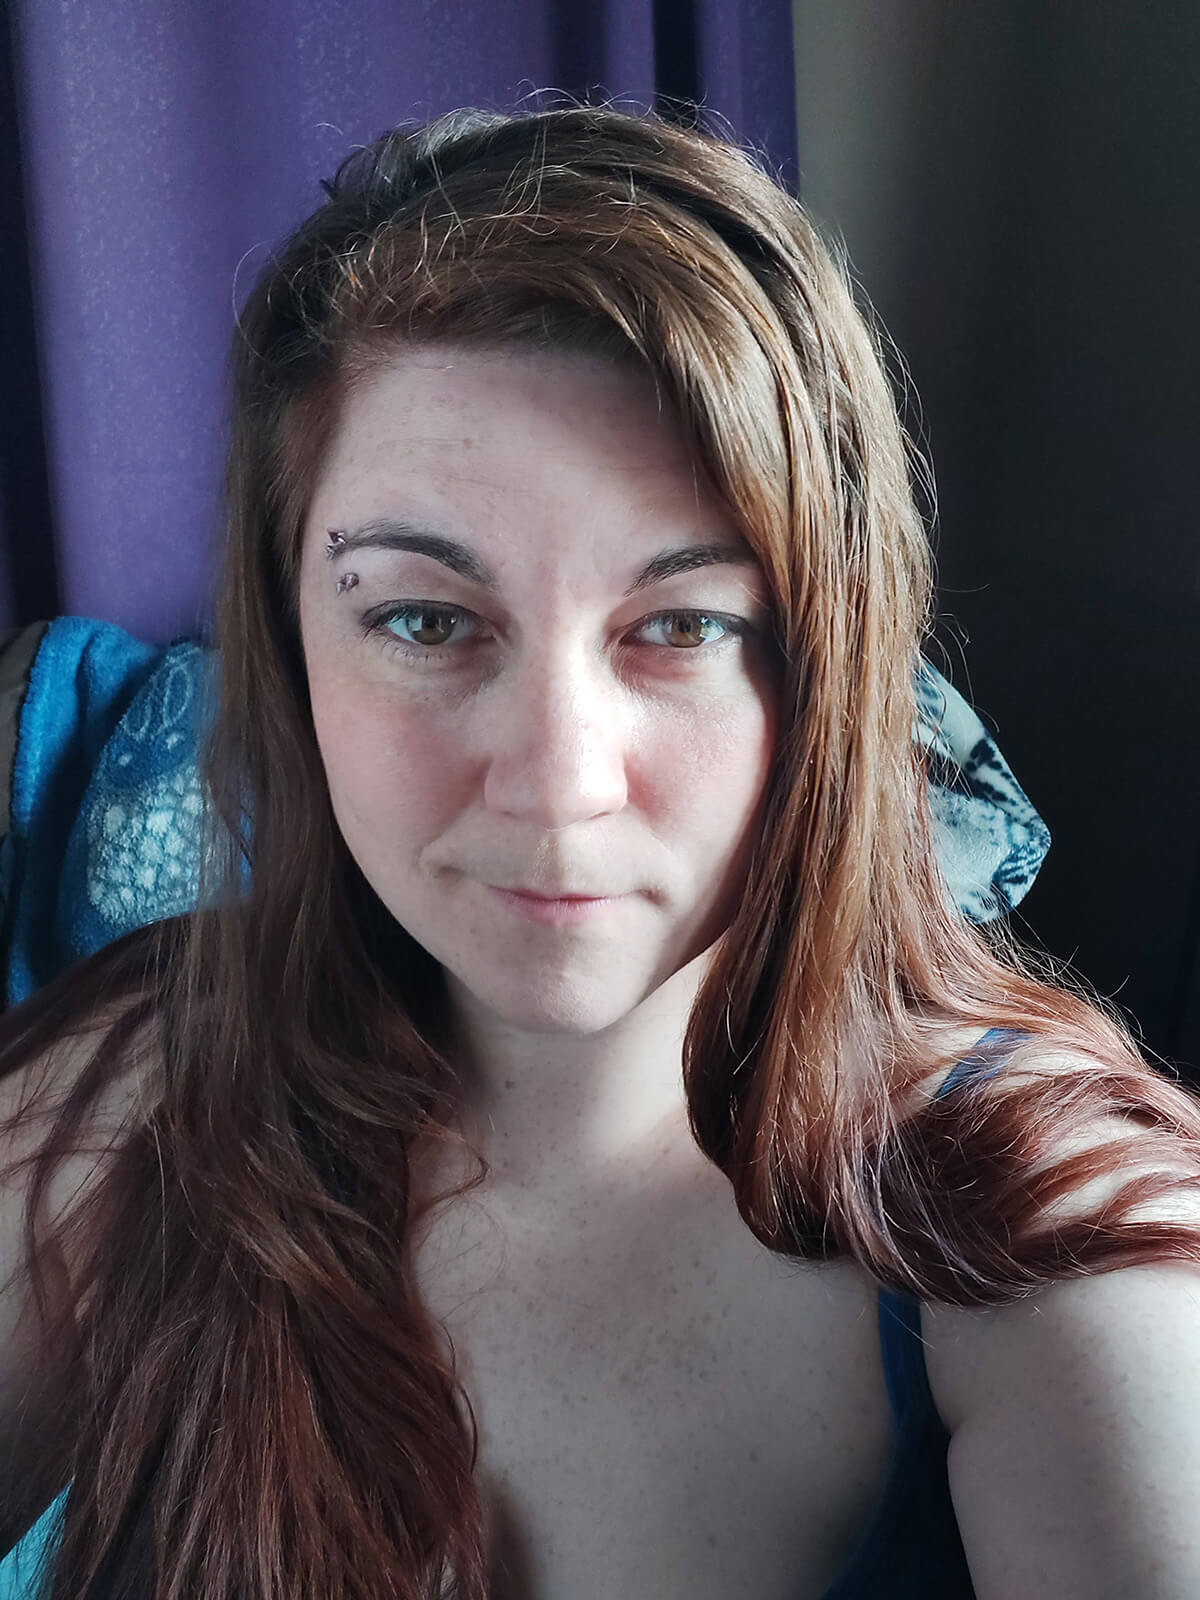
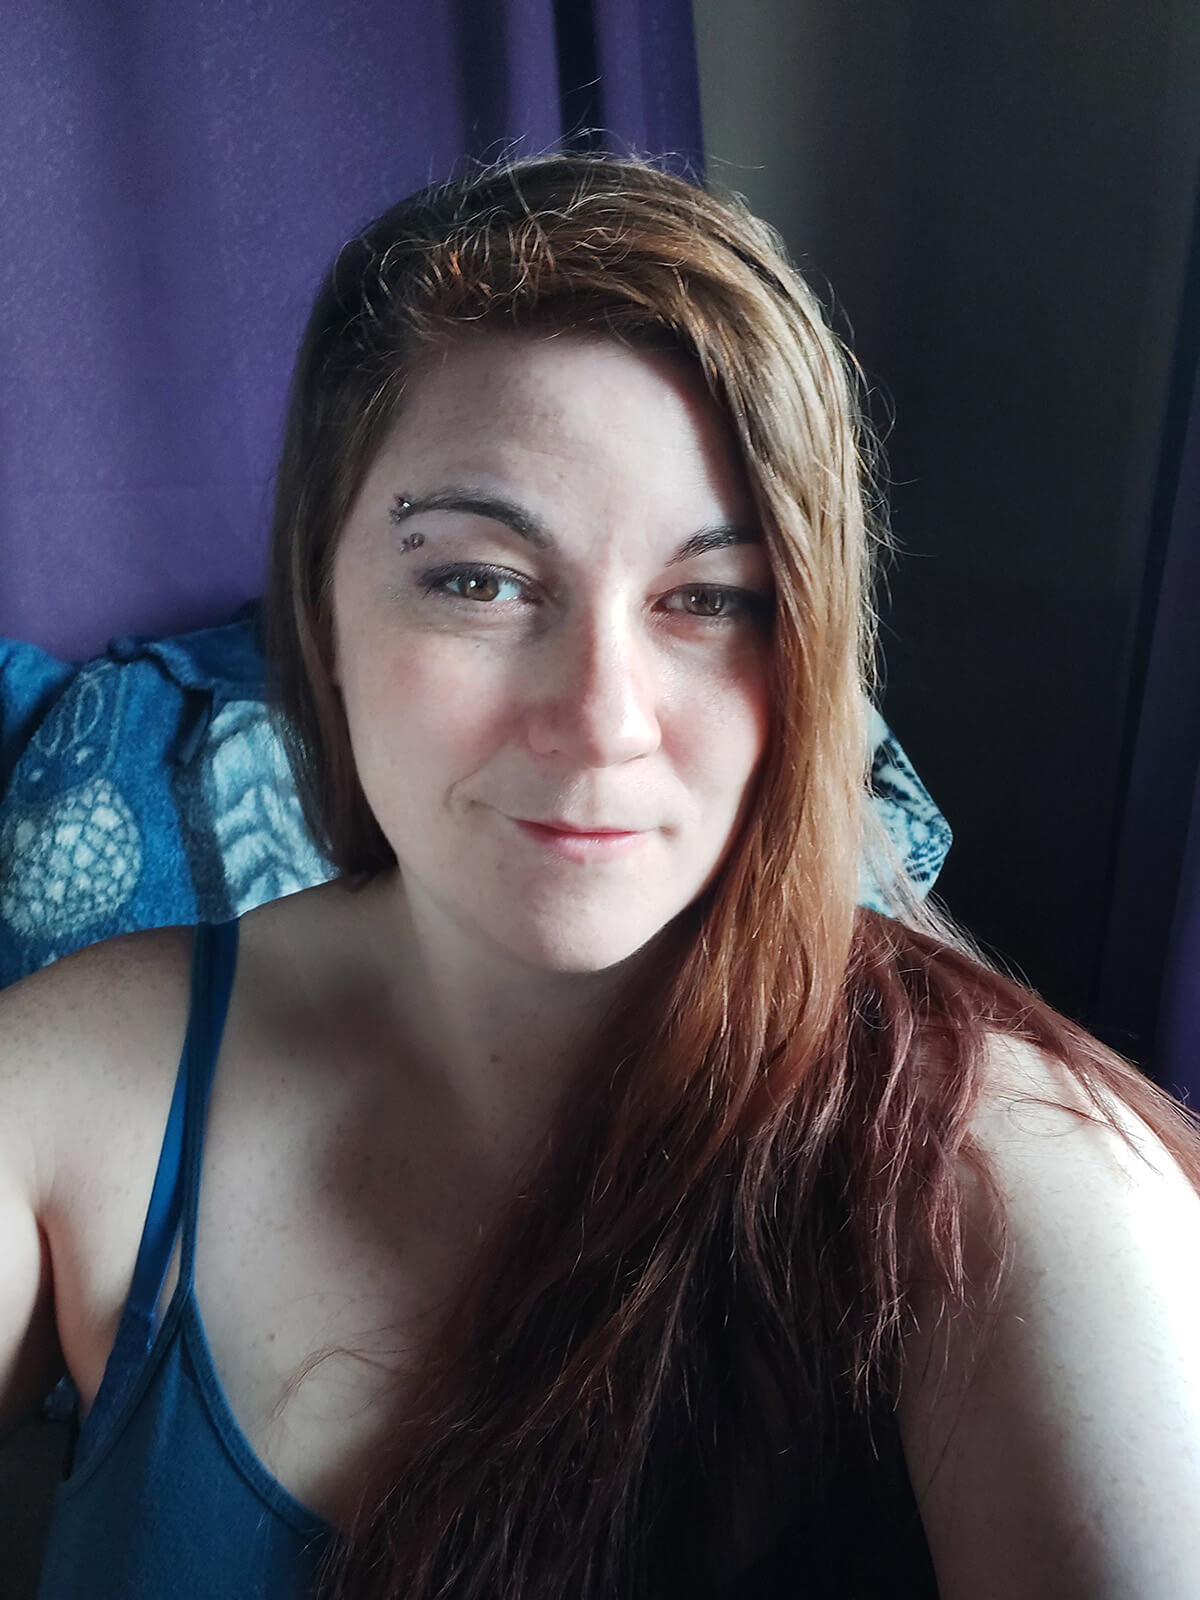
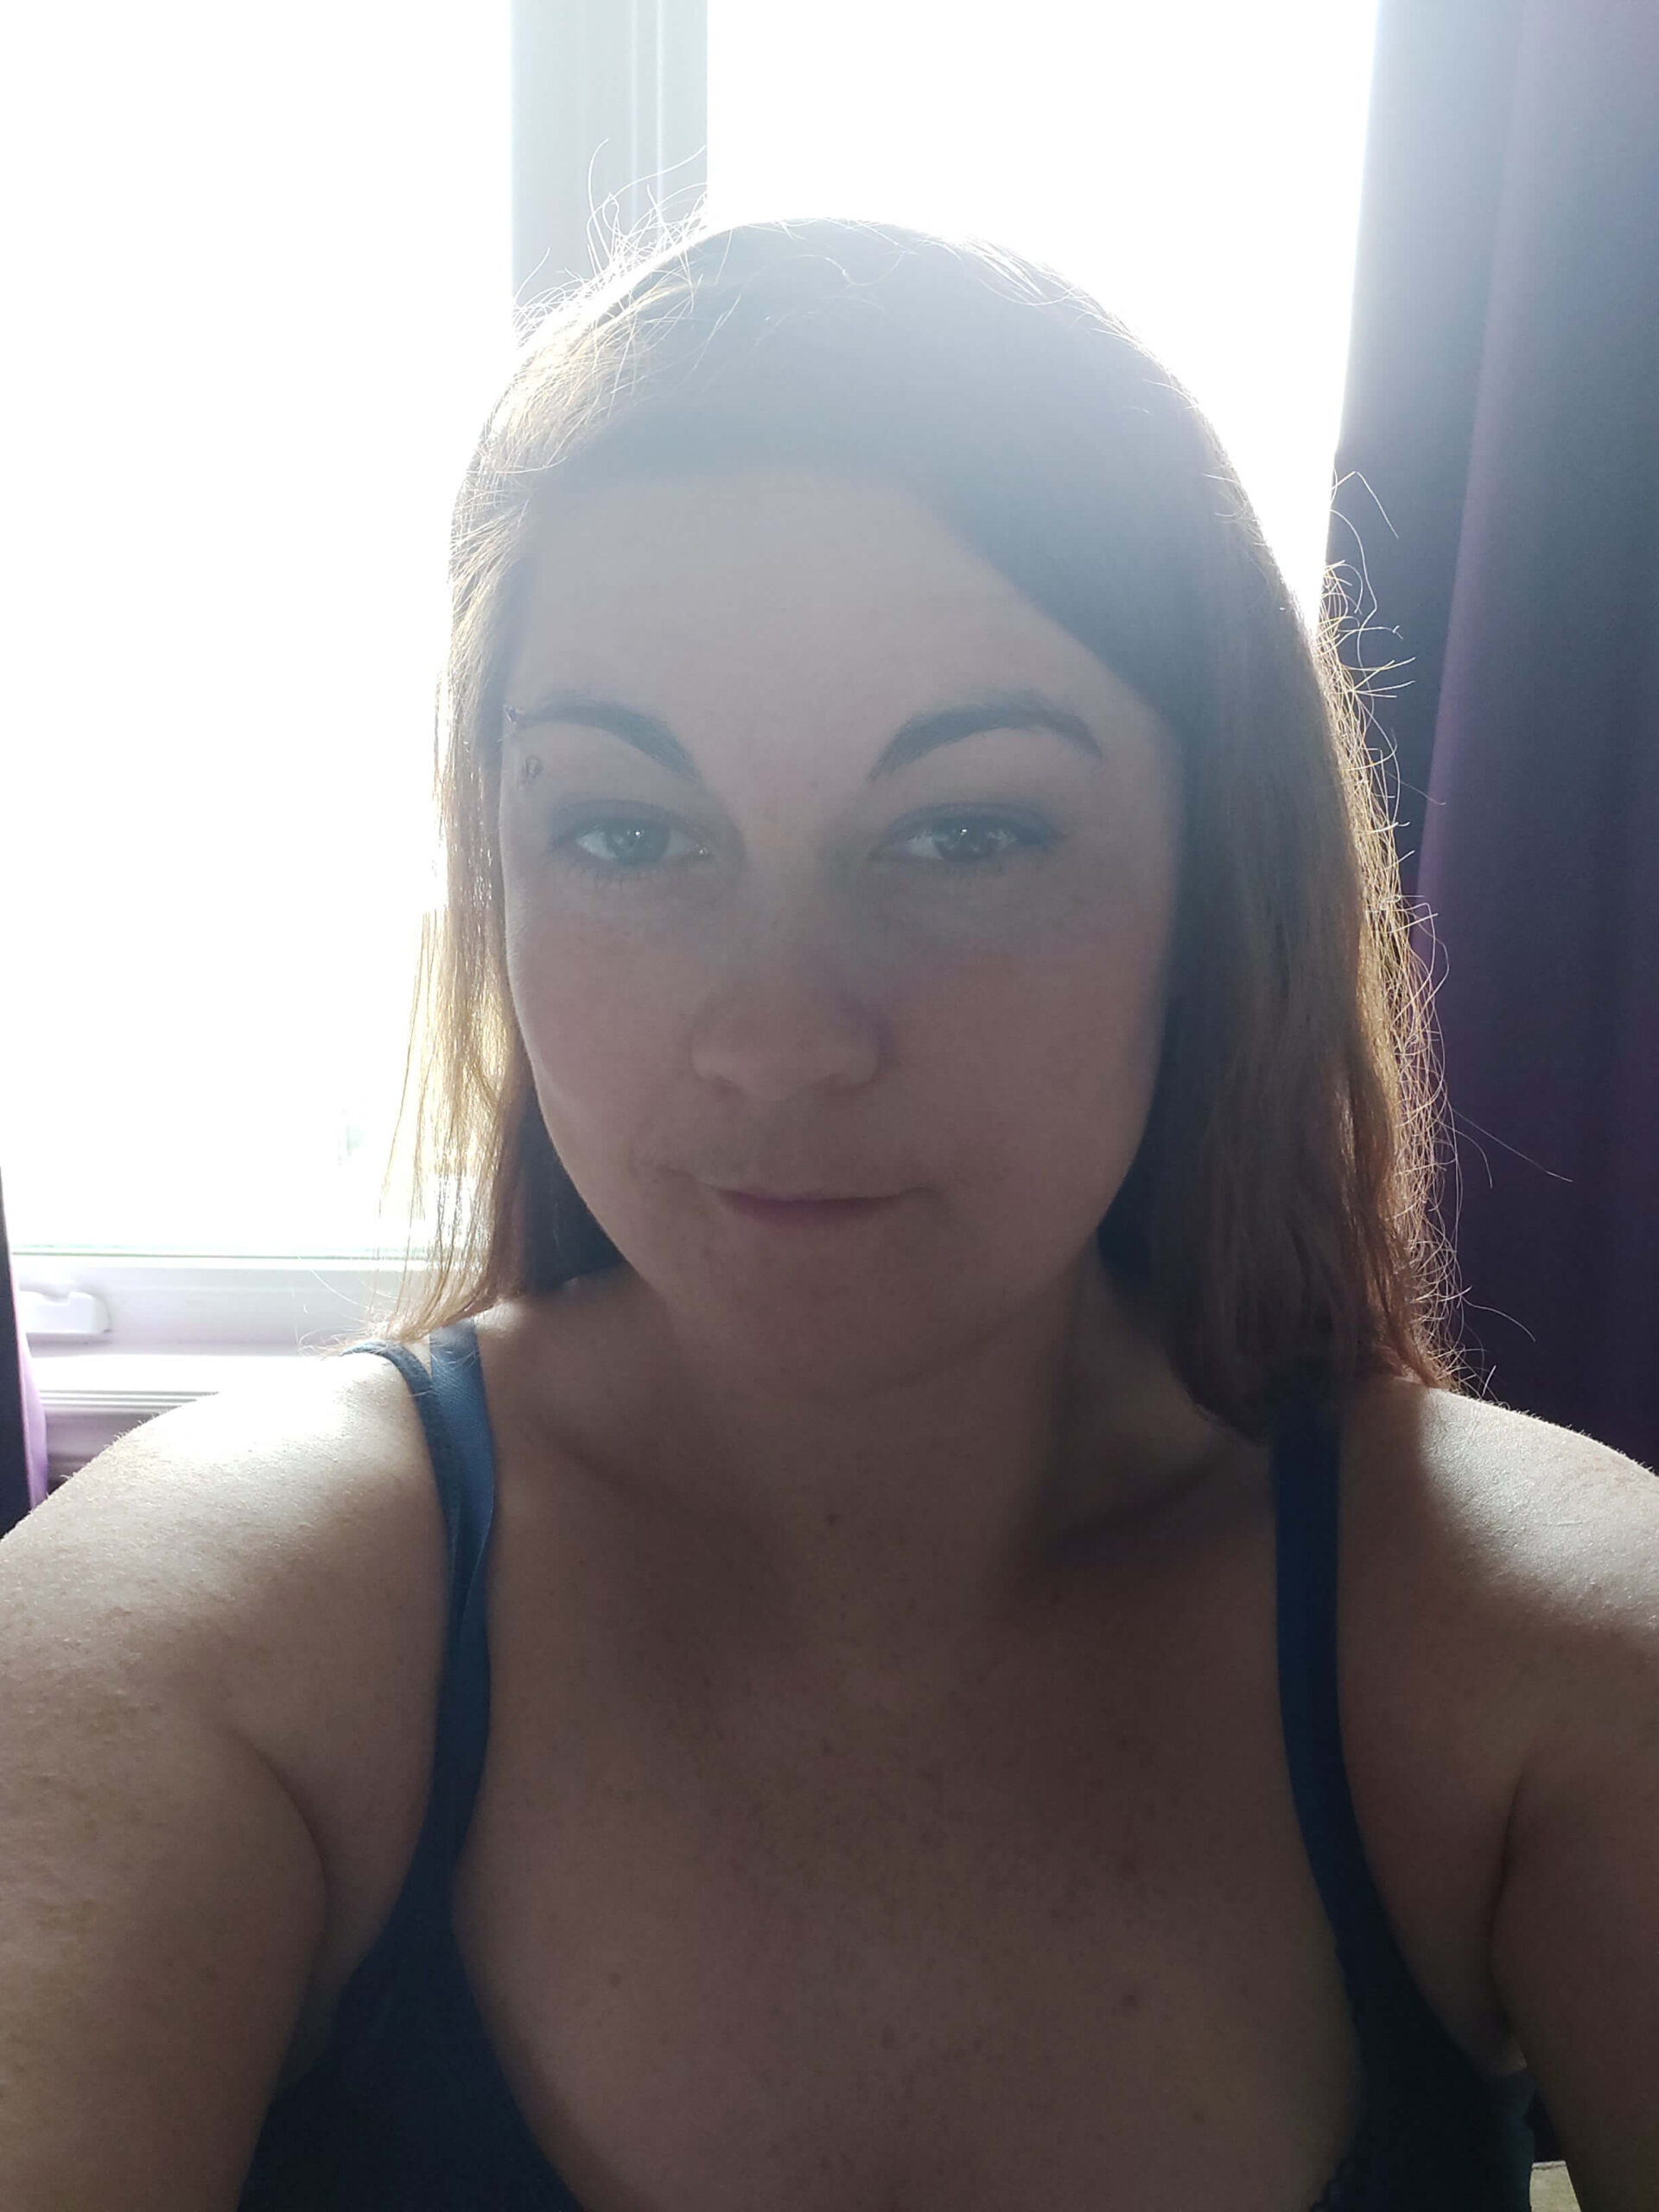
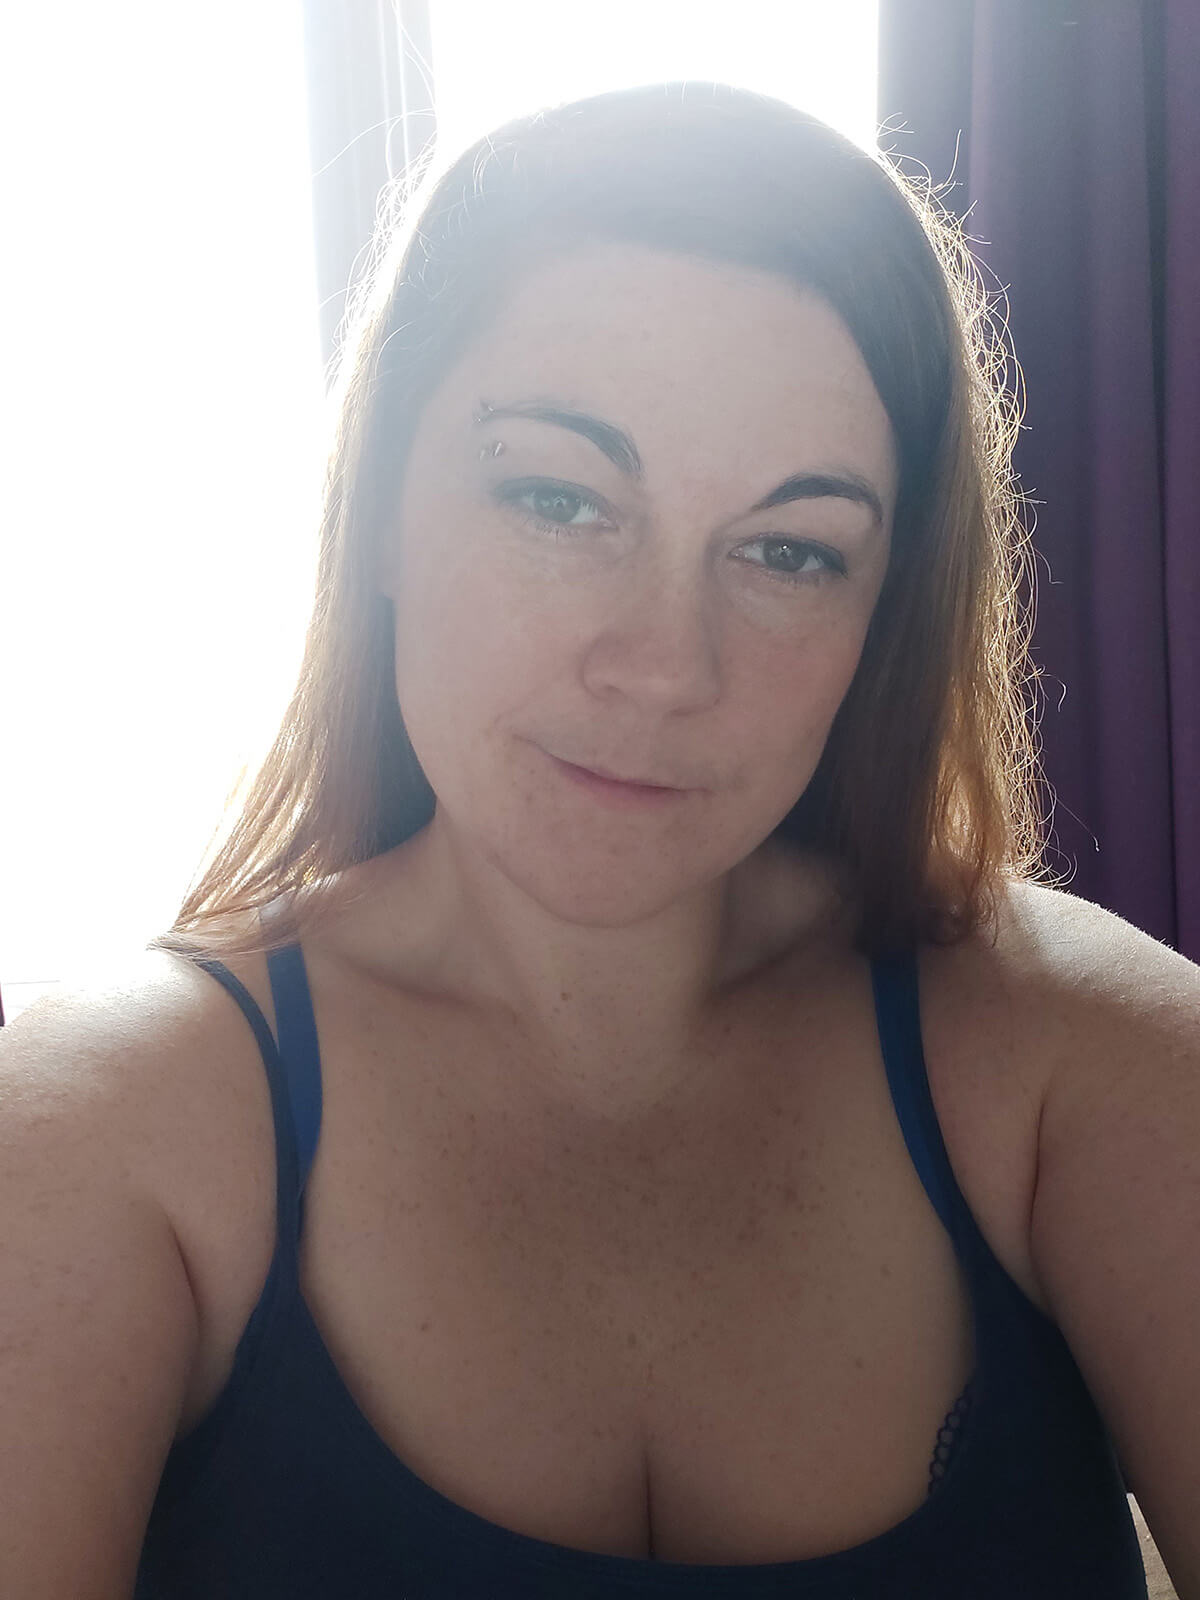
Distance from the window makes a bit of a difference, too. The first image was taken a few feet from the window, the second was taken about 12 feet from the window. You can see there is a difference in how sharp the image looks and the colors are not as crisp (just look how dull my hair looks).
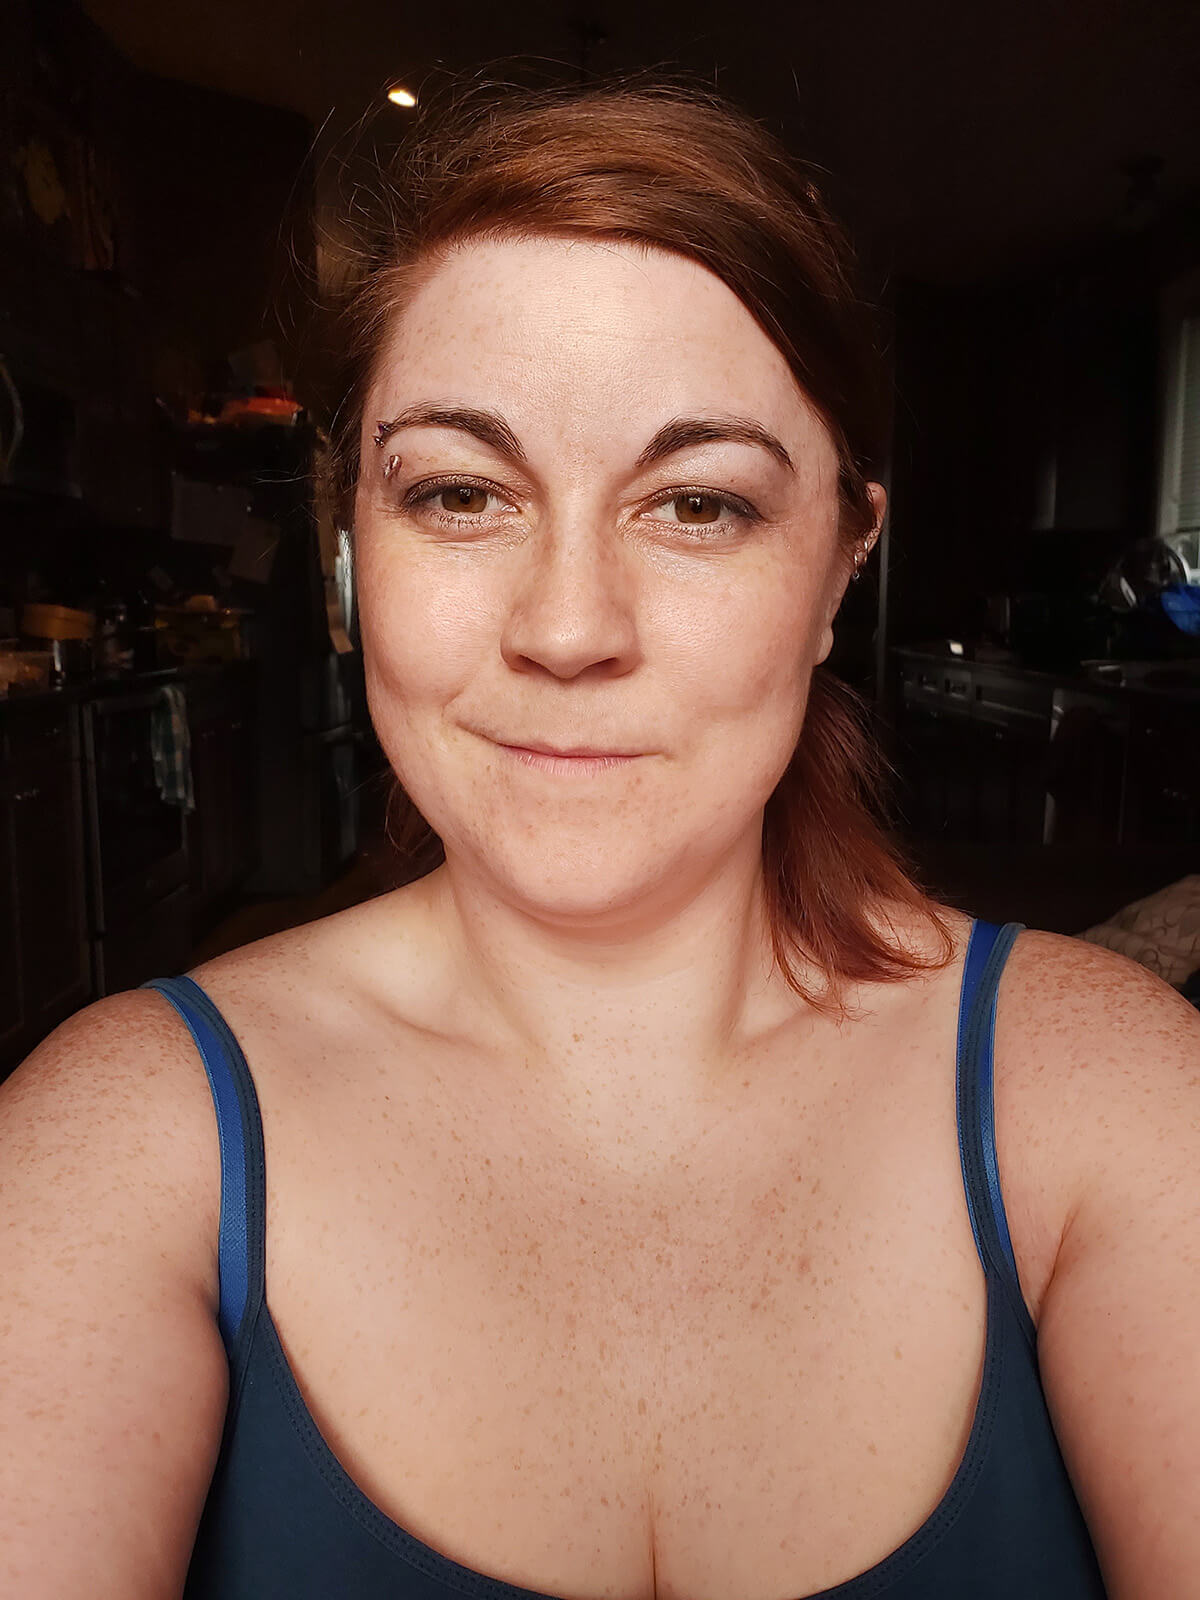
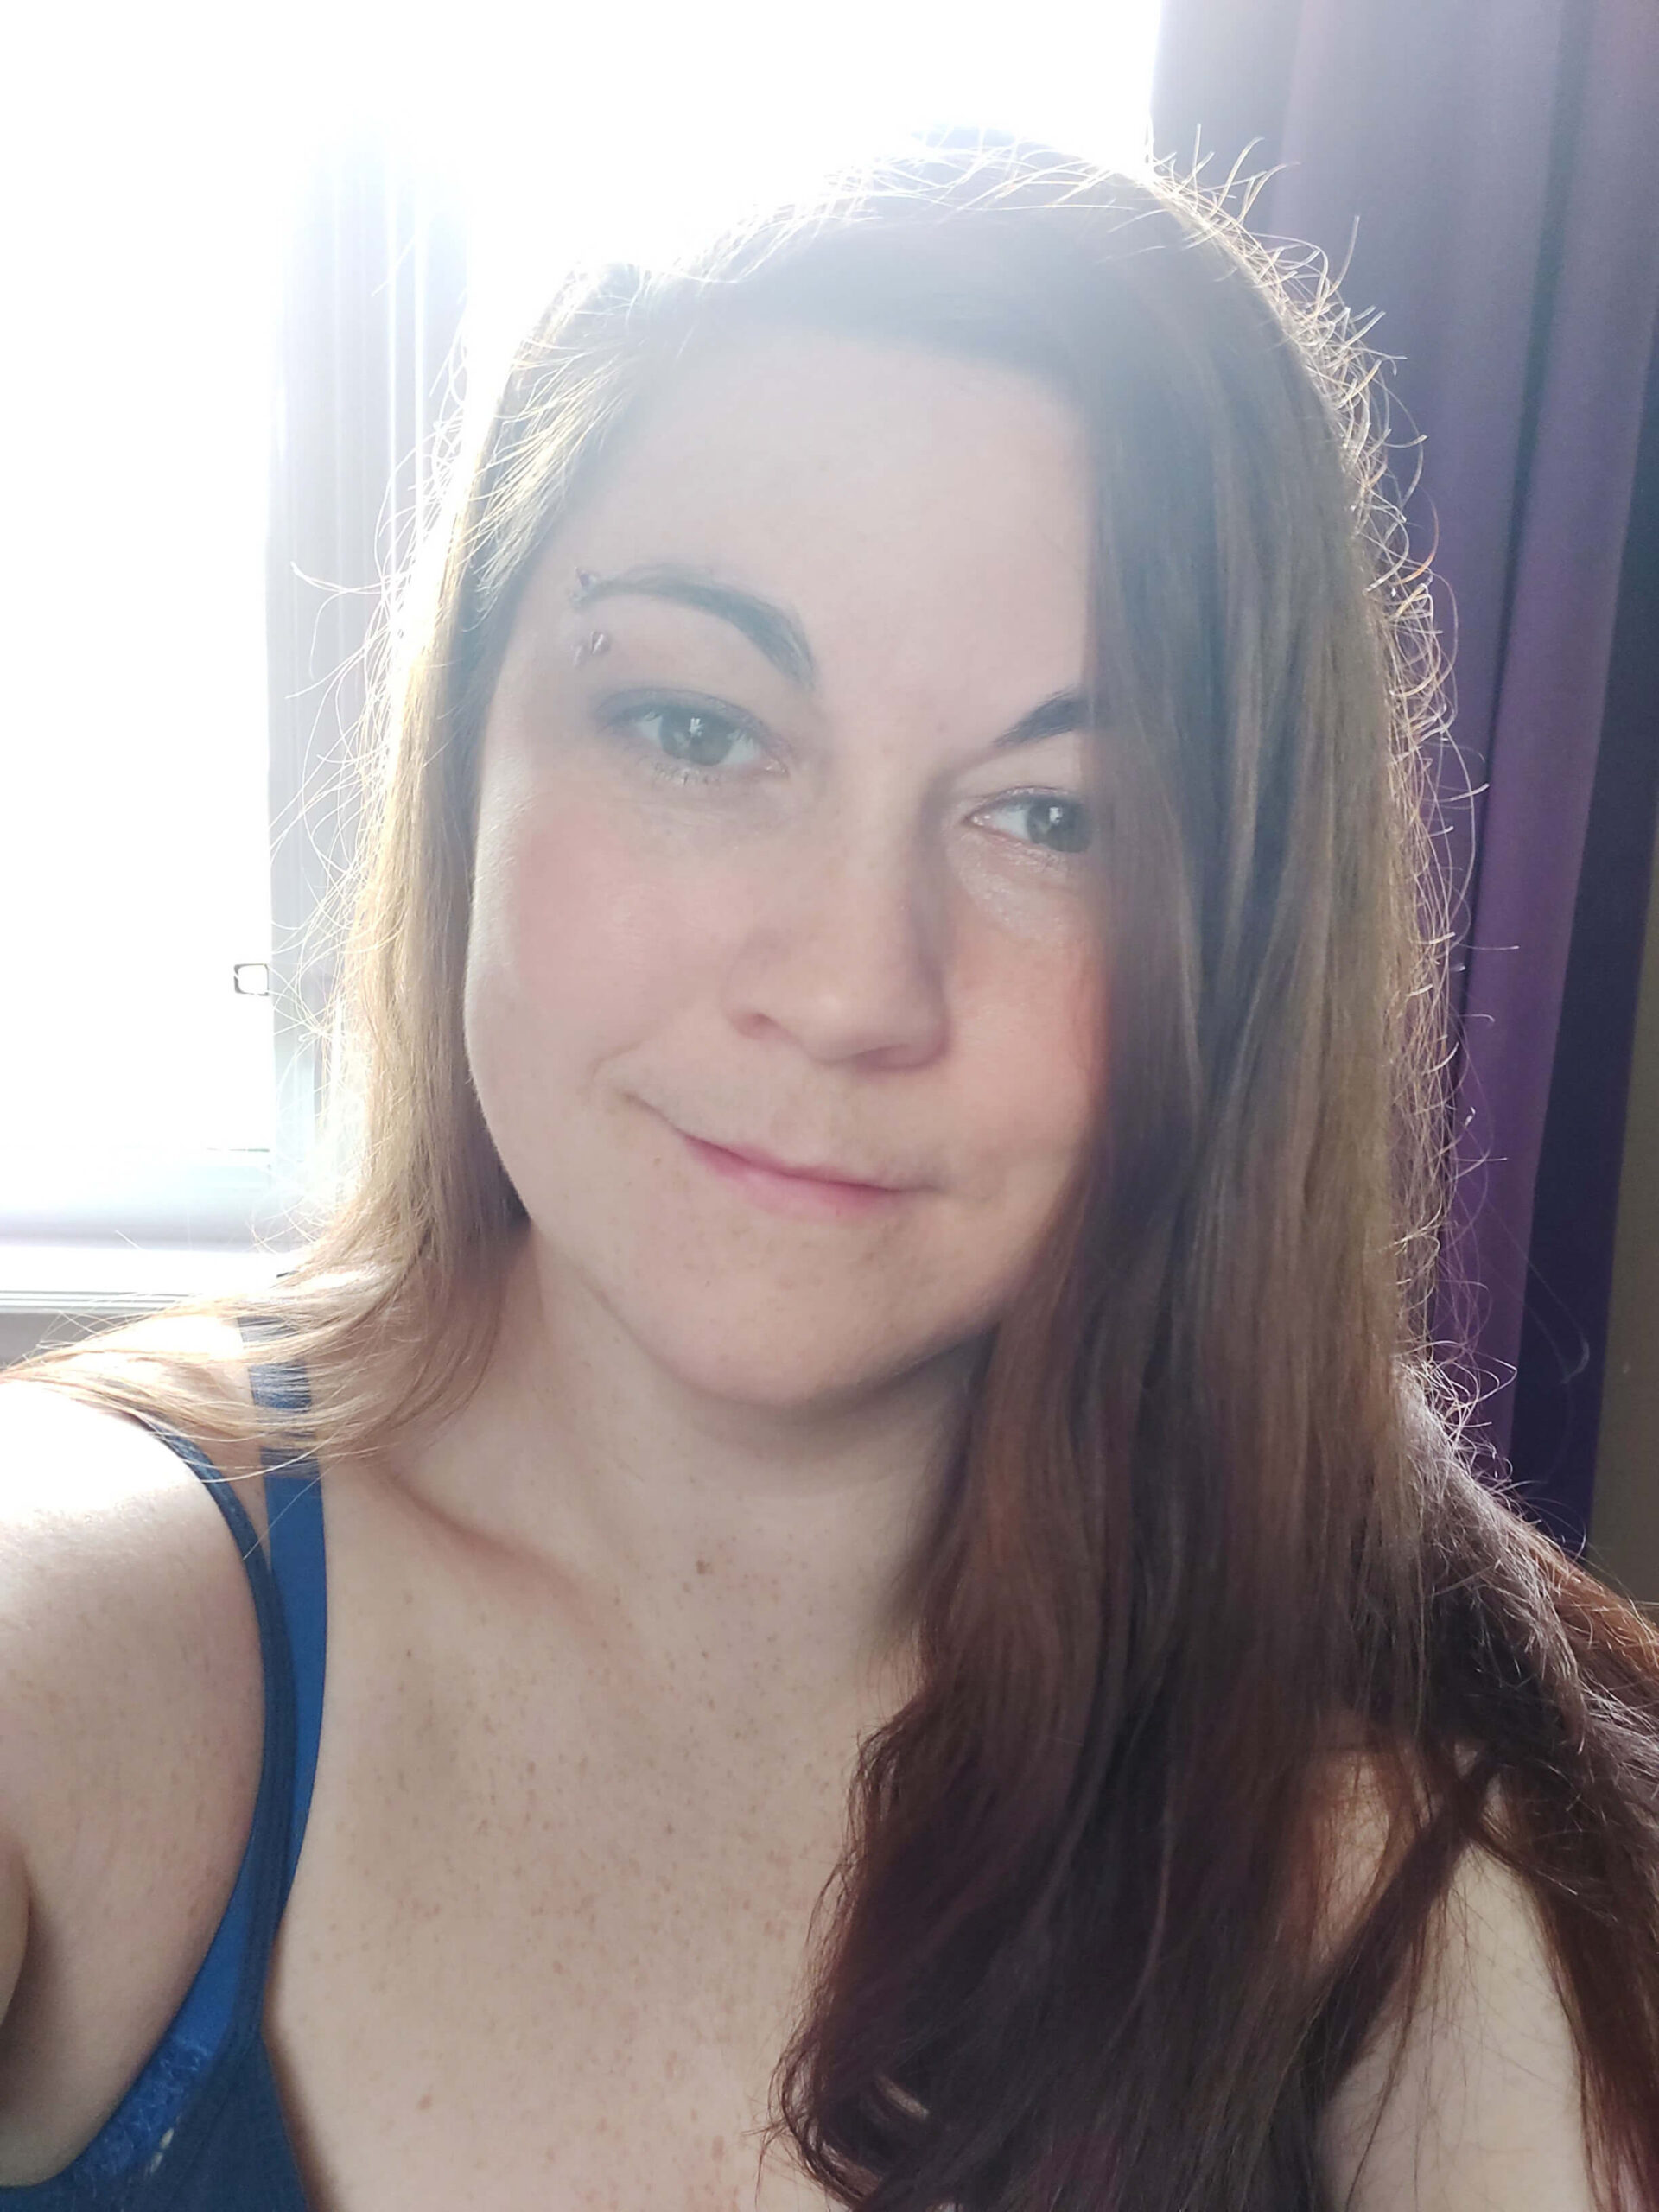
The third was taken later in the day (7 pm) at 2 feet away from the window. See how much warmer the tone of light is closer to sunset?
Facing the window – 2 feet away
Facing the window – 12 feet away
Facing the window – 2 feet away
Selfie Lighting
Pitfalls of using the ‘Face The Window’ tip: you can’t really control what’s behind you. I mean…unless you’re really interested in making your own backdrop to hang behind you (that sounds like a lot of work, though).
So let’s find a way to control the light that also gives you a little bit of power to control what you have behind you!
Reflectors!
Reflectors are, by definition, things that reflect light. I’m not talking about mirrors (though I did use a mirror…). Almost EVERYTHING (except dark colors) reflects light! There are things that do it better than others, though and we will go through that. Photographers use reflectors to manipulate light in a way that will lift shadows from an image and utilize their light and the setting in a way that is pleasing.
Selfie Lighting
The best reflectors are often made of white, silver, and sometimes gold material. These create a more natural looking reflected light for images. You could absolutely use a colored reflector if you like, but be aware that it will create a color cast on your skin that you may not be happy with (or will be, if that’s what you’re going for).
Here’s what I used for my selfies:
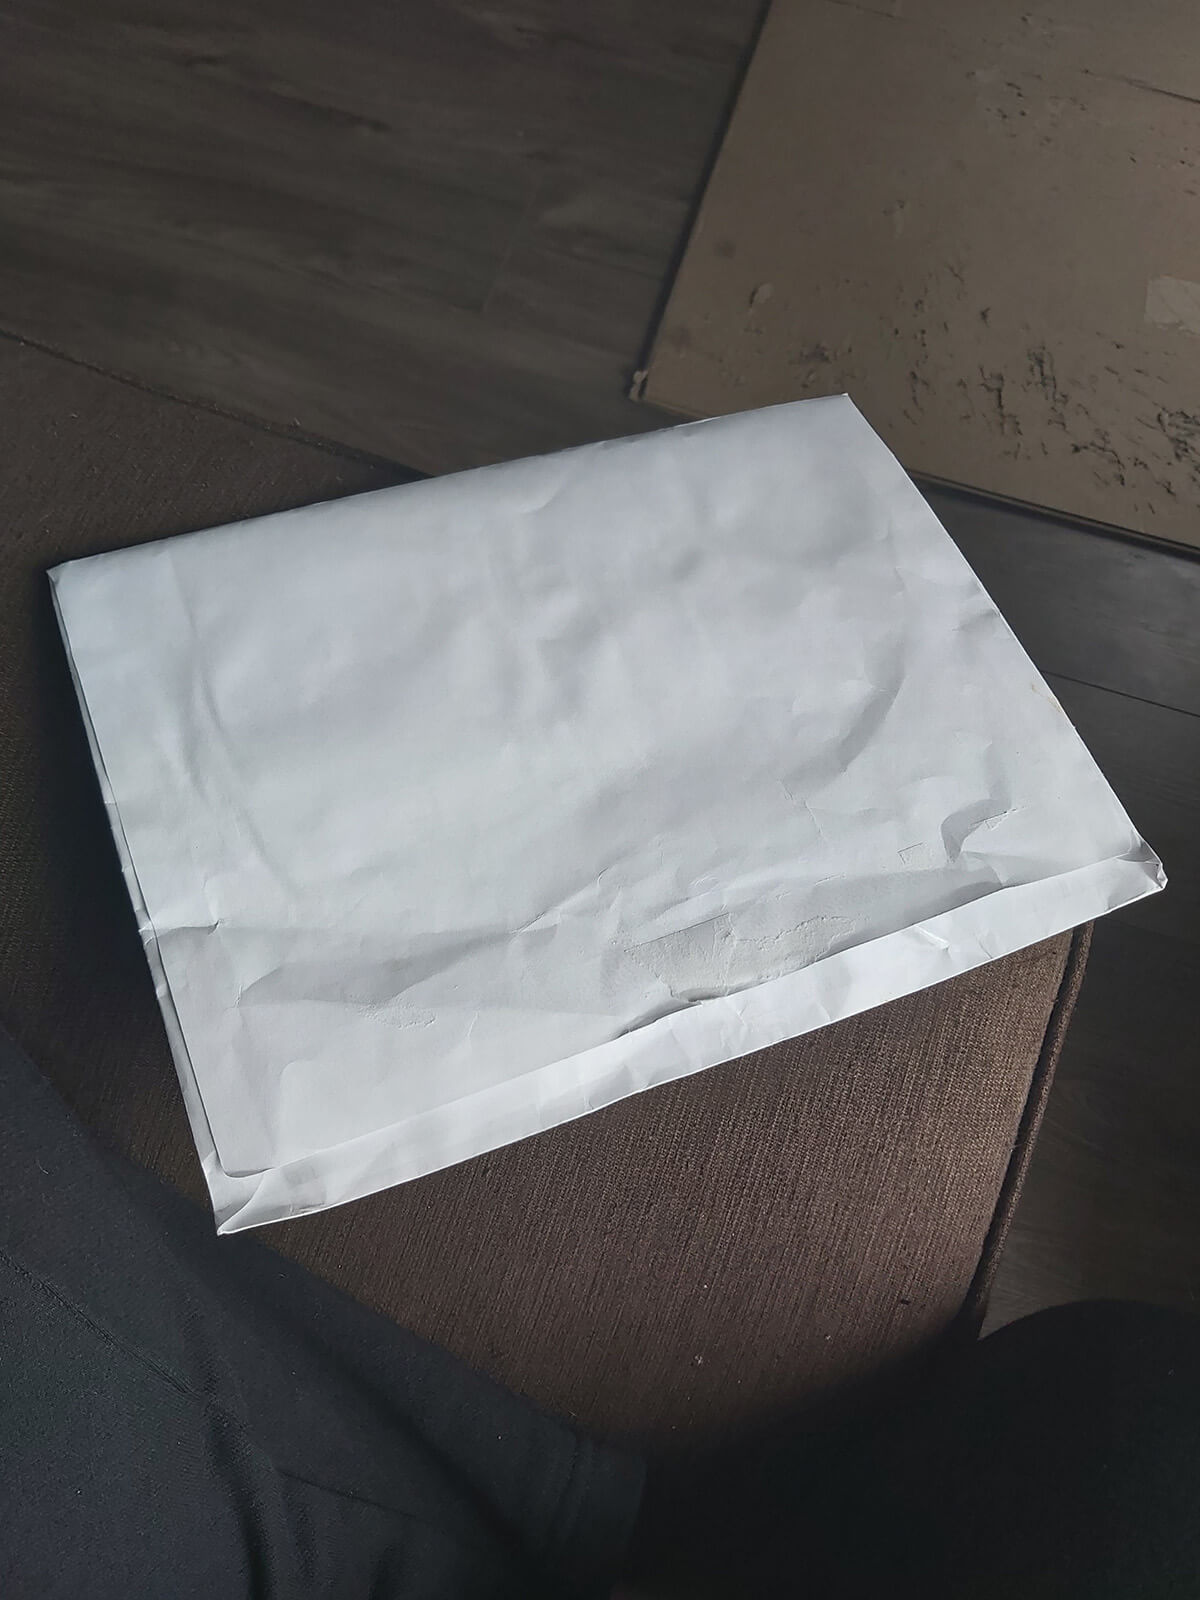
*White paper (simple but effective)
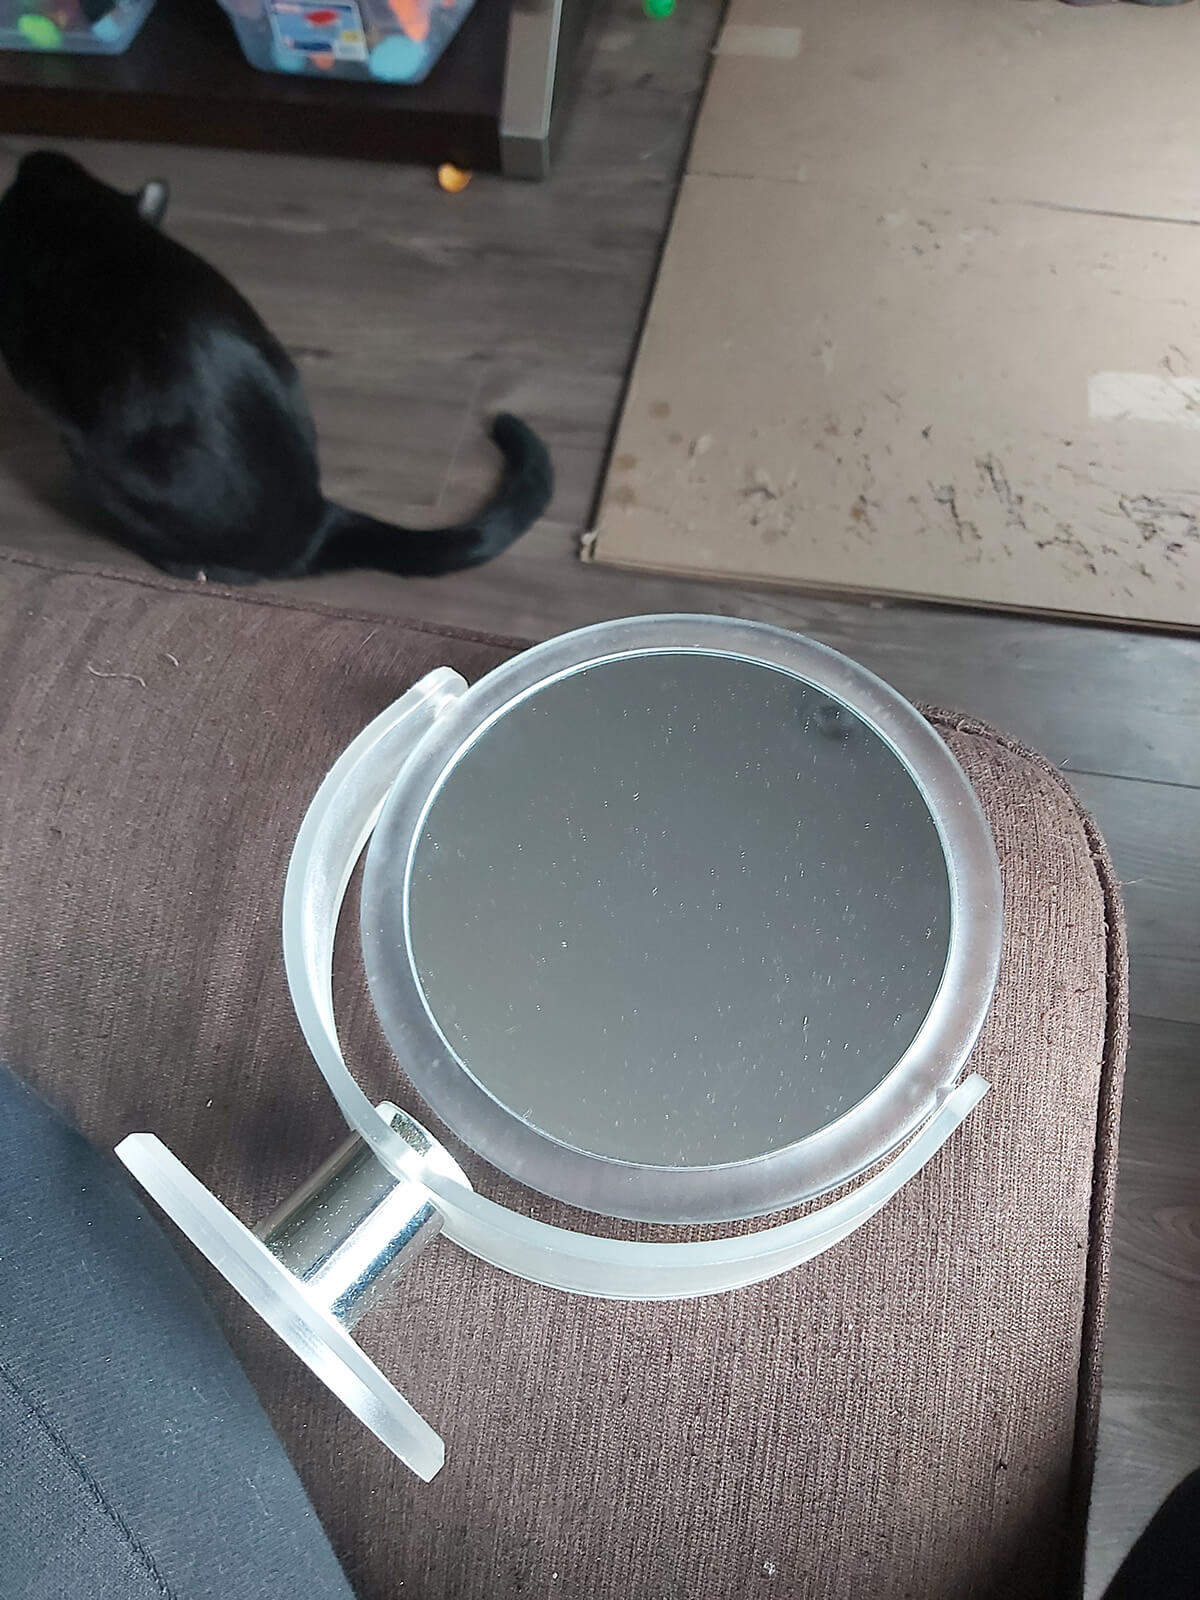
*A Mirror
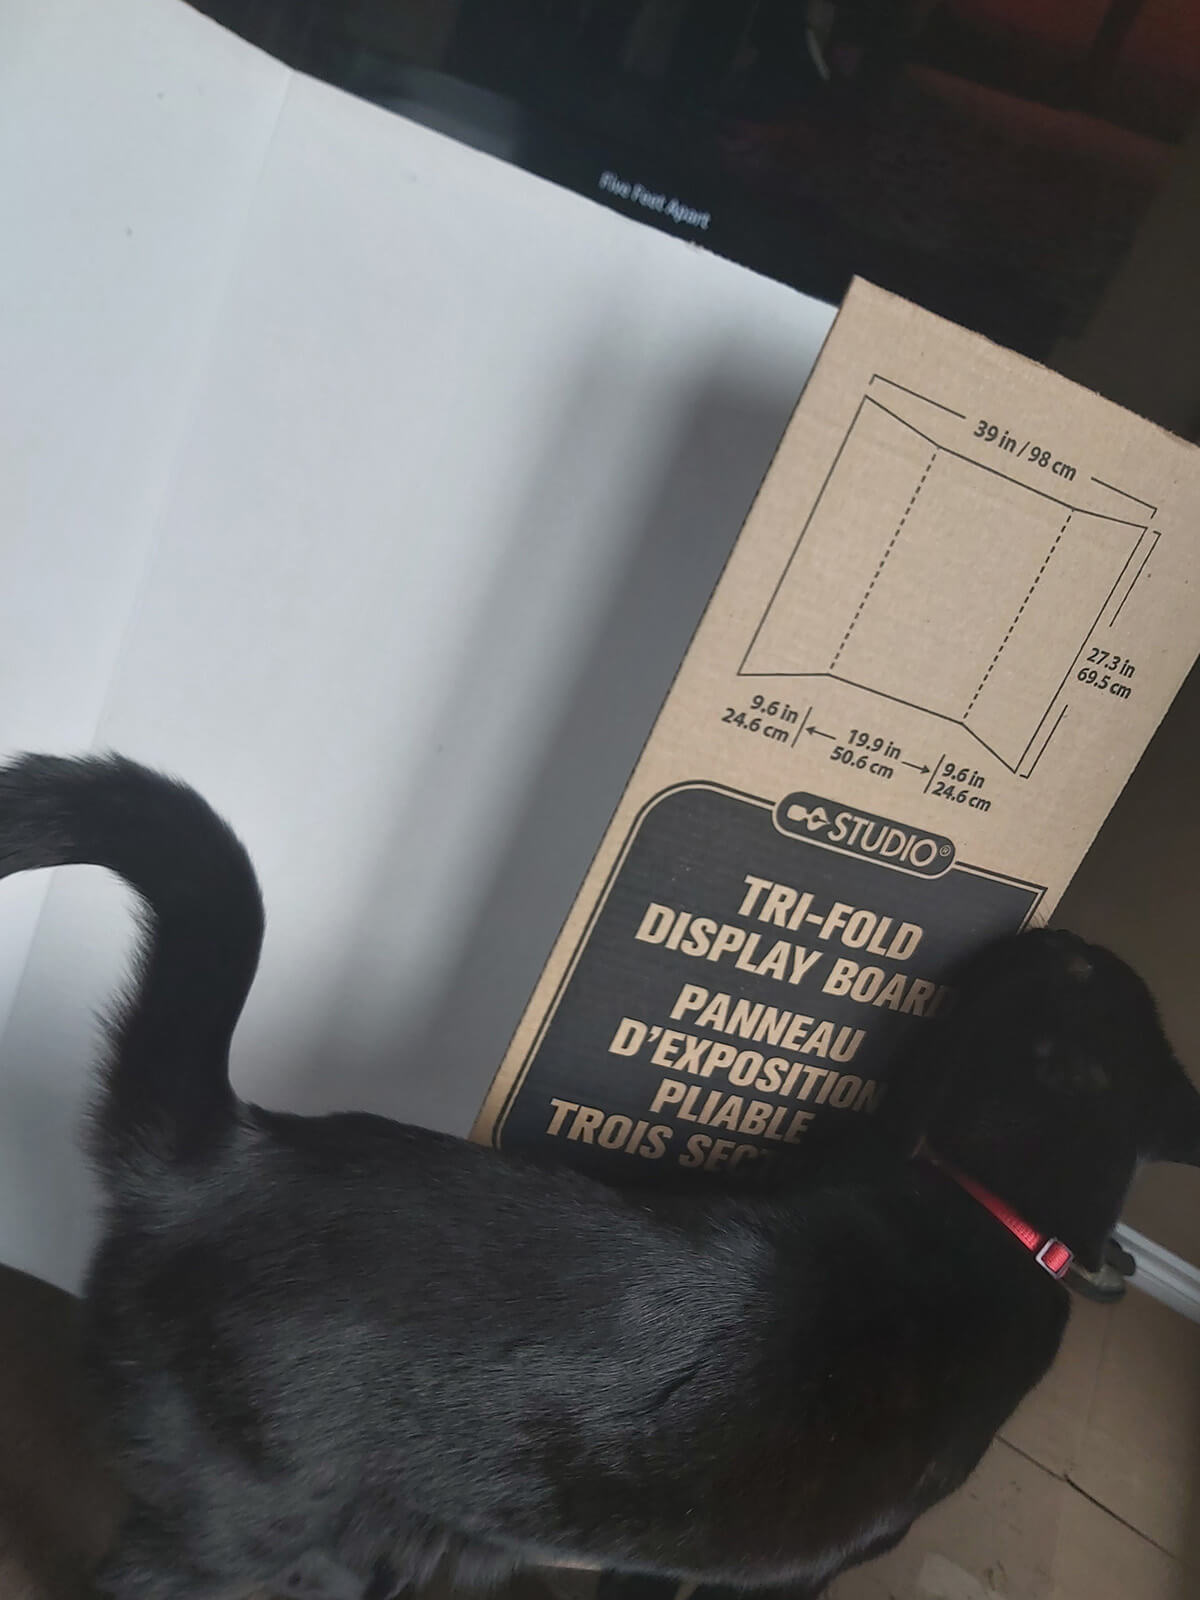
*A large white Tri-fold Display Board (purchased at the dollar store)
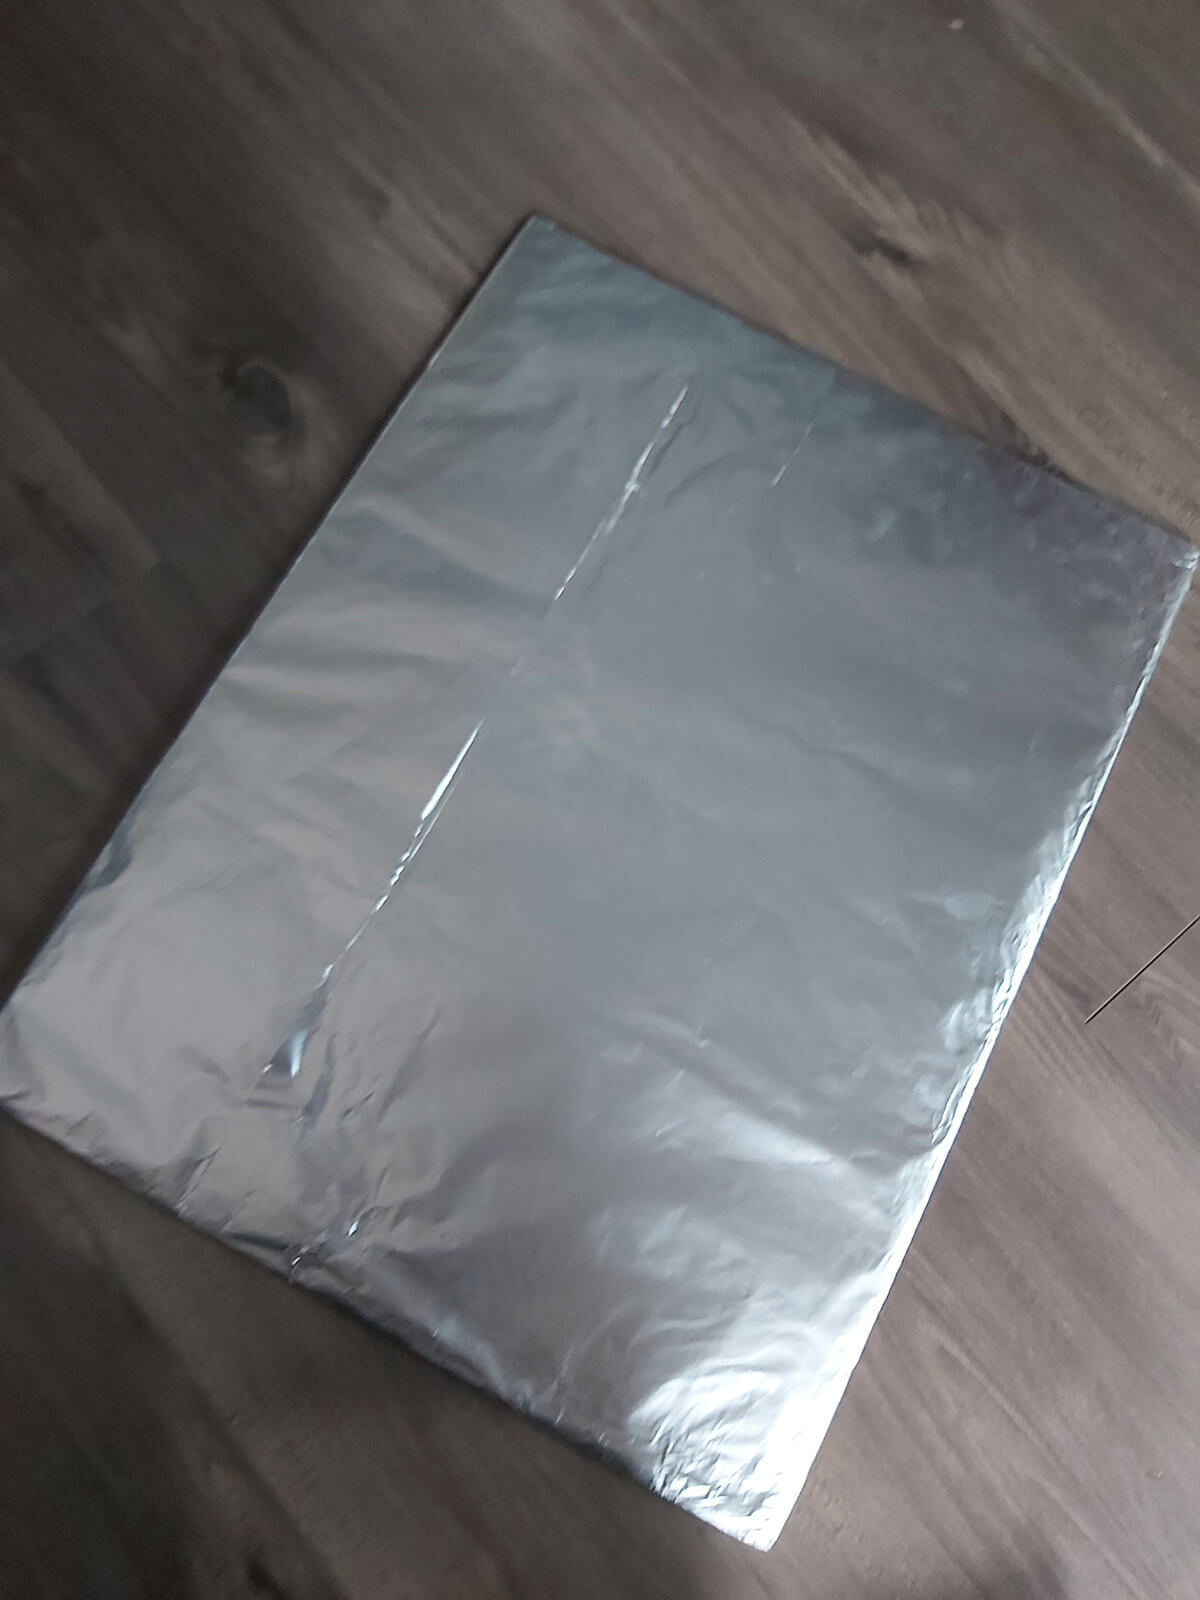
*A piece of cardboard covered in aluminum foil
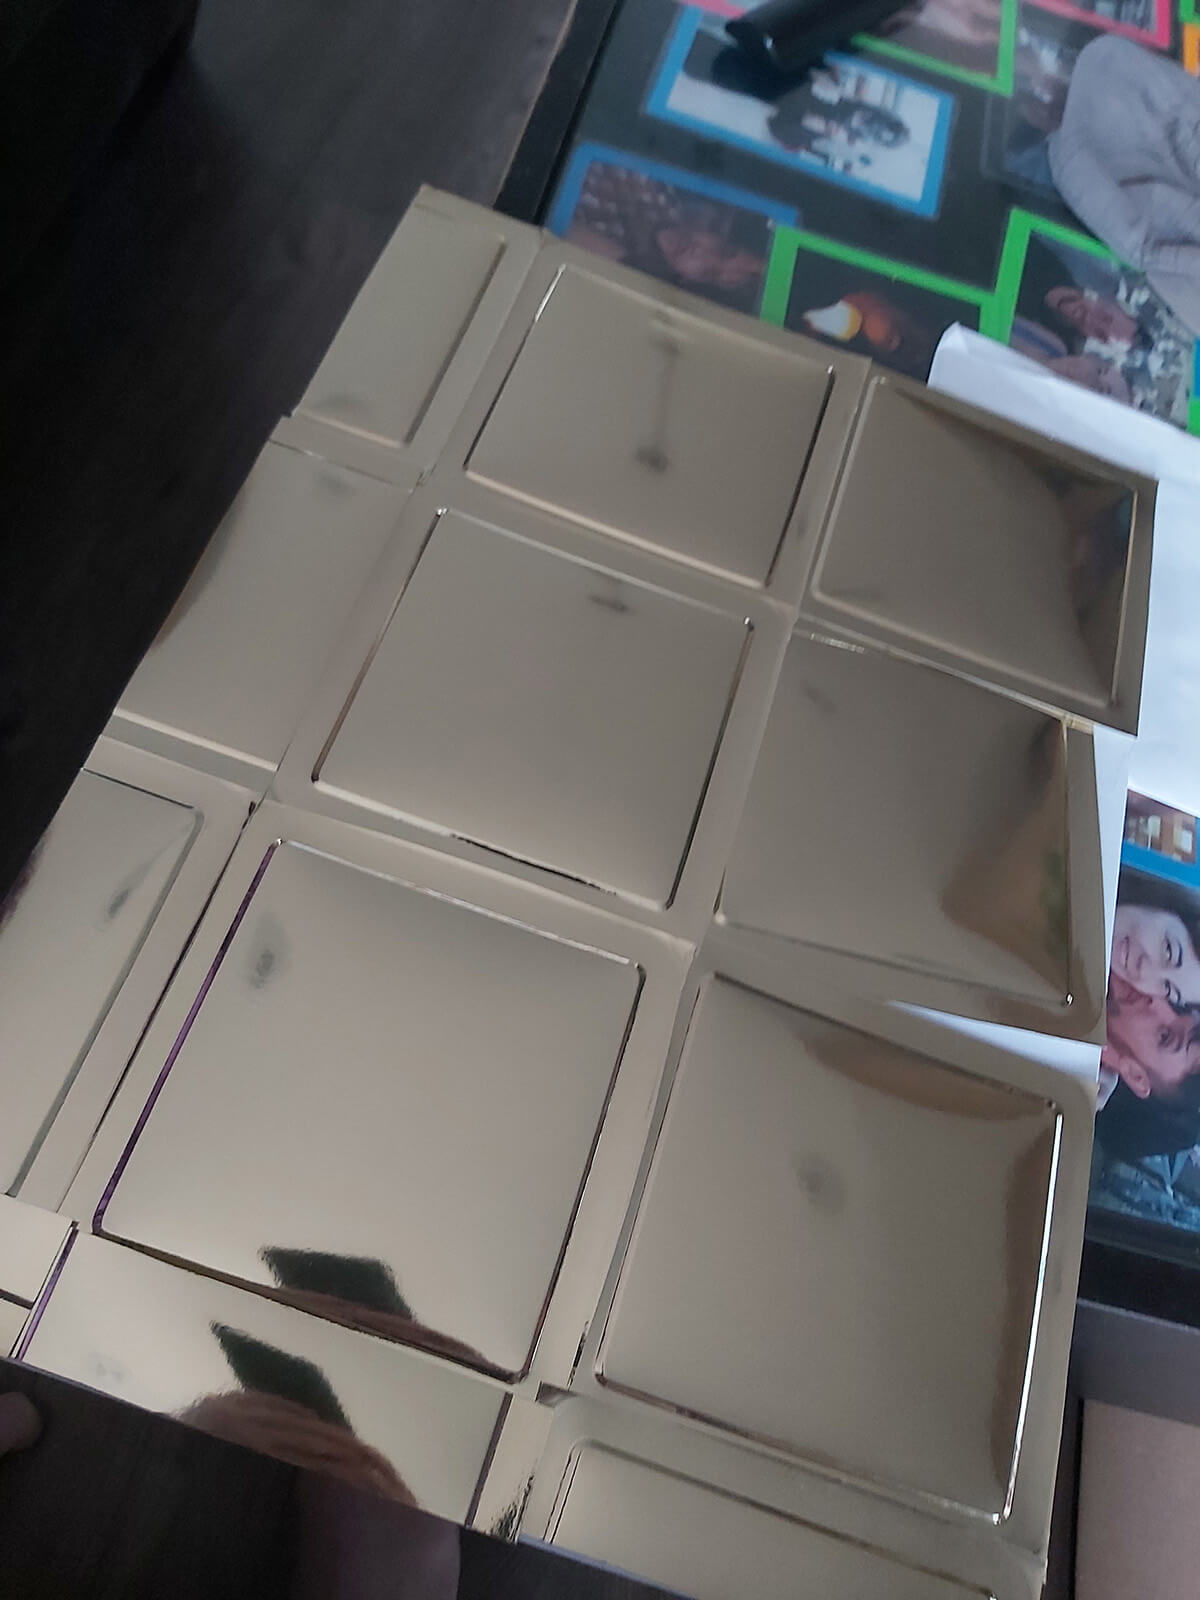
*A piece of cardboard covered in gold foil party plates (purchased at Wal Mart but you could use any type of gold foil)
A point about gold: gold reflectors are of limited use, as far as me and many other photographers are concerned. They do cast a lovely golden light, but that may only be of use during sunset when the sunlight is at its warmest tone. If you don’t want to invest the time or dollars in to a gold reflector, then don’t.
A MINI TUTORIAL ON USING REFLECTORS
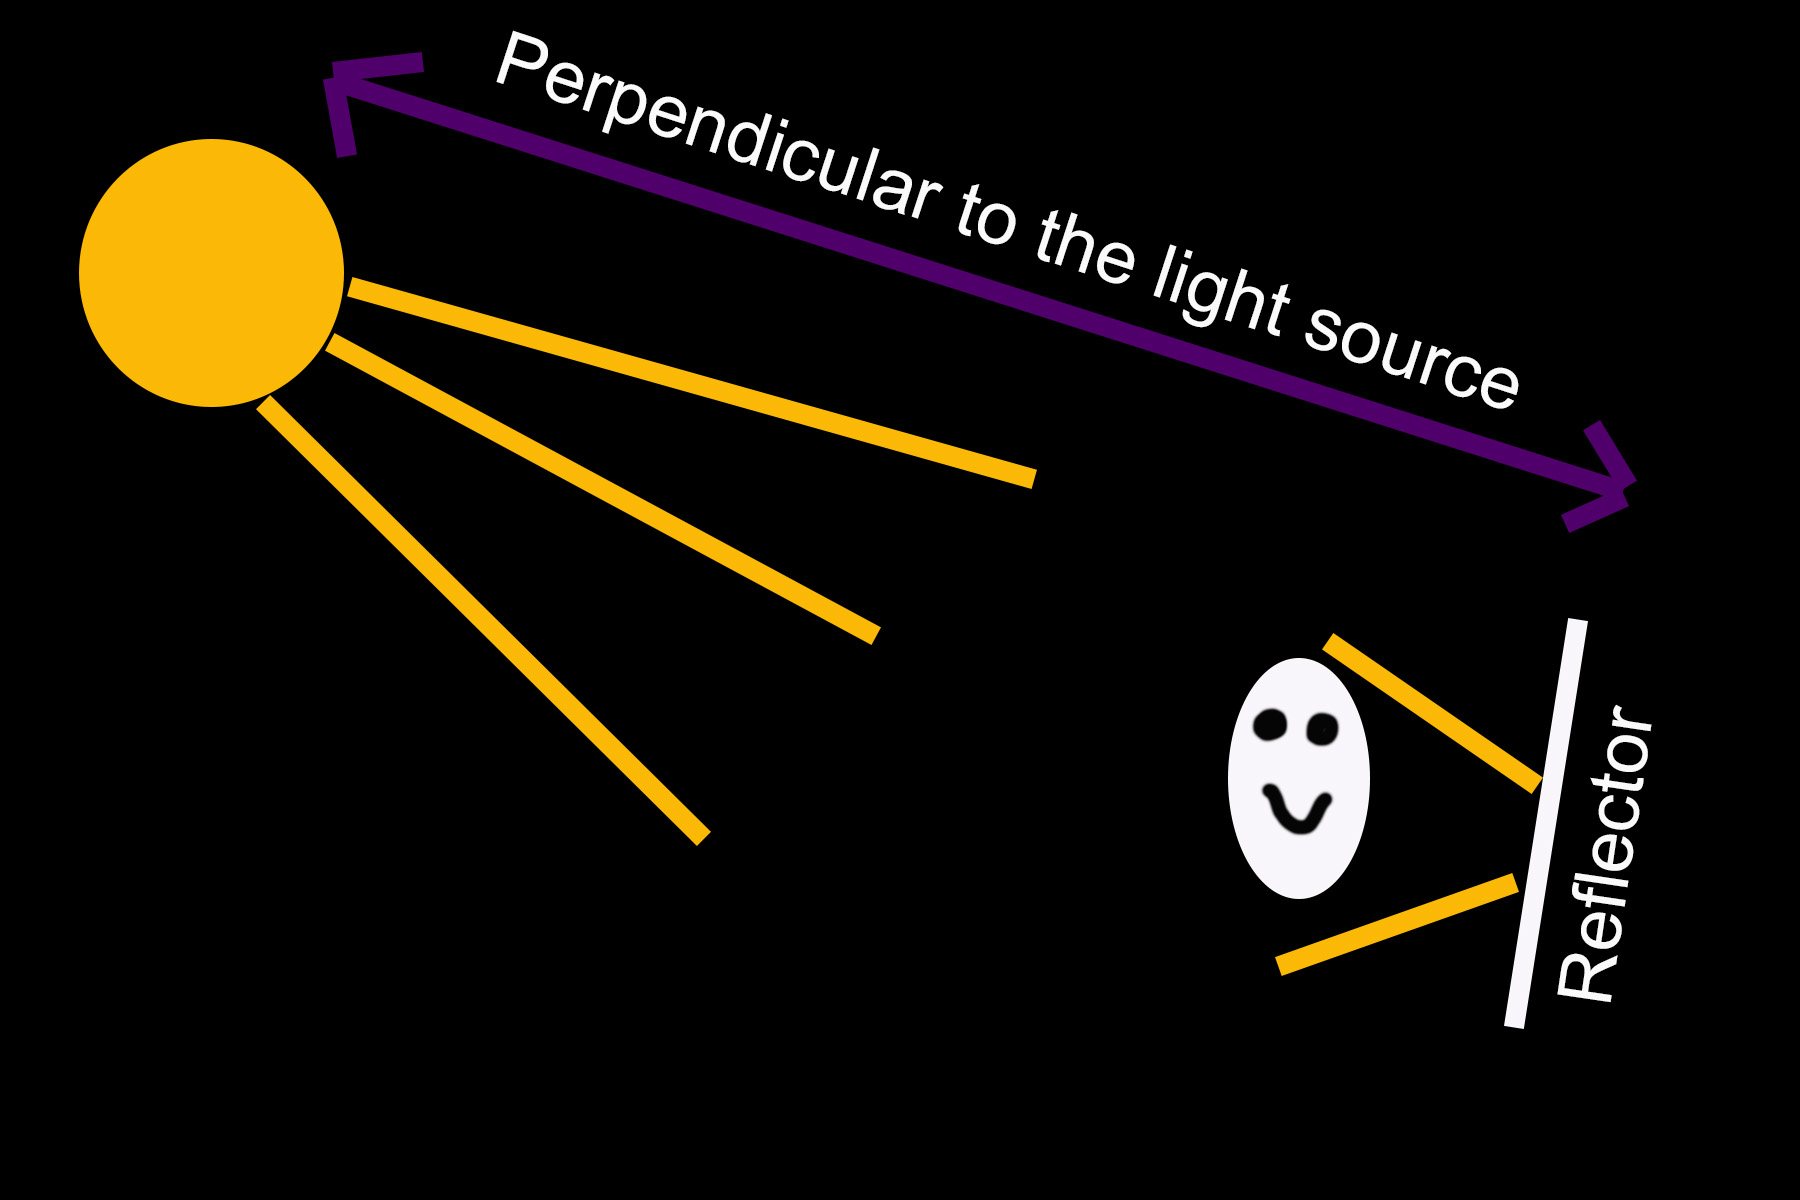
When using a reflector (even a home made one) you can’t just hold it anywhere and expect it to catch the light. In order to effectively catch the light the reflector needs to be held mostly perpendicular to the light.
Here’s a little diagram to show you what I mean.
Okay! Now that we know what I used, let’s have a look at what my selfies looked like without the reflectors and with the different kinds of reflectors.
Side Lighting In Selfies
Why side light? Because you want to control what’s behind you for your image! If you have a killer background but the window is beside you rather than in front of you, then it’s no problem! Just grab your handy reflector to fill in those shadows!
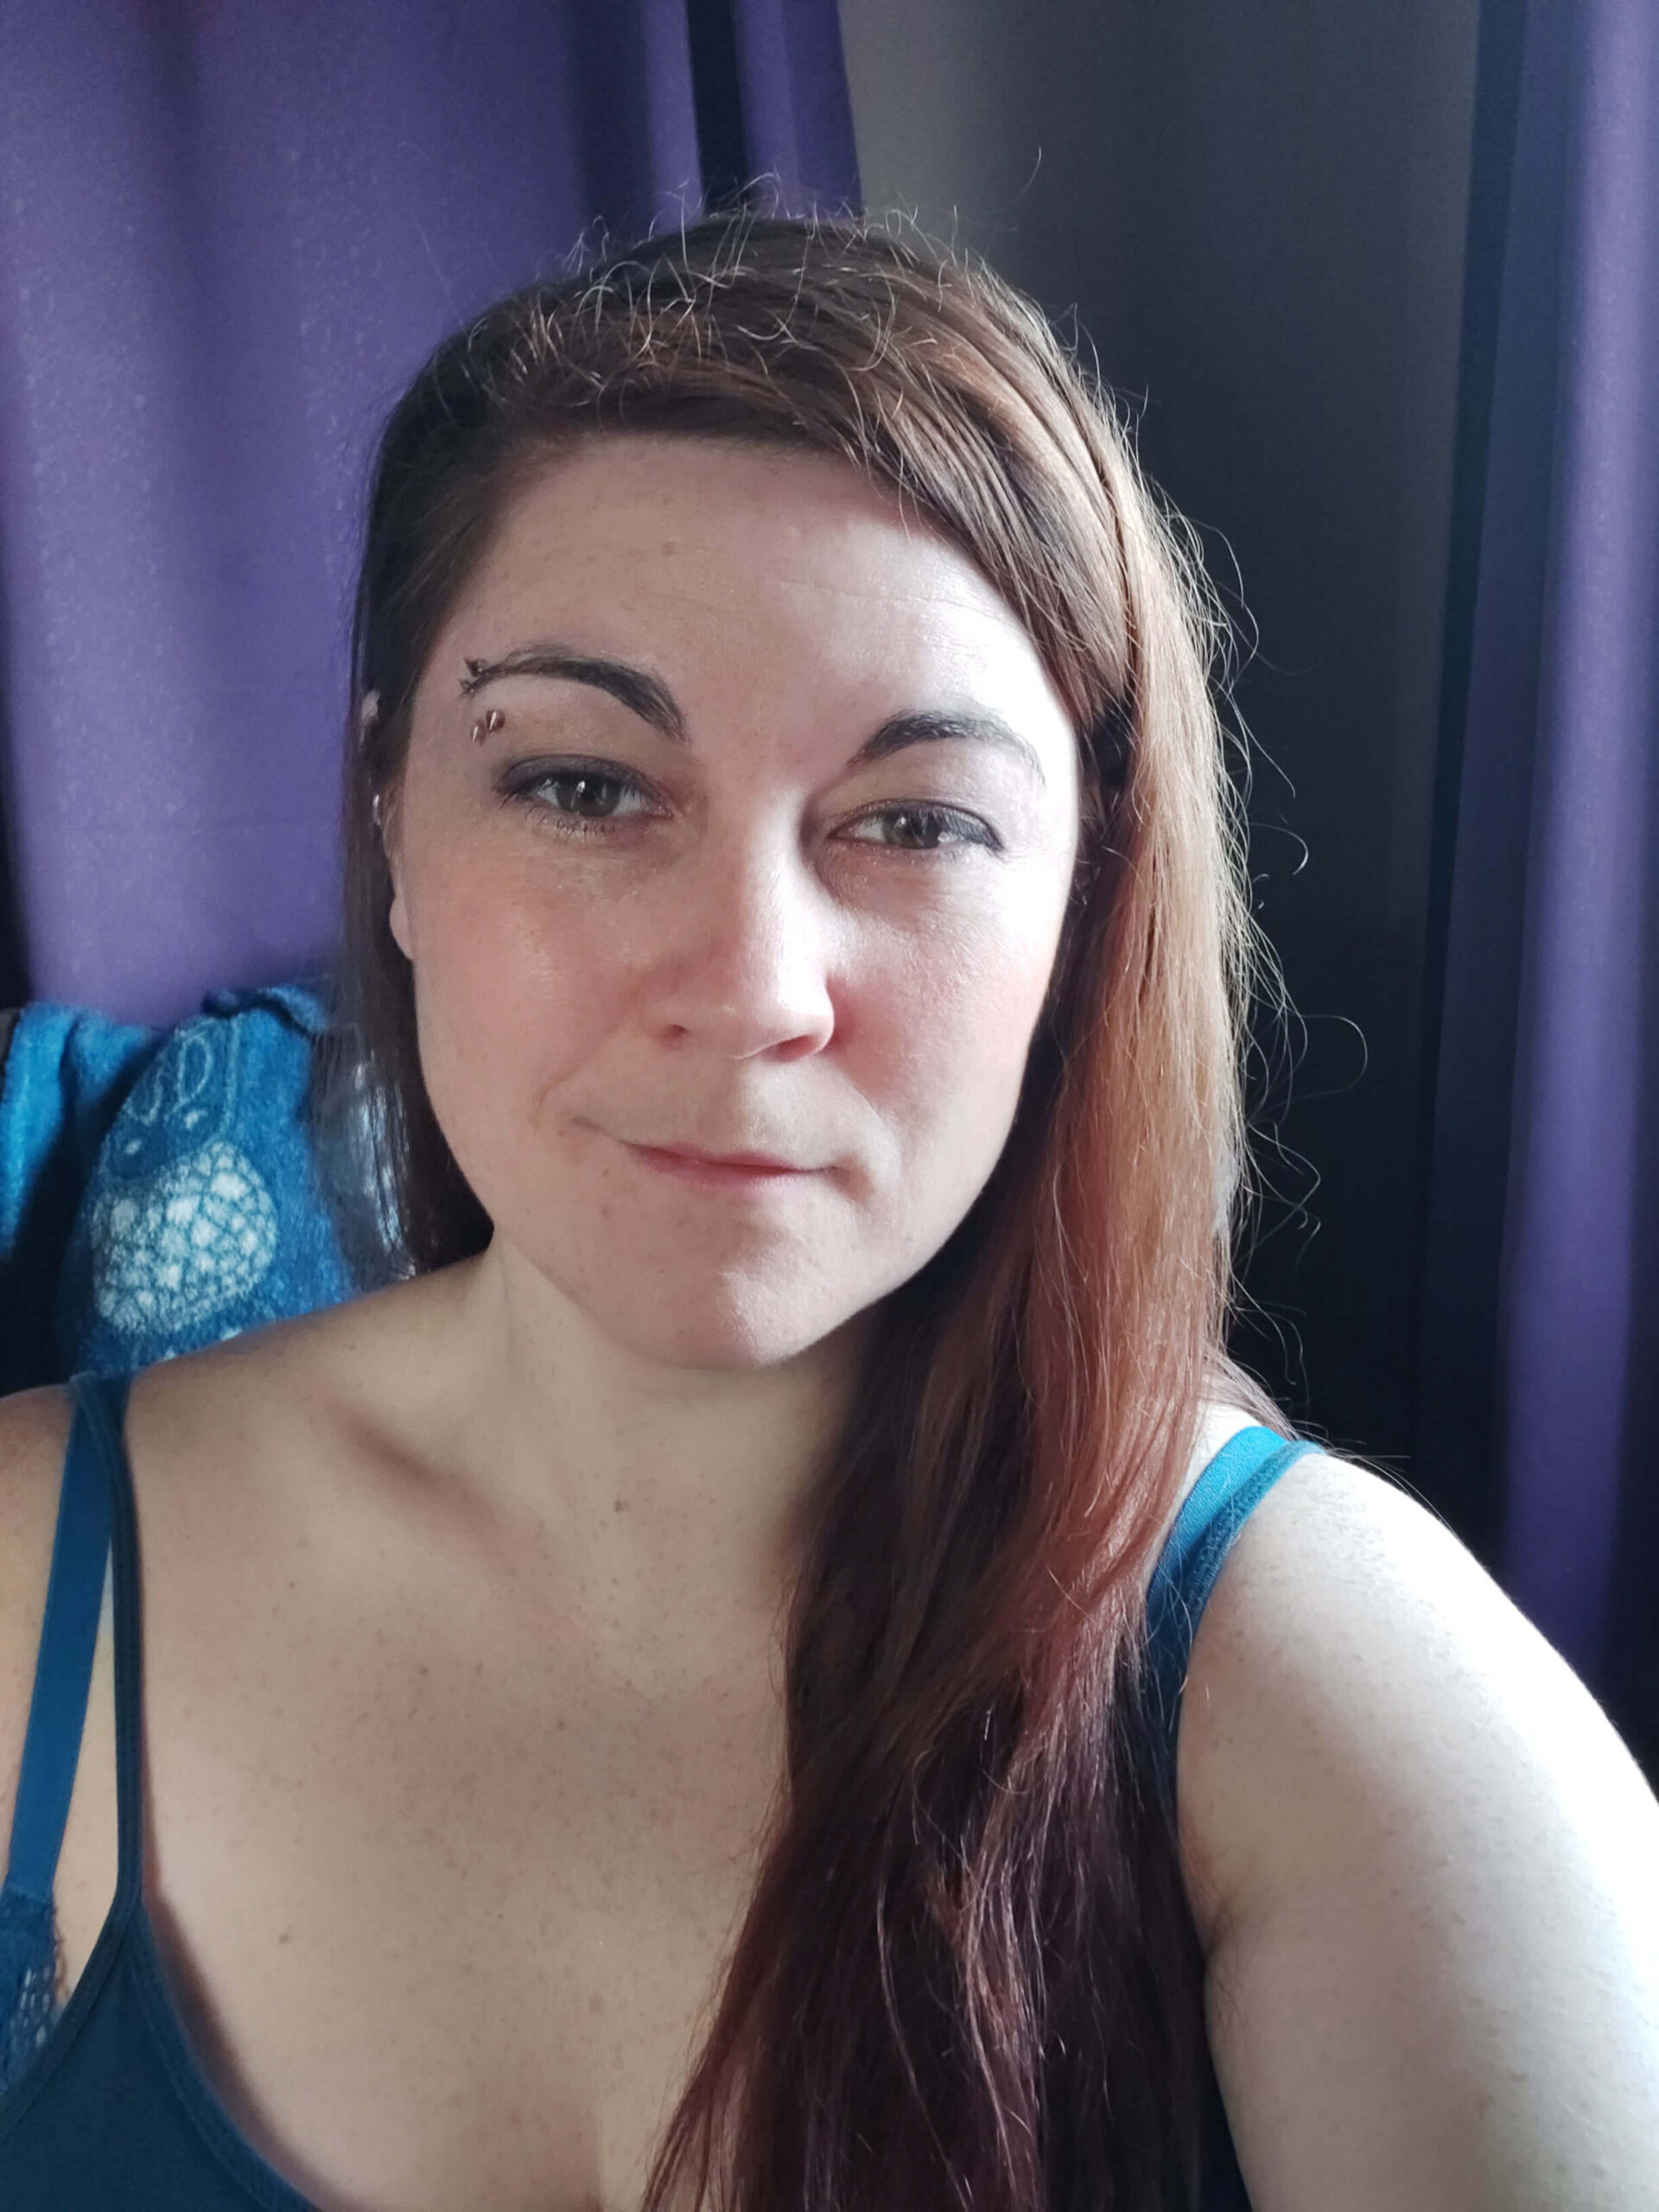
The first image was taken sitting sideways to and 2 feet away from the window. See all those dark shadows on the side of my face? That doesn’t make for a pleasant image for us ladies.
This image was taken in the same spot, but I’ve added my white piece of paper just off camera to reflect the light back in to the shadows on my face. Look how much better that looks!
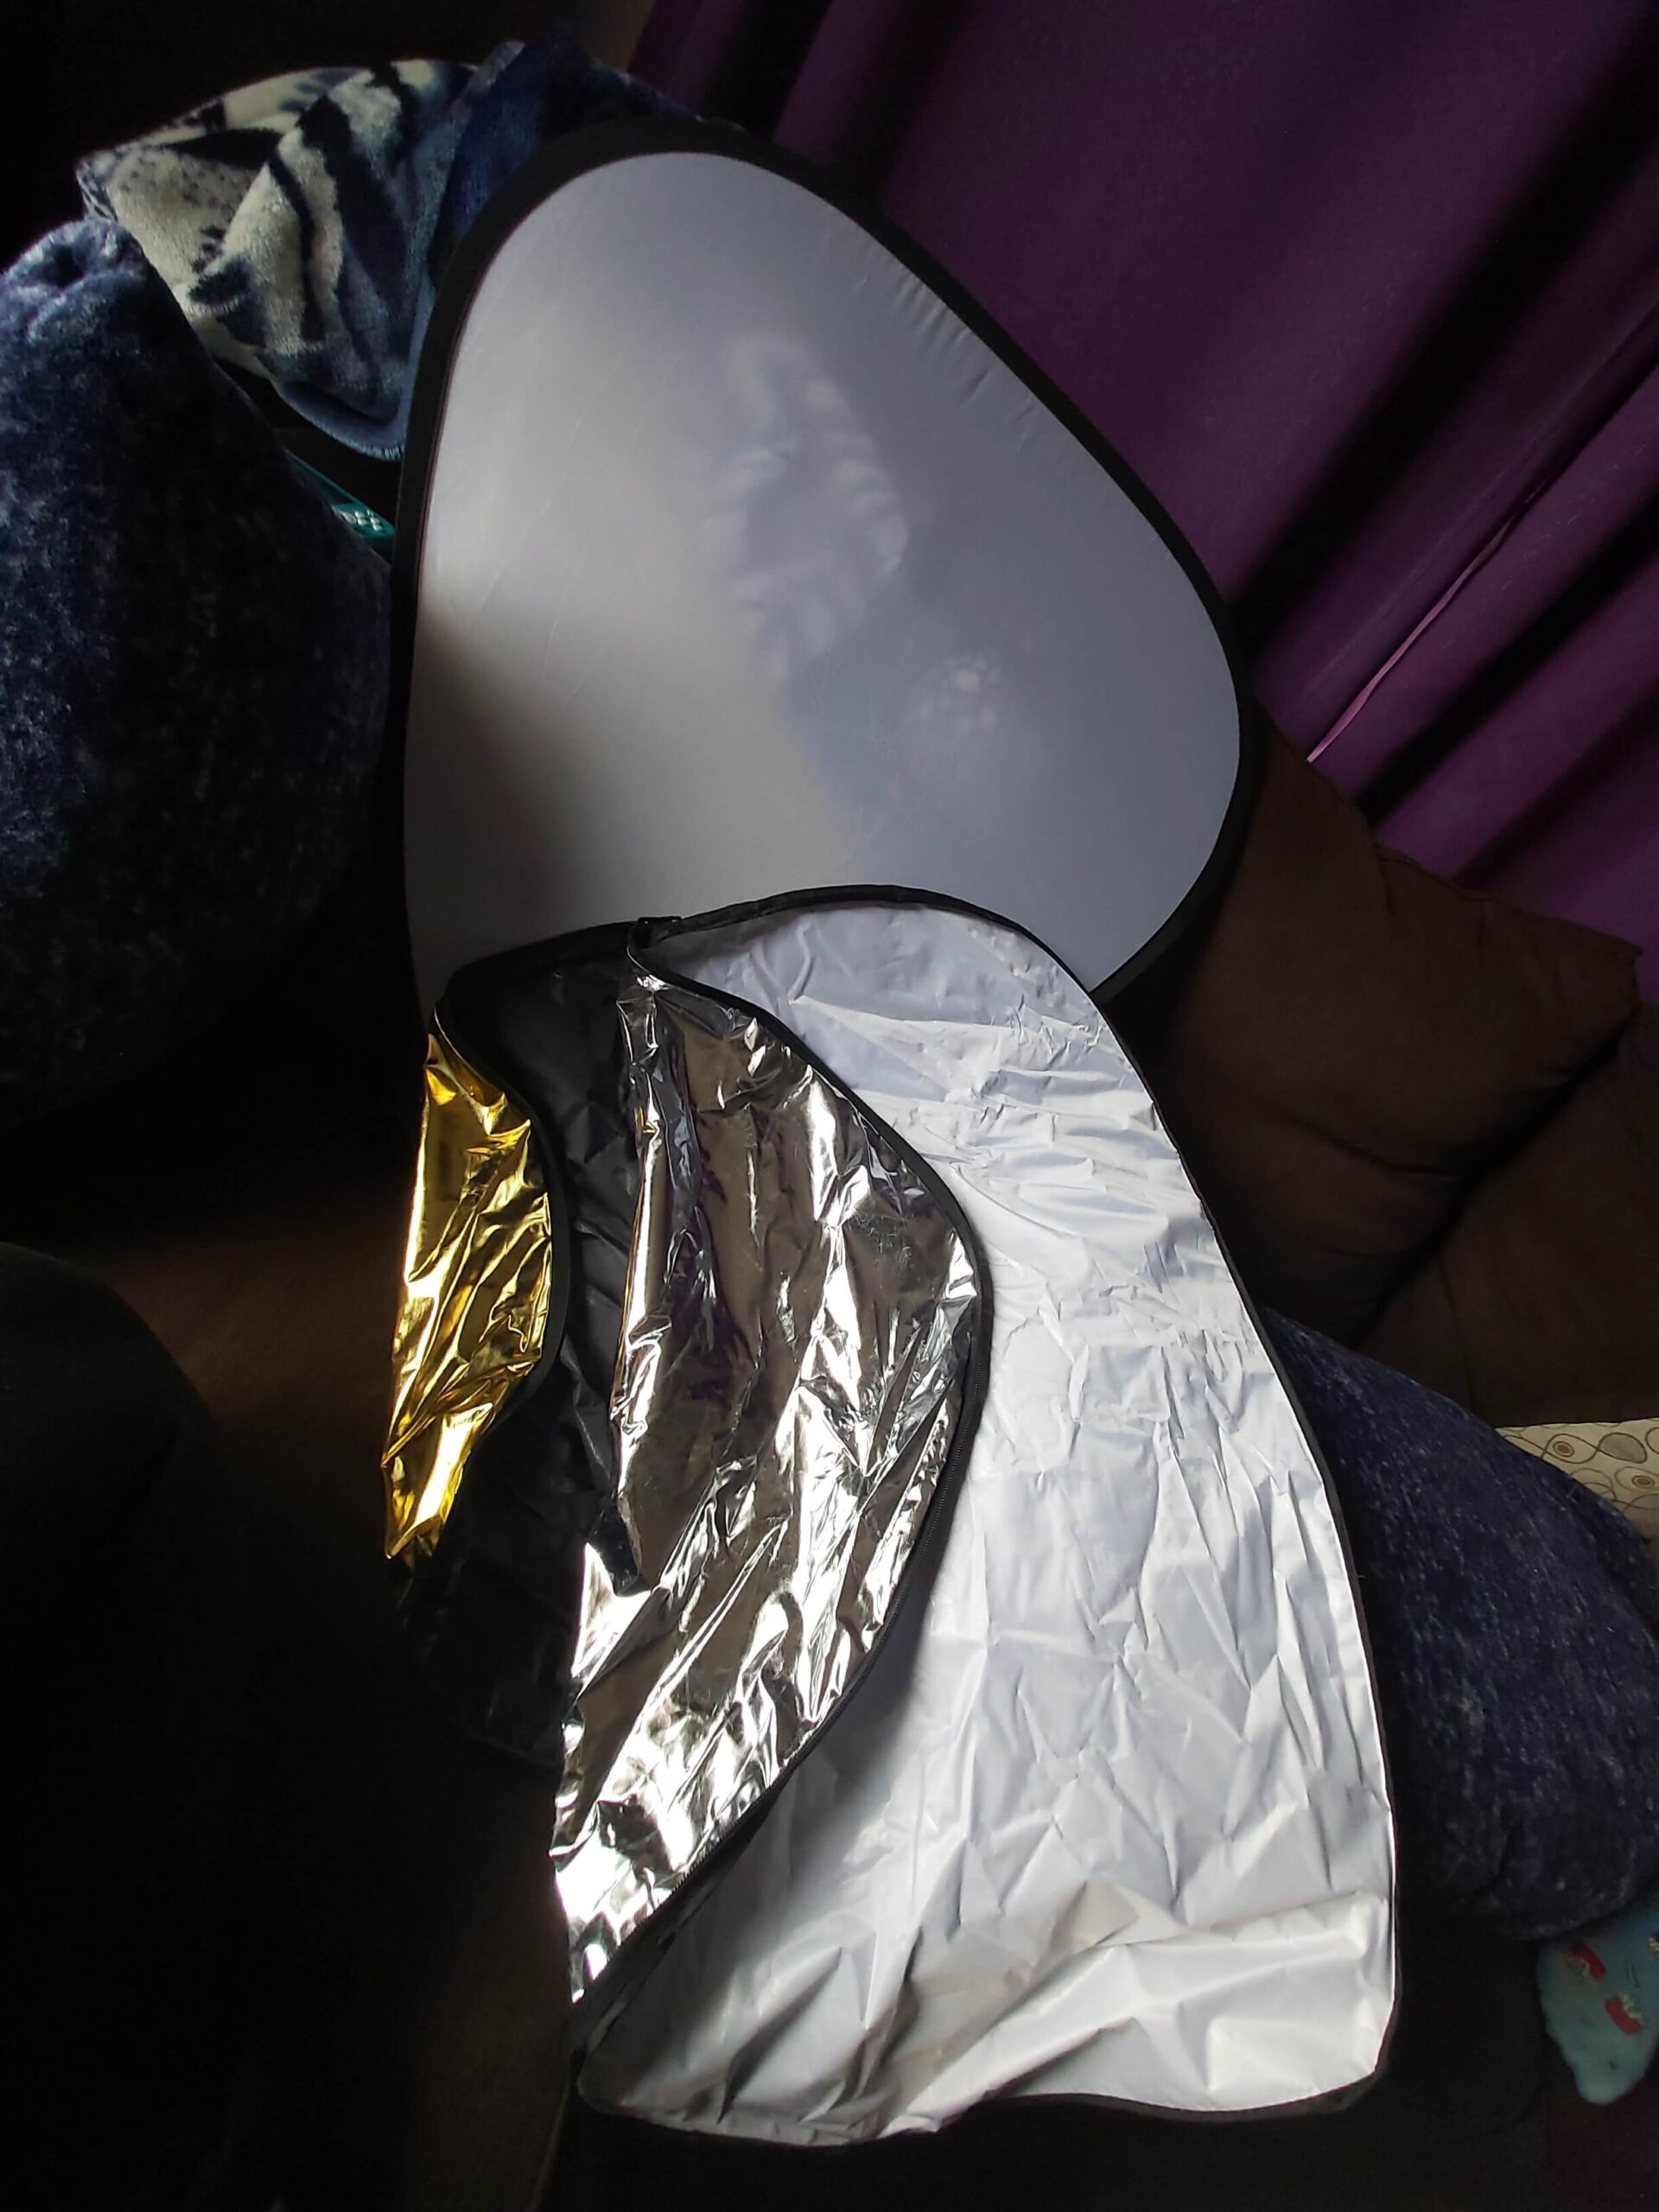
Here I’ve used the large white Tri-fold. It provides similar lighting on my face as the white paper but adds light on the rest of my body also. It’s a larger reflector so it reflects more light! It is more difficult to maneuver, though.
My favorite! I used the aluminum foil reflector for this one! It provides the most even light spread, isn’t discolored, and was large enough to spread the light all over my body and not just my face. Cheap and easy to make, too.
The Mirror! Now my mirror was small so it was a bit tricky to maneuver the light to get it where I wanted. I imagine a larger mirror may be easier. It provides a slightly more specular (harsh) light than the aluminum.
And the gold. You can see that the gold reflector does well to reflect light evenly but does provide a gold color cast. Useful for creating warmth in your image, but could easily be too much color.
Note: The larger your reflector the greater the light spread you will get as I demonstrated with the white paper compared to the large white trifold cardboard.
The images taken at 7 pm showed very little difference from the ones above. The only difference was that the tone of the light was warmer. Therefore I have not shared them here.
Back Lighting in Selfies
Why would you ever want to backlight yourself? Because you want to control your background, of course! Or you want that little bit of light flare aka rim lighting from behind you that you can achieve by positioning your light source behind you. The problem with backlighting, of course, is that your face is entirely in shadow! Phones do their best to fix that, but they don’t entirely do the job.
Don’t worry! Reflectors to the rescue!
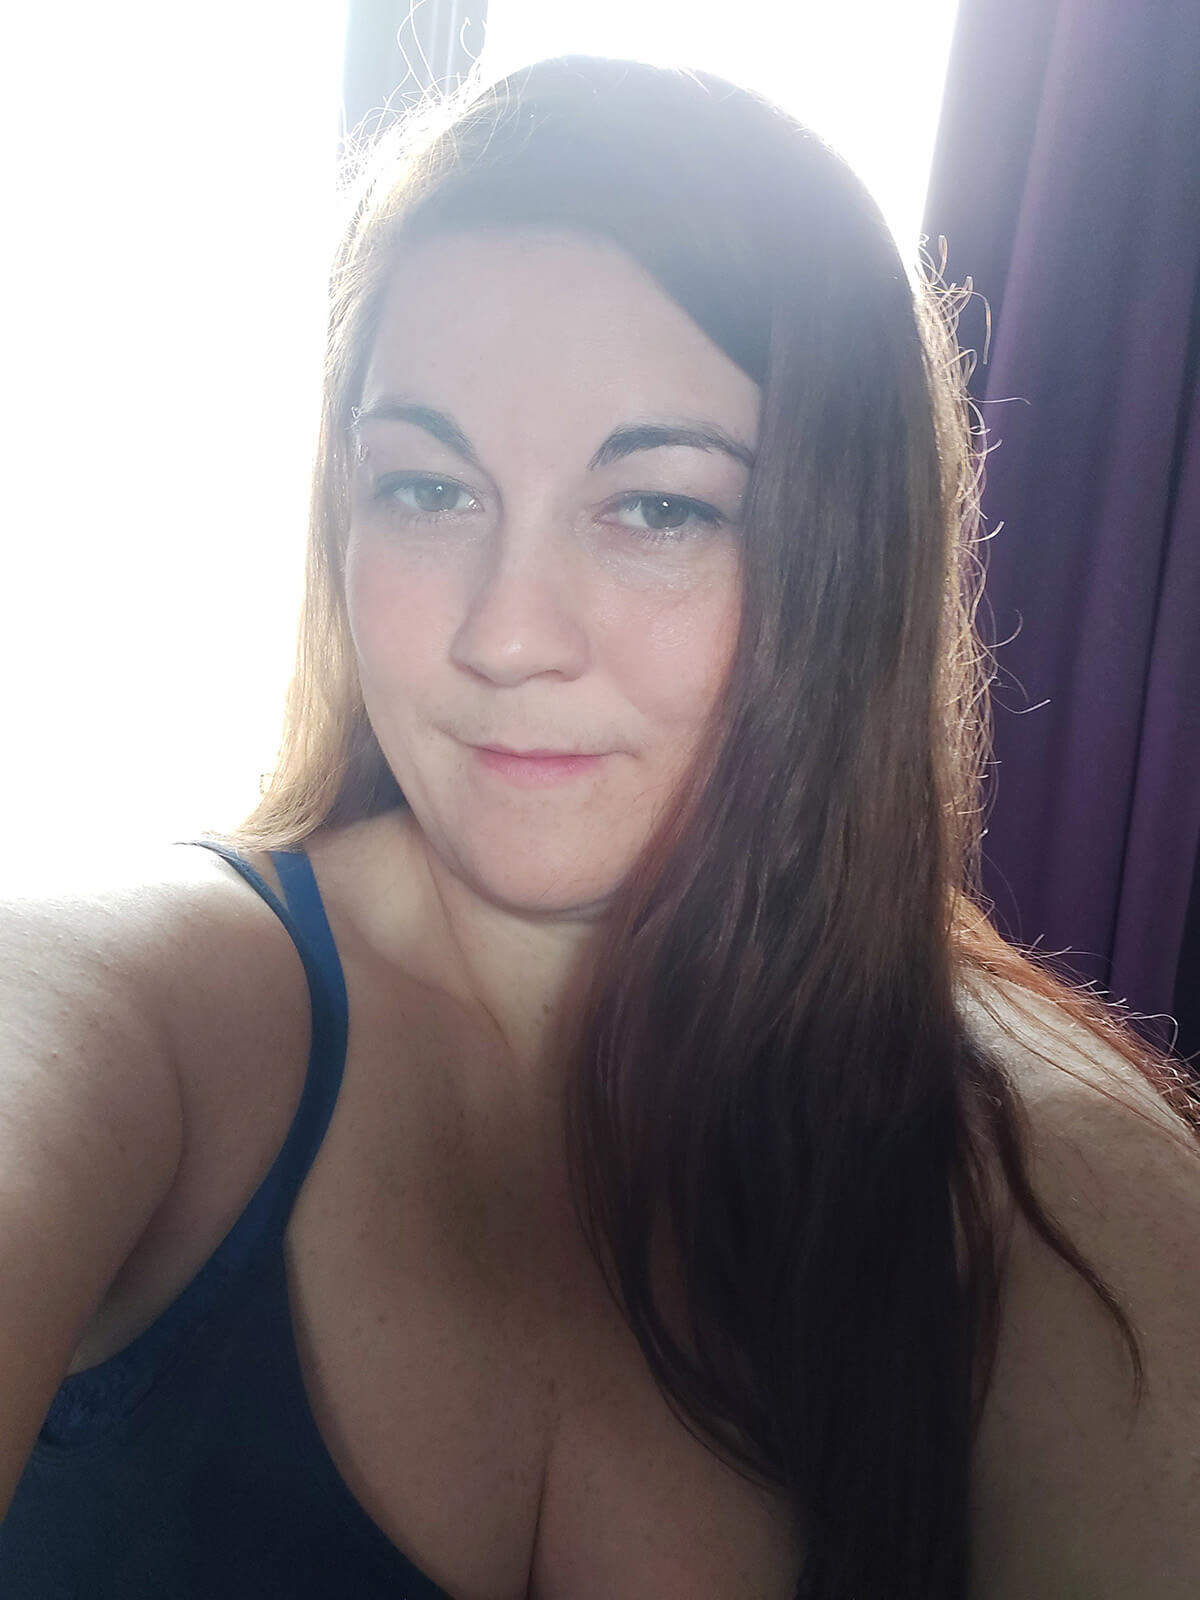
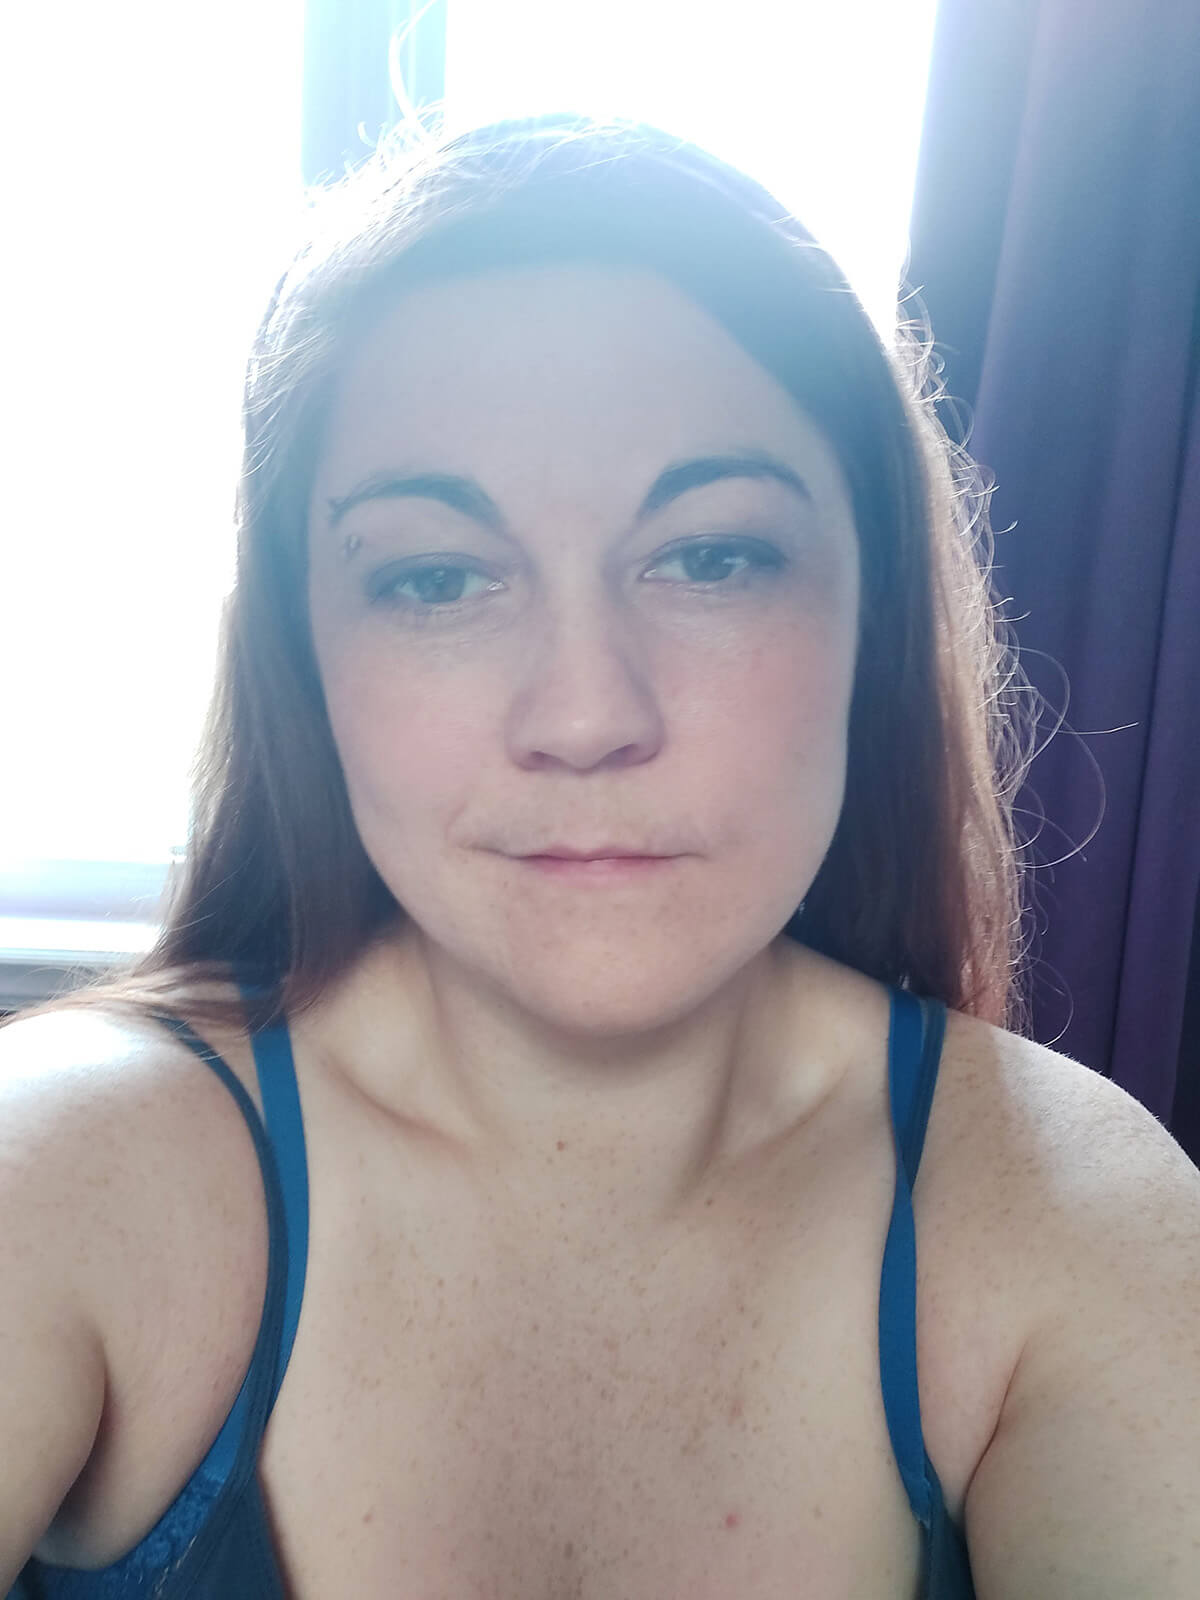
First, to show you what backlighting without a reflector looks like. With my back to the window only 2 feet away, there is a sort of lovely haze to it, but my face is quite dark. Let’s see what the reflectors can do.
There is no backlit photo using the white paper as a reflector. It did not provide enough light given it’s a smaller size. Larger sized reflectors are better in this case.
Same position from the window but I’m now bouncing light back in to my face with the white tri-fold set up in front of me. We still get that bright white background and a touch of haze, but my face and chest are evenly lit.
Ever my favorite in this situation – the aluminum foil reflector. The bright background is maintained, there is that dramatic rim lighting, and my face is beautifully lit but the haze is maintained which softens my features.
Selfie Lighting
The mirror created a very bright reflected light which lit my face even better than the aluminum which made my features crisper. My mirror was quite small though so only my face is lit. A bigger mirror would have lit more of me.
Here you can see the effects of the gold reflector set up in front of me, catching and reflecting that gold light back in to my face while maintaing the bright background and haze effect.
Selfie Lighting: Sunset
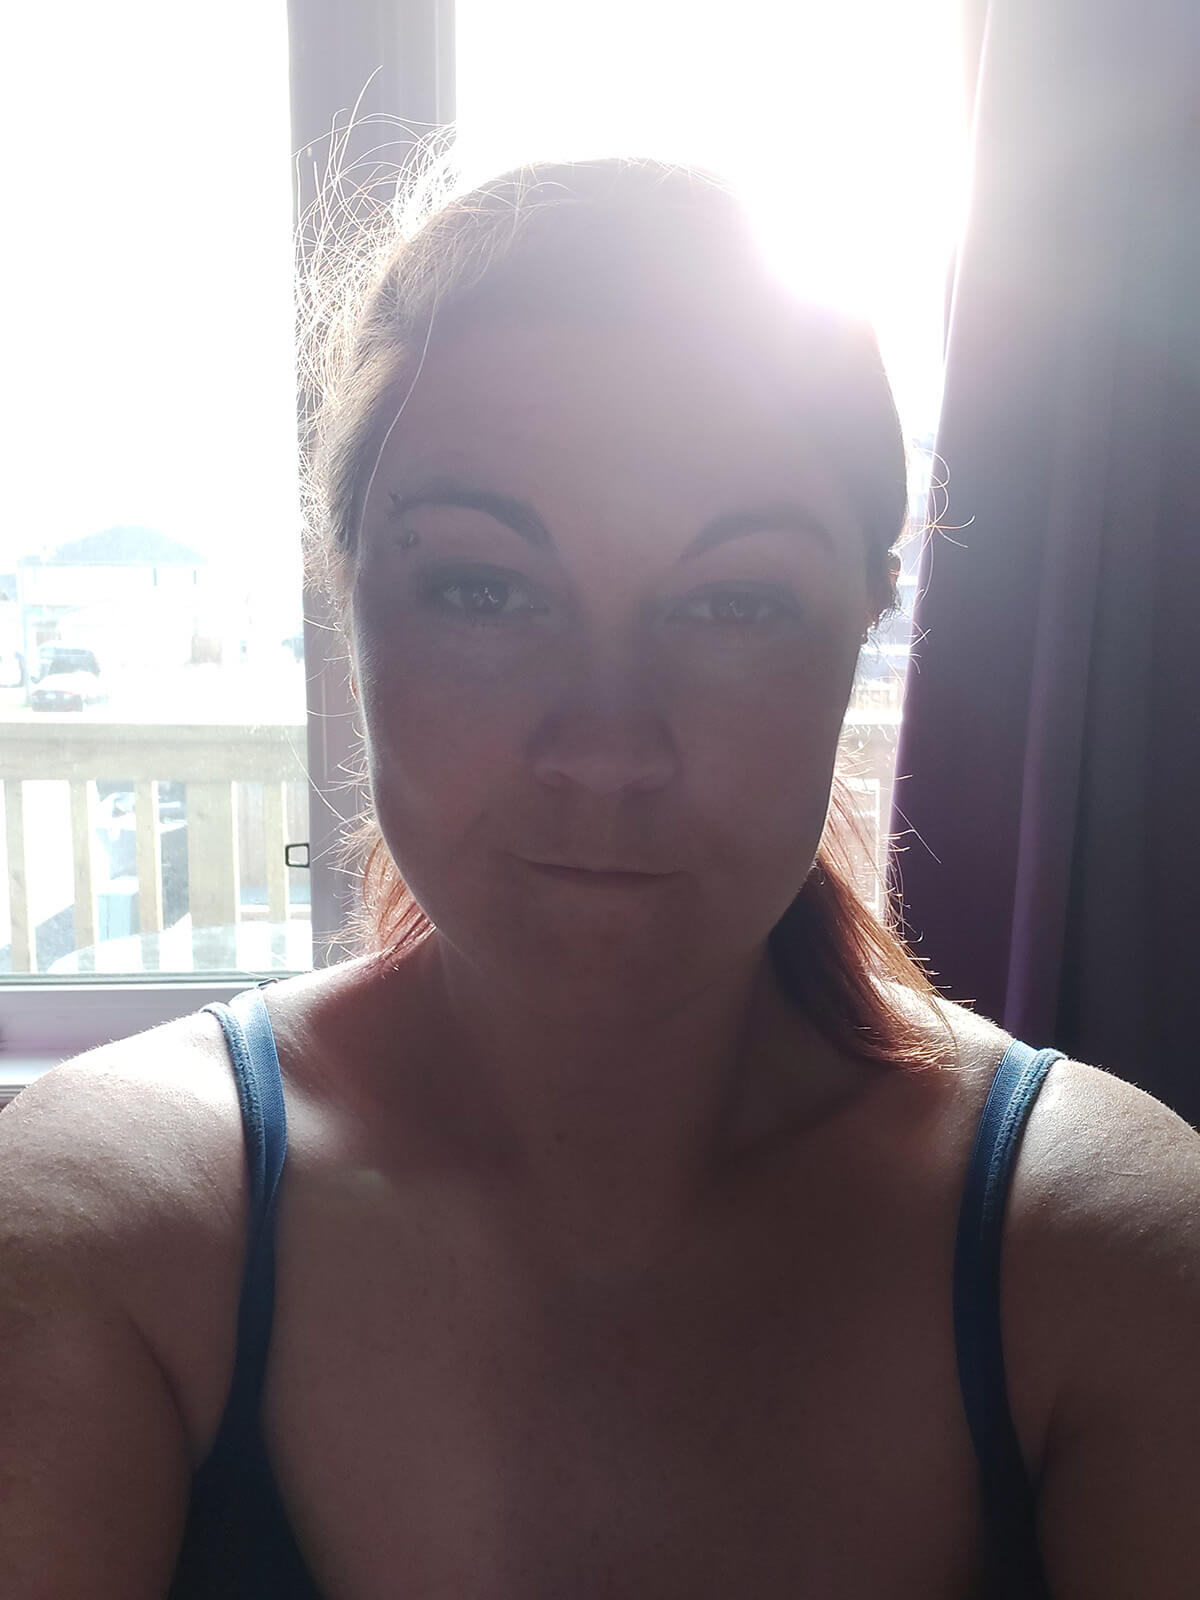
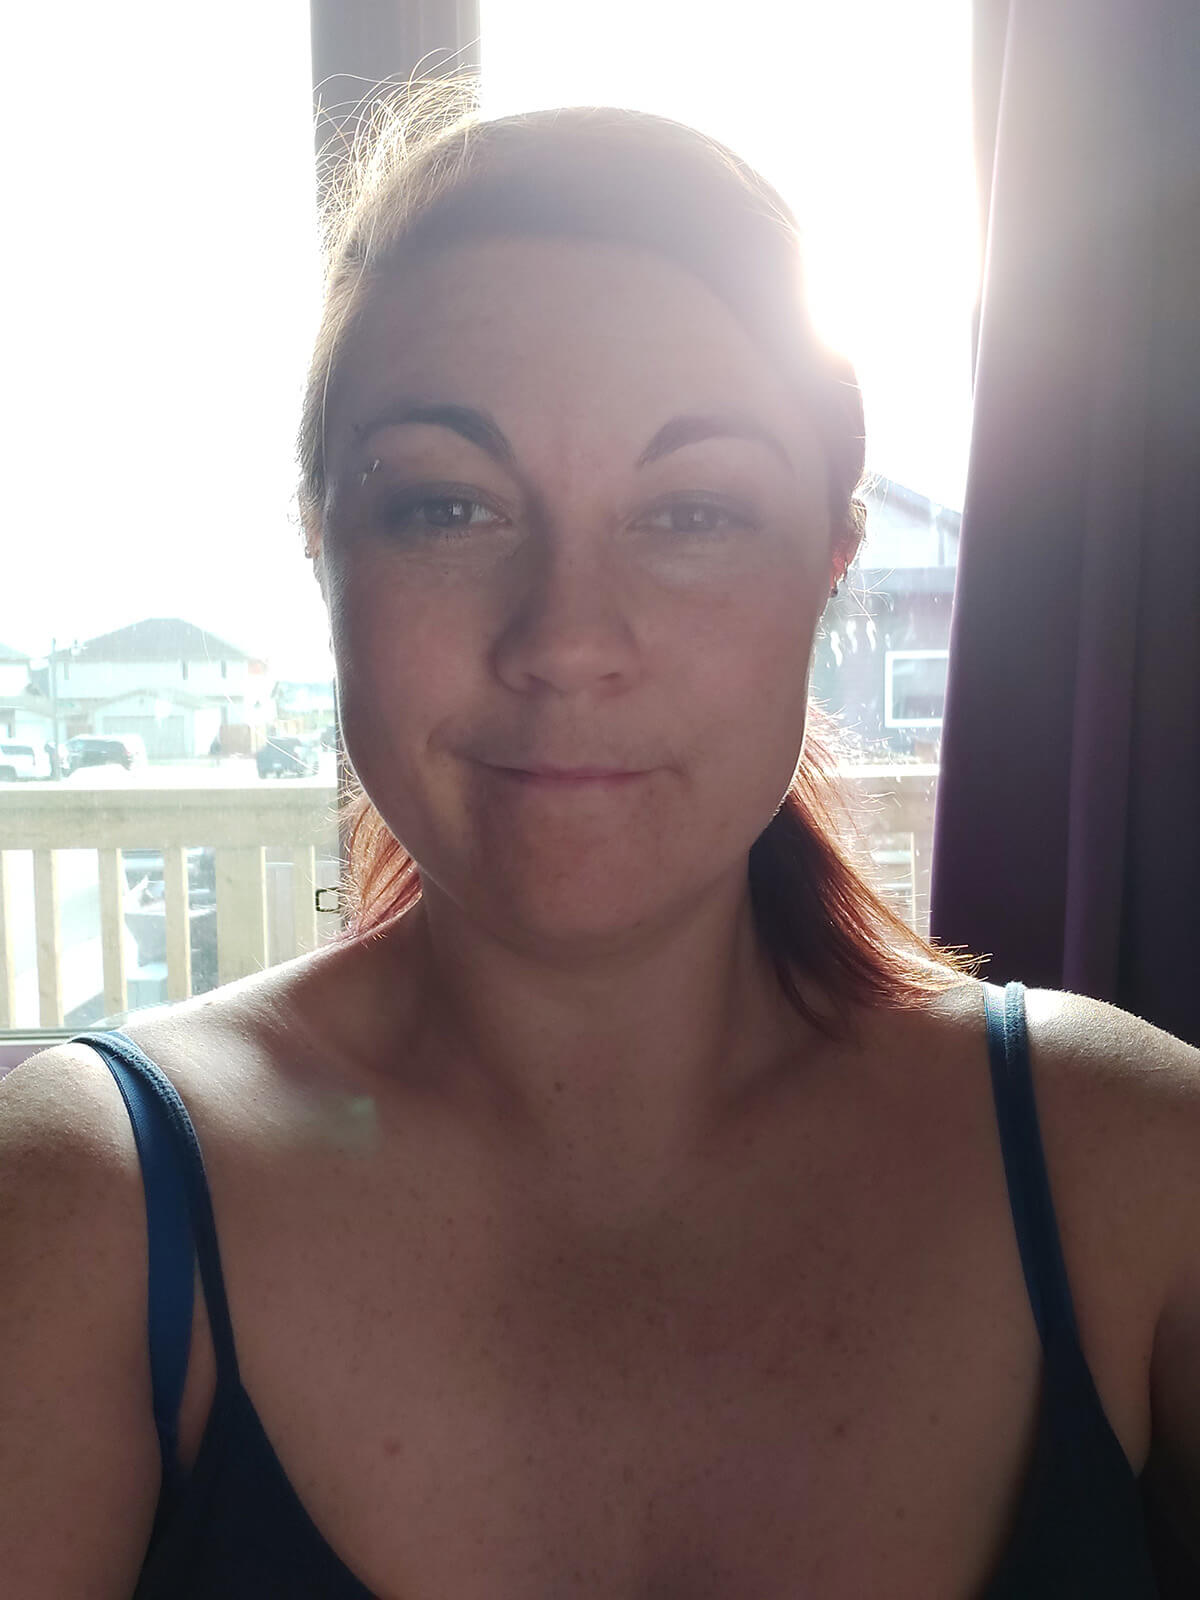
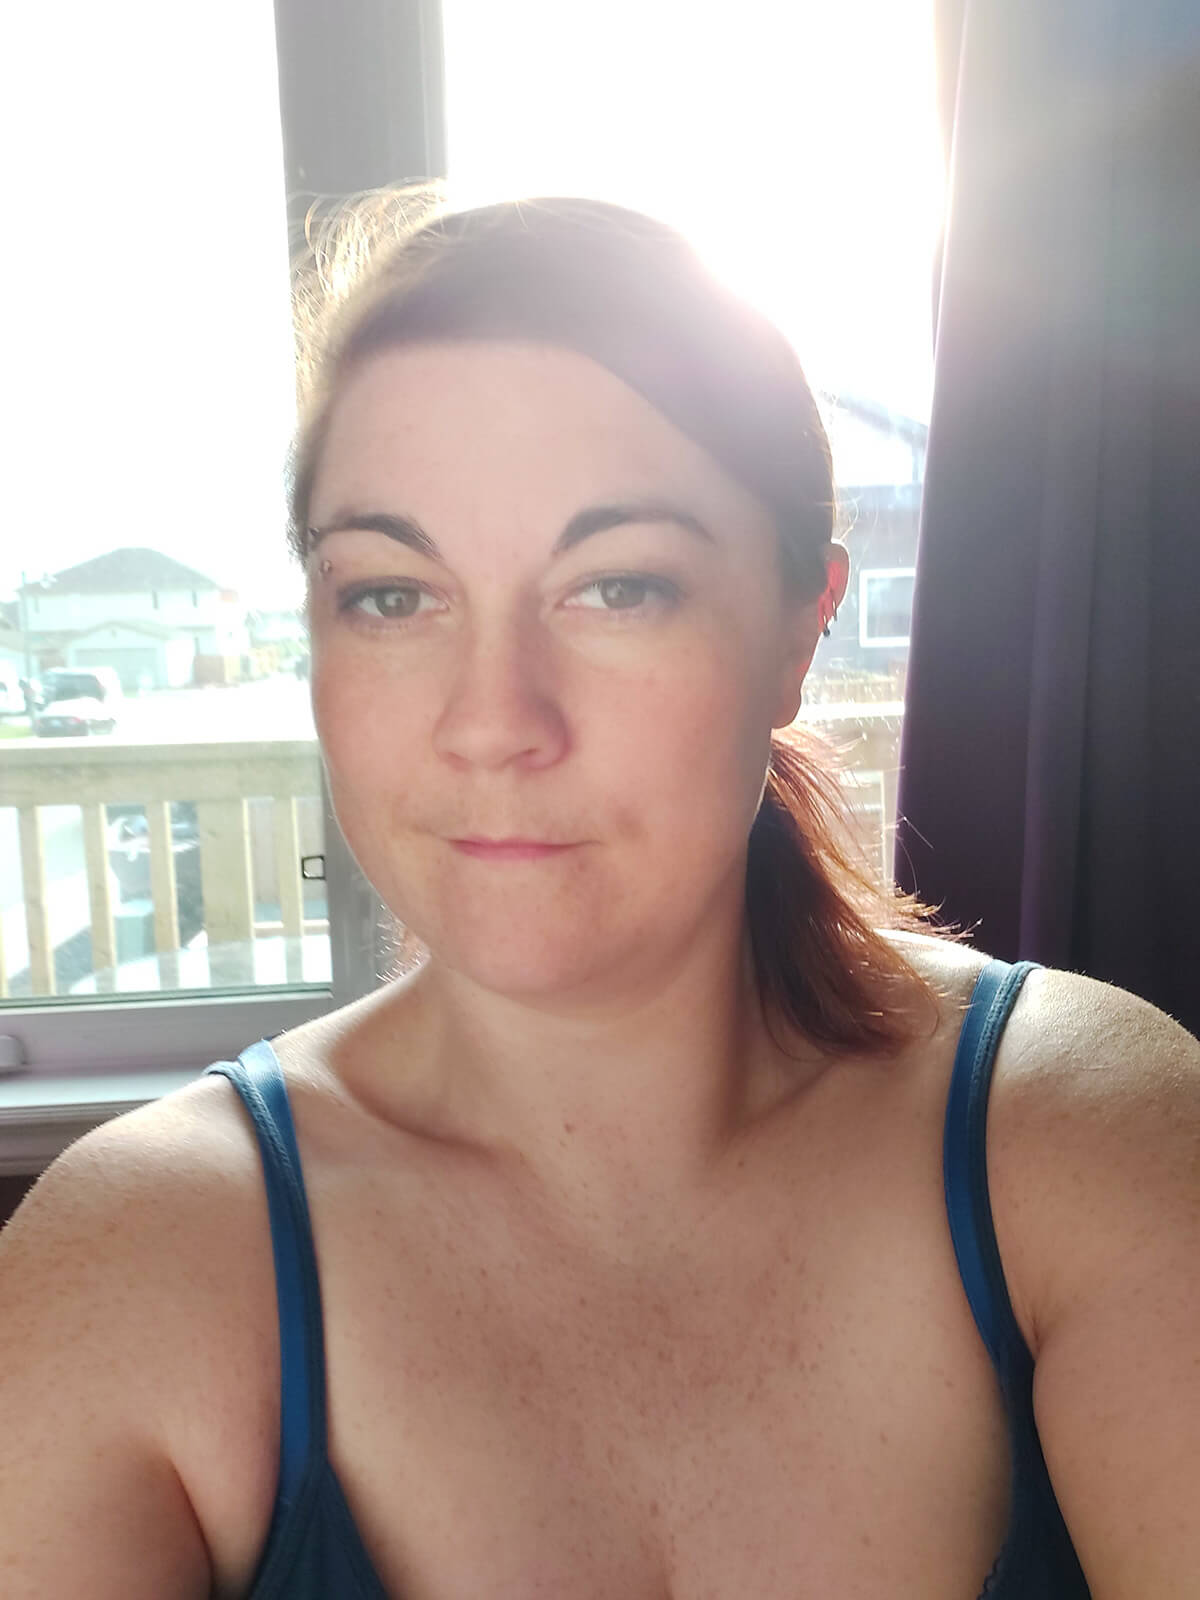
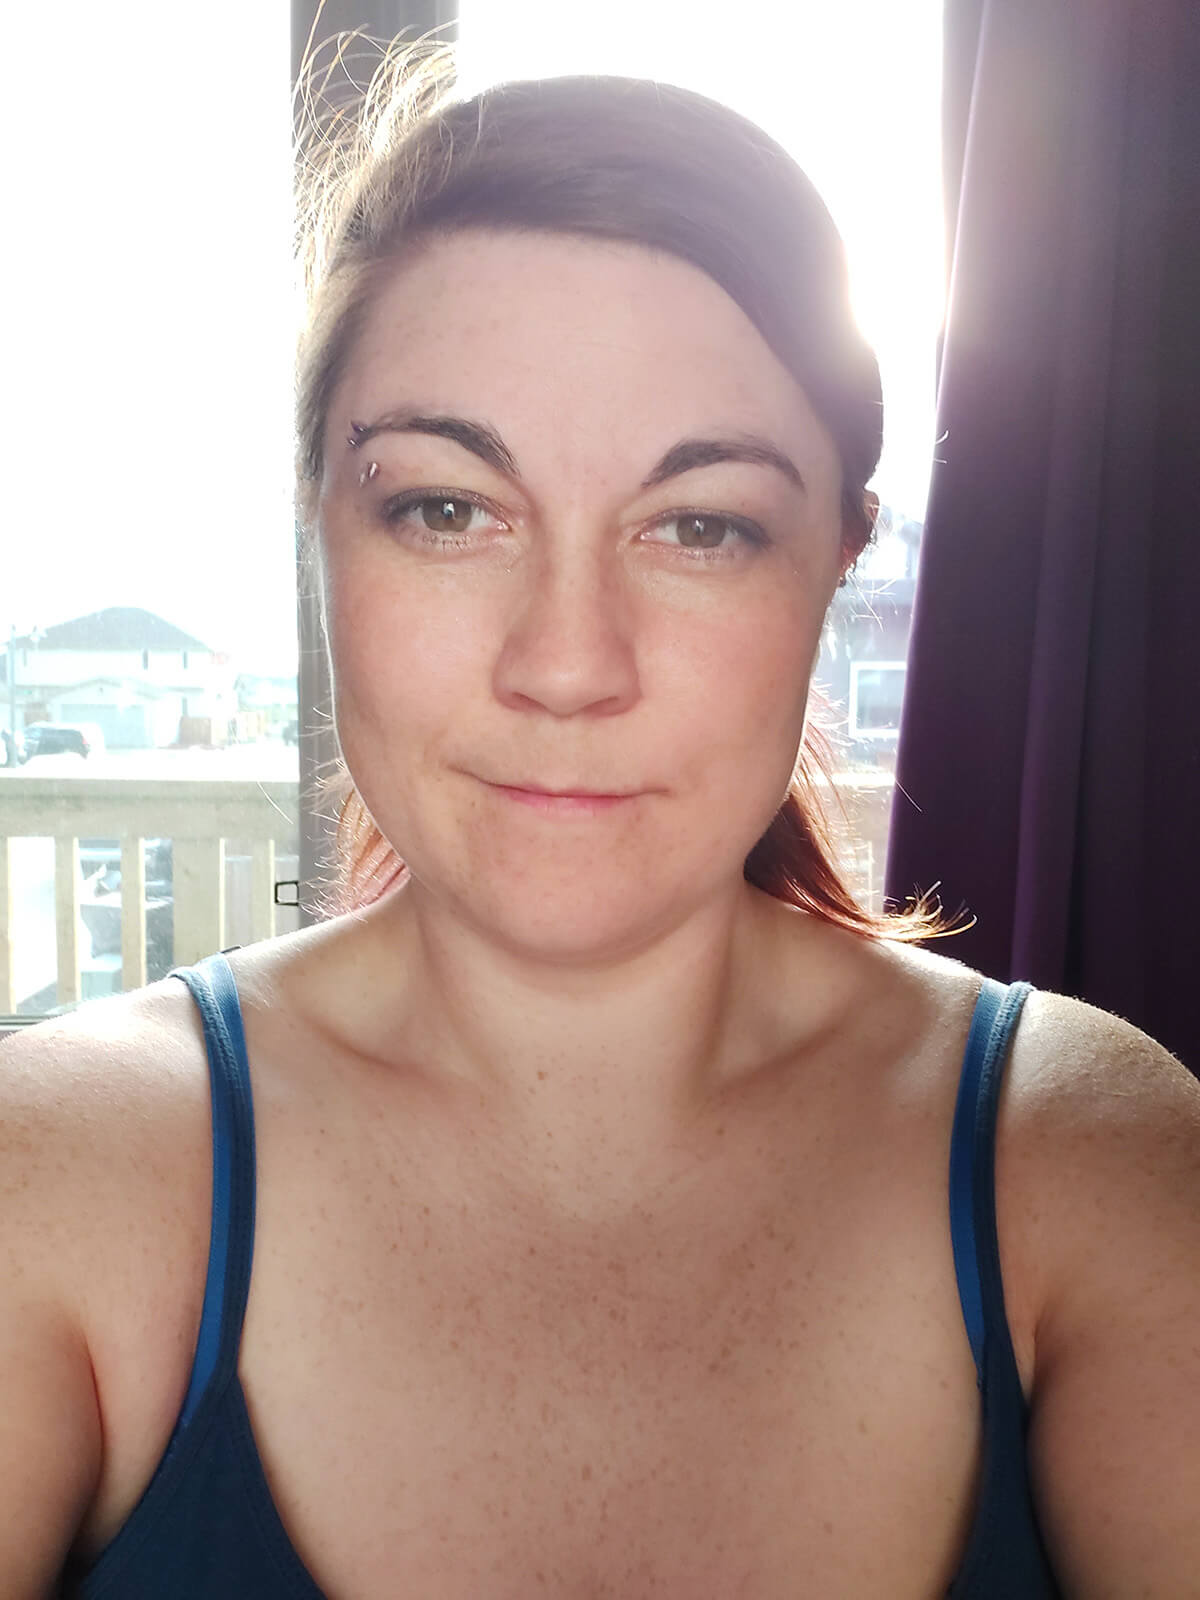
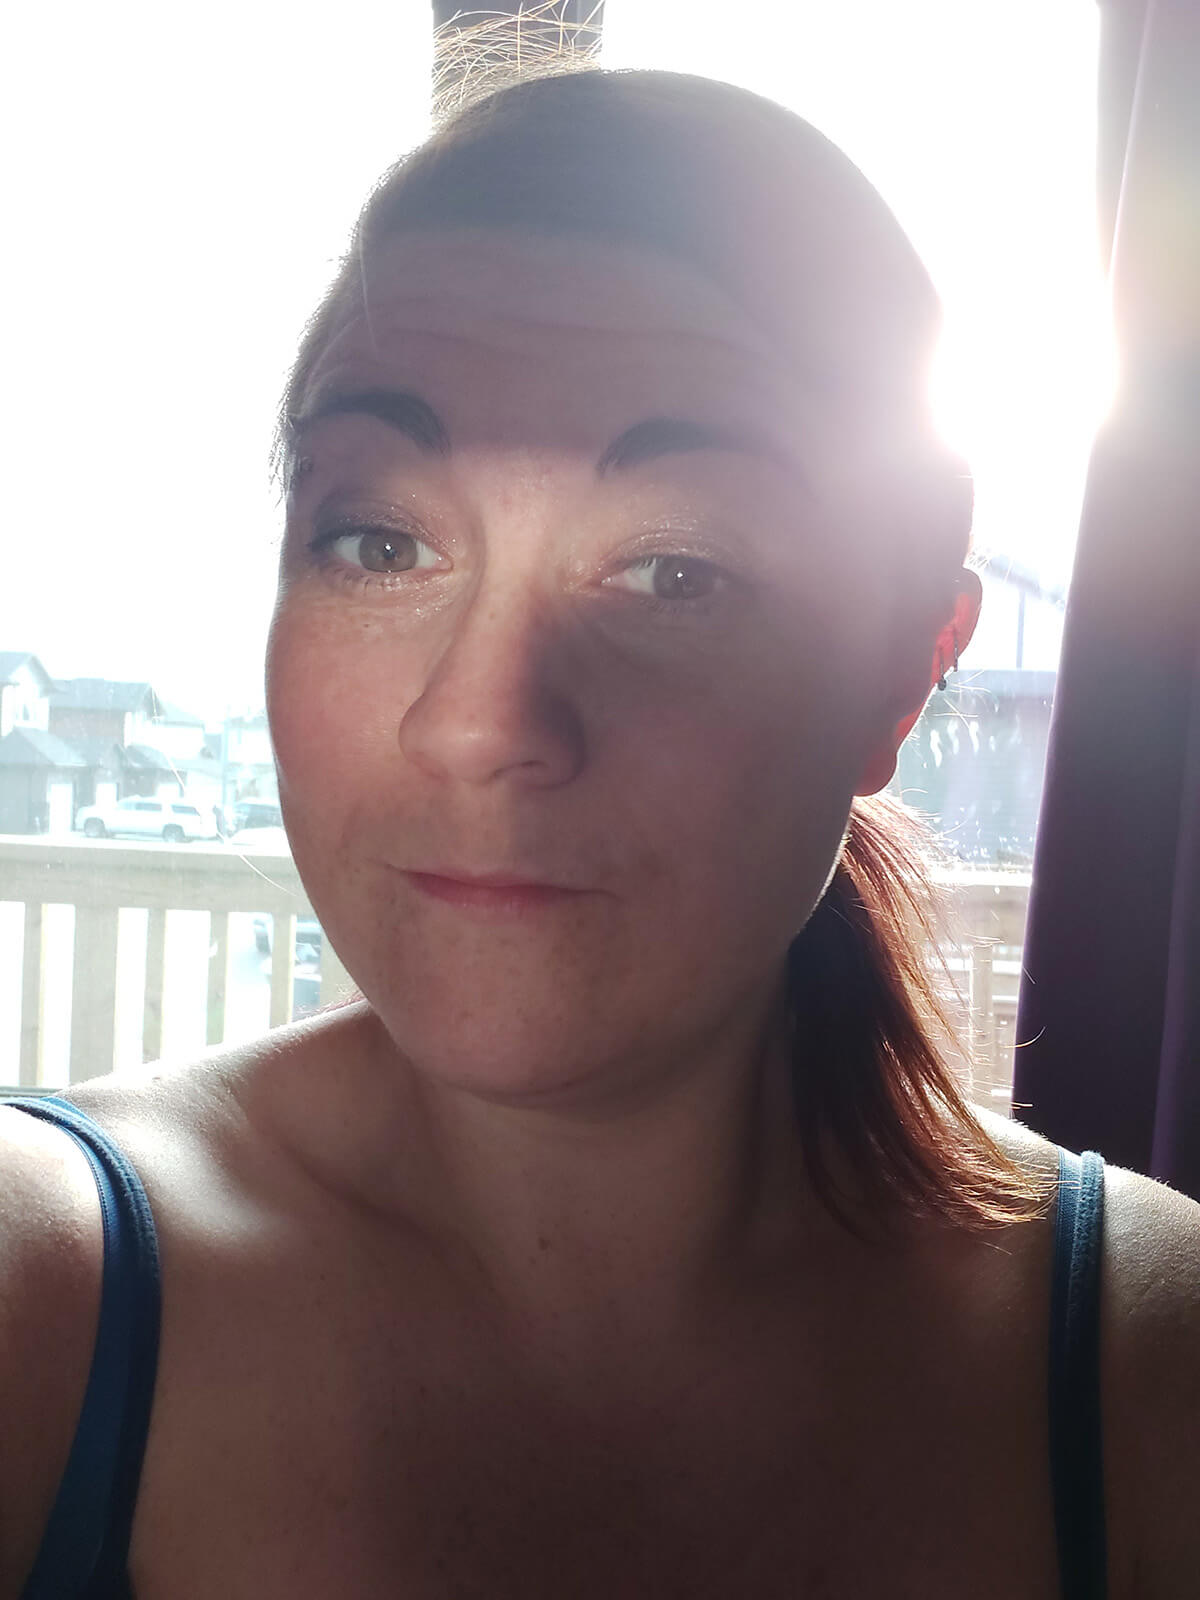
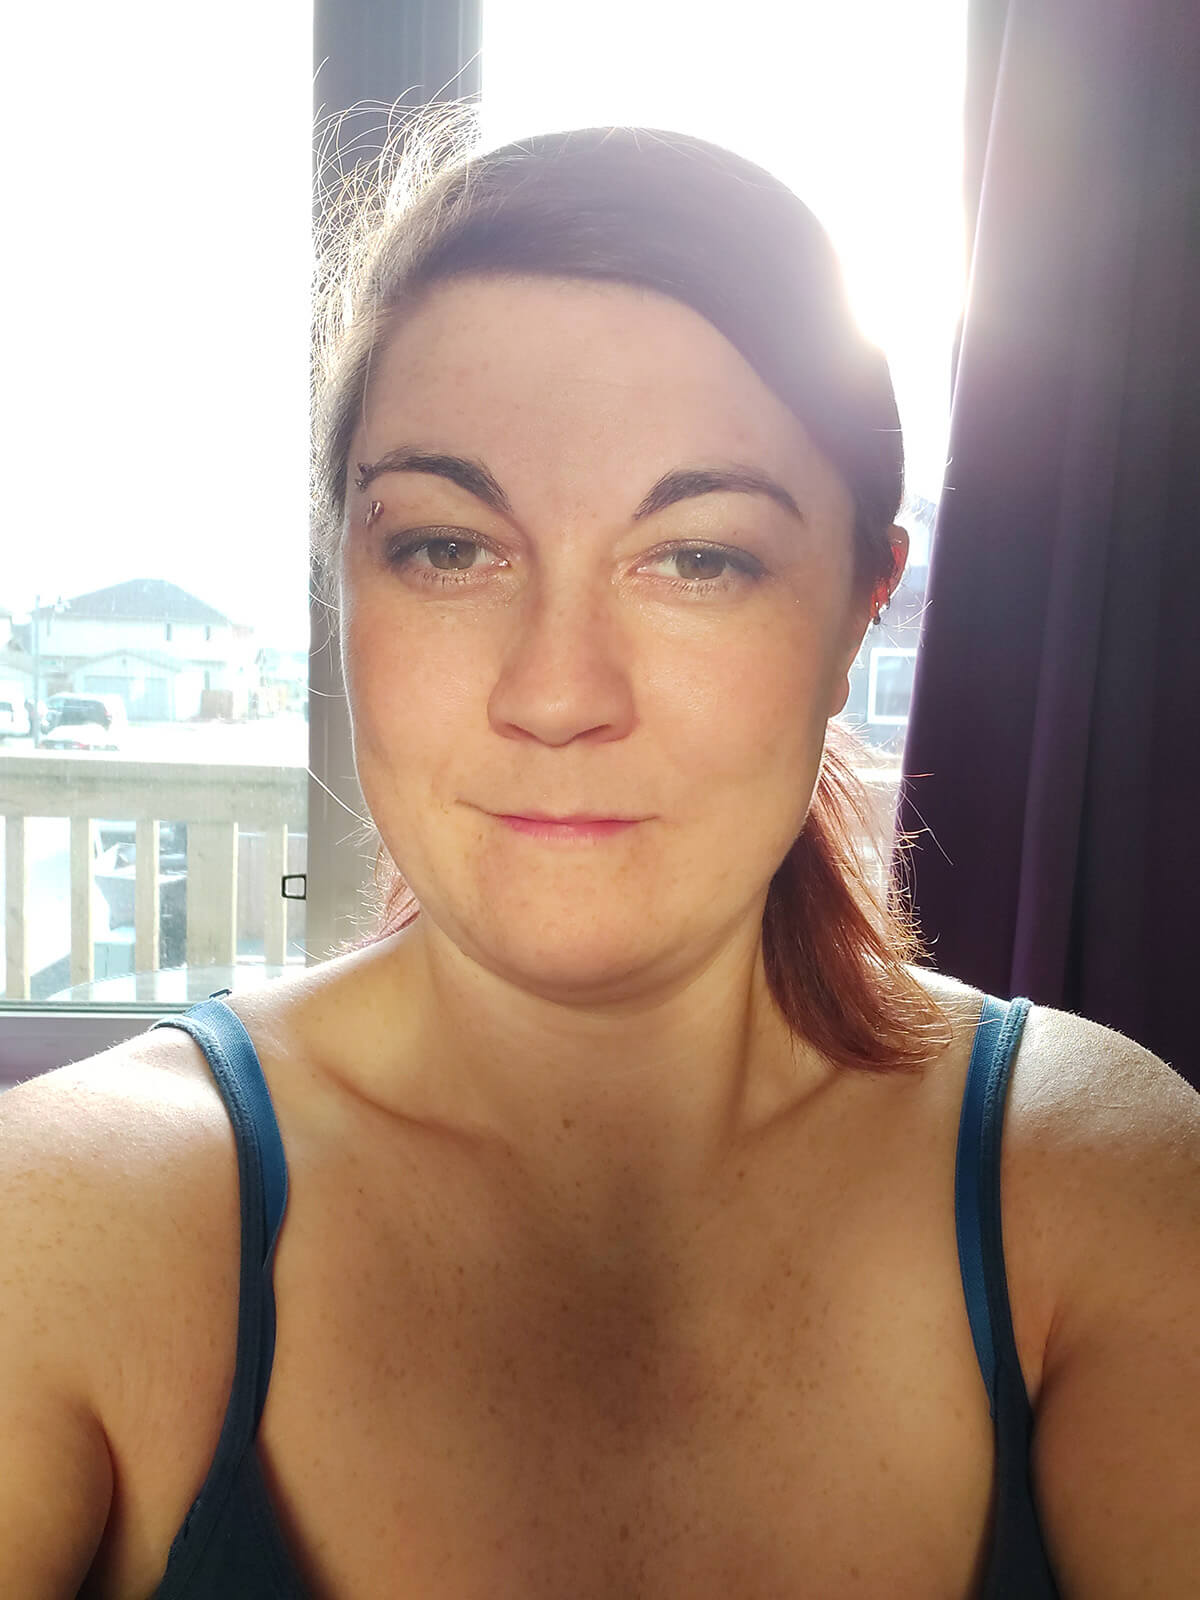
These images below were taken at 7 pm when it was close to sunset. You can see there is more sun flare behind me which also makes my face a lot darker. They’re displayed in the same order as the above: no reflector, white paper, white trifold, aluminum foil, mirror, gold.
Though I didn’t take an image with the white paper while backlit earlier in the day, I did take one later in the day which adequately demonstrates how absolutely inadequate the white paper was in a backlit situation. The large white trifold, though, did an excellent job of reflecting back on to my face. As did the aluminum foil reflector.
The mirror, on the other hand…was incredibly tricky to position to even get a little bit of light on to my face. Not my favorite reflector at all.
That gold reflector made me look too yellow (almost jaundiced!). The setting sun already casts a golden warm light, so there is no need to add more warmth to it by using a gold reflector.
The spread of the light in these images was better than earlier in the day which is due to the fact that the sun was lower to the horizon and therefore the light was hitting the reflector in a more perpendicular direction than it had been earlier in the day. *SCIENCE!*
Enlarging Your Reflectors
All of the reflectors I’ve used for these images were (mostly) small to medium size and needed to be held by hand in a position I wanted them in. If you would rather be hands-free with your selfies, then you’ll need to figure out a way to have your reflector be hands-free. That also holds true of your phone, too. Or maybe you just want to light your whole body for a more full body shot.
You can enlarge your reflectors. White sheets make excellent reflectors and could be pinned to walls. You could also make a large cardboard aluminum or gold foil reflector that could lean or be propped on something.
The bigger the reflector the bigger the light spread!
There is a disadvantage to making your reflectors bigger, though, and that is that they do become harder to store! If you’re not concerned about the space, then go for it!
There are other options for reflectors that are easier to store, but they do cost more. Keep reading to find out more.
Professionally Made Light Reflectors
Professionally made light reflectors bear mentioning. You can get professional grade light reflectors if that’s what you prefer.
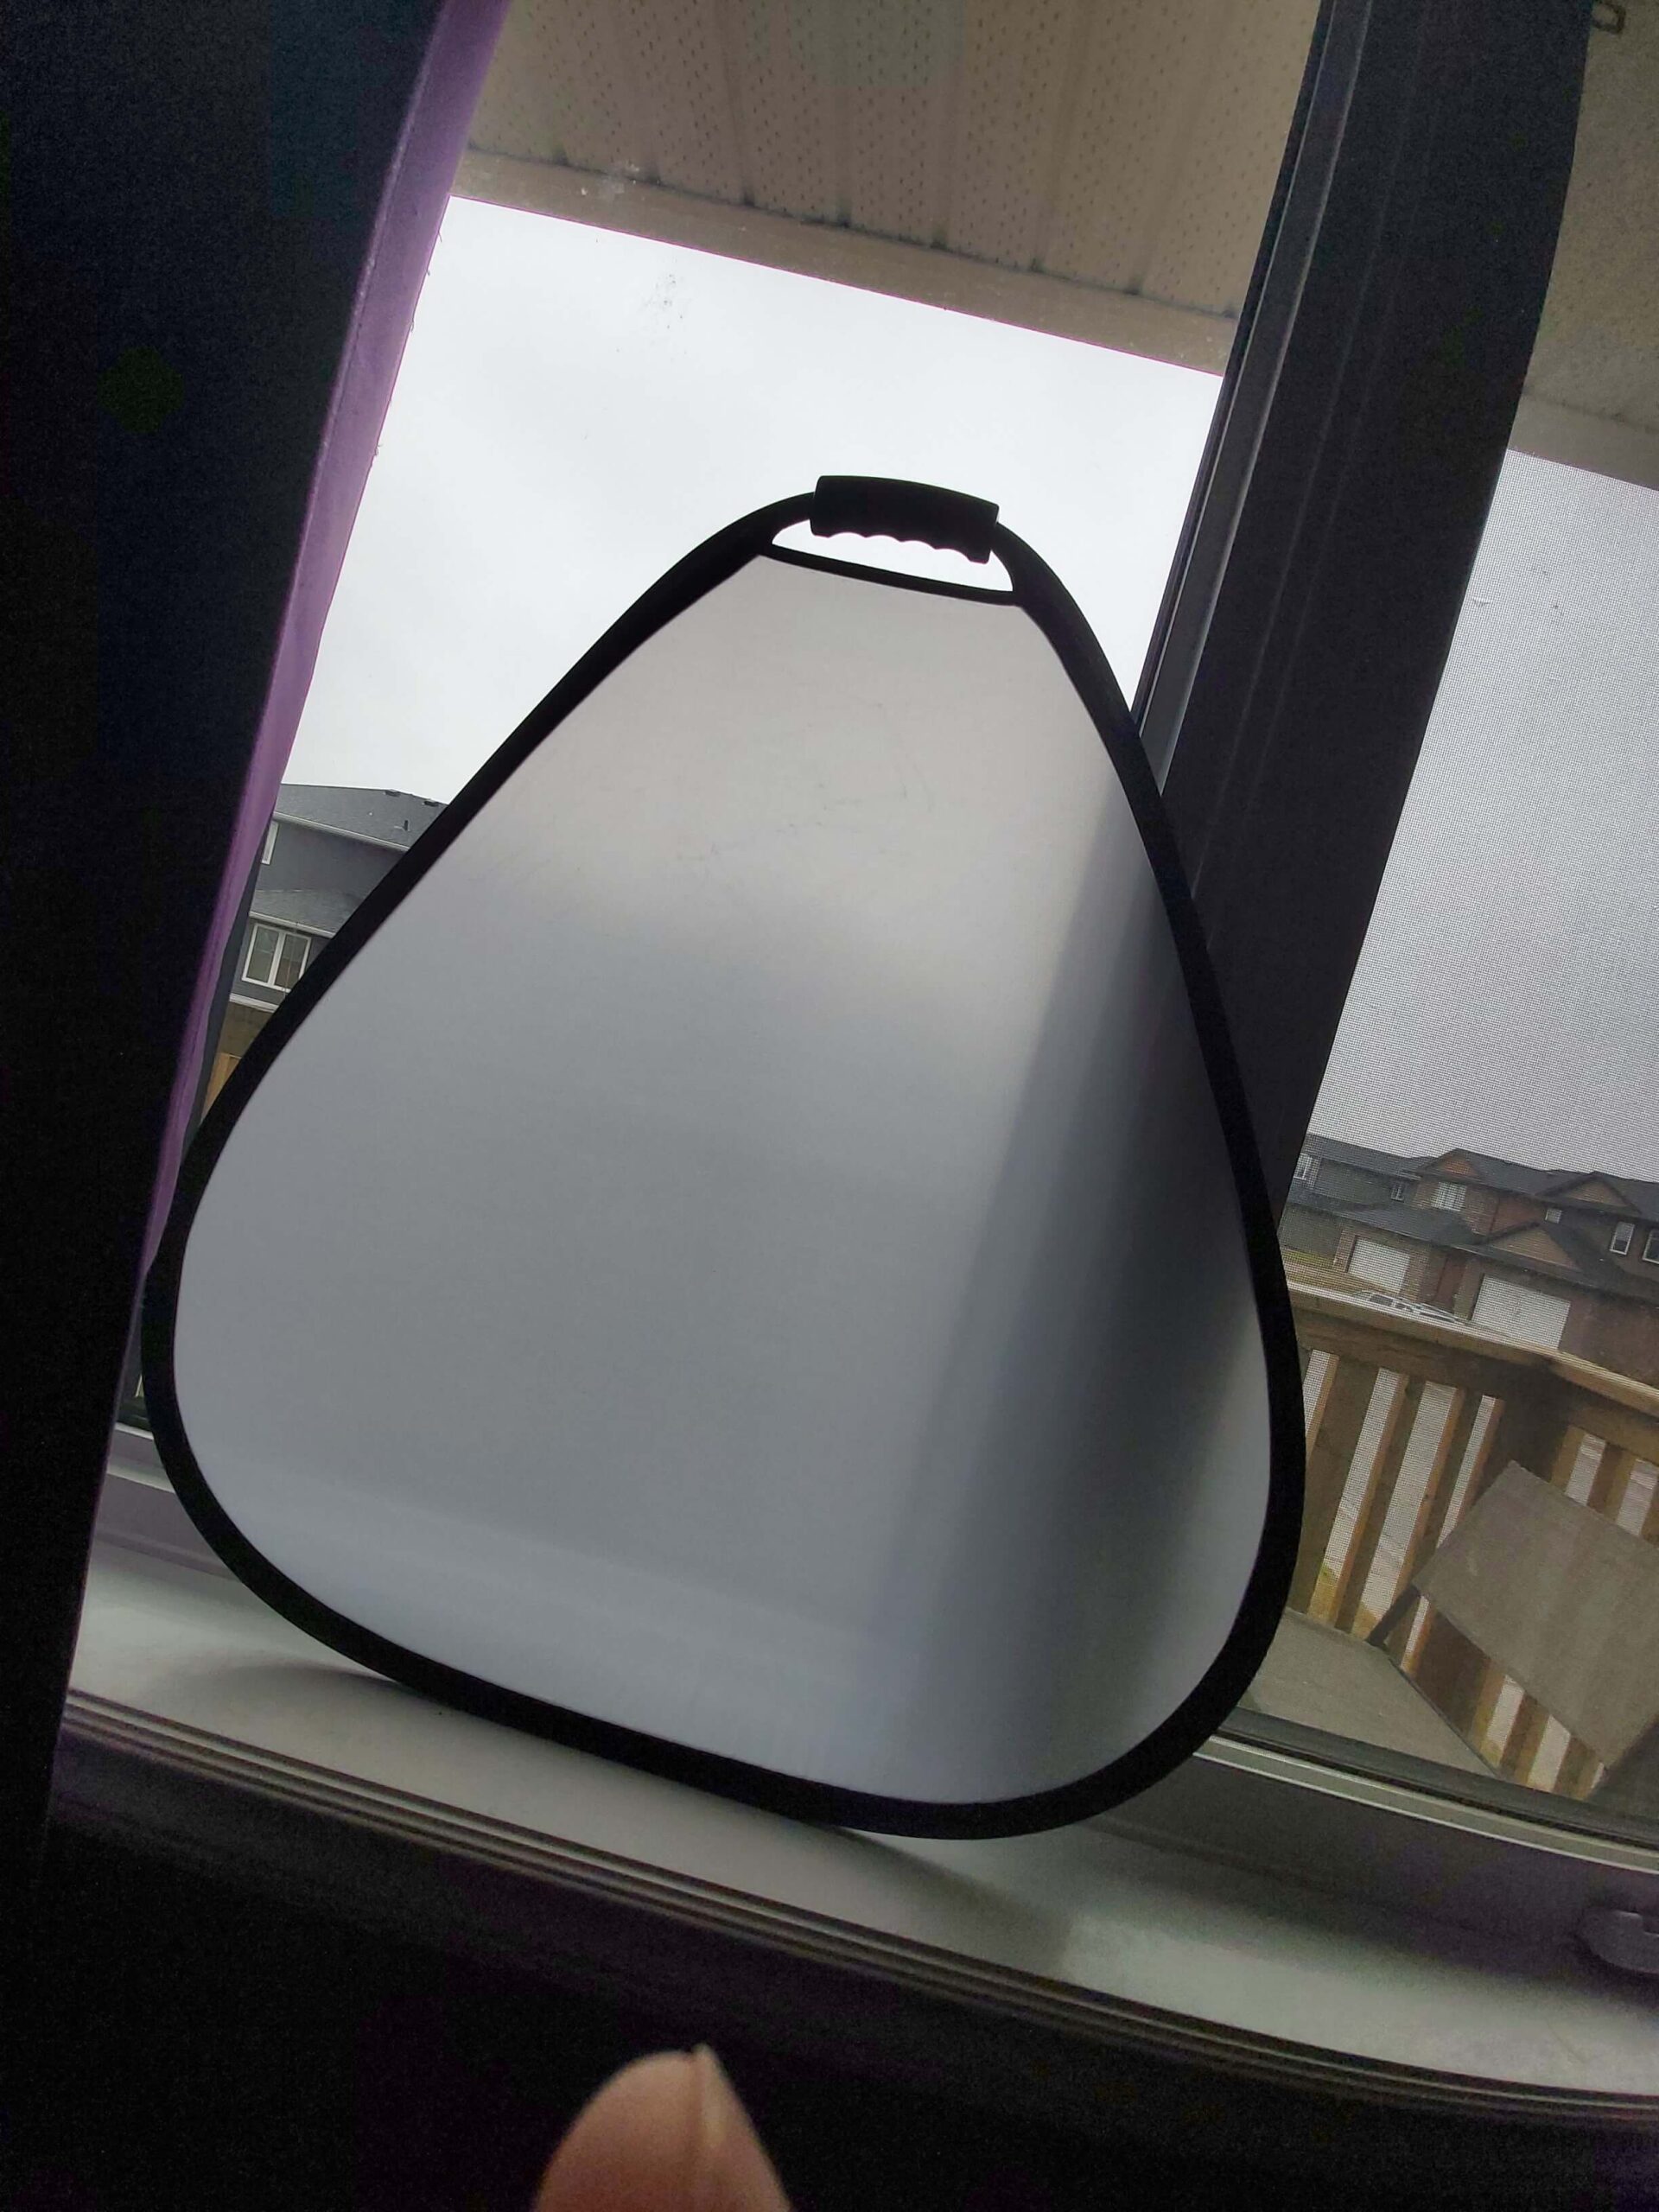
Recently, I purchased this Selens 5-in-1 Triangle Light Reflector.
The cost was only $23 before shipping and it has 5 different functions. There’s a silver side, a white side, and a gold side – all of which I have referenced here. But it also contains a white scrim – a semi-transparent layer – in the frame, and a black deflector – which is useful for absorbing light and deepening shadows.
Advantages of this item are that it is collapsible for easy storage whereas your homemade versions may not be. It also has a handle on it to be able to hold on to it easily.
The disadvantage to the item is that, in order to change the type of reflector you want, you have to peel the reflective sleeve off, flip it inside out to the one you want, then slide it back on the frame and rezip it. It can be somewhat inconvenient.
Worth considering, though!
Selfie Lighting
The link provided above is not an affiliate link. If you choose to go and buy using that link, I will make no money in your doing so. I ain’t got no skin in that game.
The scrim within the setup is useful for diffusing your light even further! Simply setting it between you and your light source will soften it even further than the clouds have already.
This selfie was taken facing the window with the scrim sitting on the window frame.
You could achieve something similar to this and on a grander scale using sheer curtains on your window or a slightly see-through white sheet over the window.
This is a smaller reflector that is mostly good for lighting a smaller area of one individual. Collapsible reflectors in much larger sizes do exist. You can probably purchase a prop stand for them, too. Bigger reflectors come with a bigger price tag.
*********
There you have it! Installment #1 of my selfie lighting series! I hope you find these tips useful and has encouraged you to not break the bank to improve your selfies!
Keep your eyes peeled for the next installment in the series! Installments will include indoor and outdoor lighting on a bright non-cloudy day, outdoor lighting on an overcast day, and use of artificial lights!
If you like this post, you might also like this other related content:
Is there something you’d like to see me write about? Something I missed? Please comment below or contact me here!
I invite you to Contact me using the information on my Contact Page.
Don’t be afraid to reach out! I don’t bite.
Promise 😉
