Elevate Your Boudoir Shoot: DIY Hair Styling with a Flat Iron and Expert Tips
You’re looking for hair and makeup ideas in the pursuit of capturing your inner beauty during a boudoir shoot. I understand that every detail counts, including your hair (see this blog I wrote about why you need hair and makeup for your boudoir shoot if you’re not convinced). I’ve teamed up with the talented Nathalie Crosby, a valued member of the BLNDE Beauty Bar by Revamp staff, to bring you a video tutorial on how to create a loose, wavy look (a standard look for a boudoir shoot) for those with medium to long hair which uses only a flat iron (something most people possess but also isn’t that hard to get; I’ve made recommendations on what I use and will give Nathalies recommendation also).
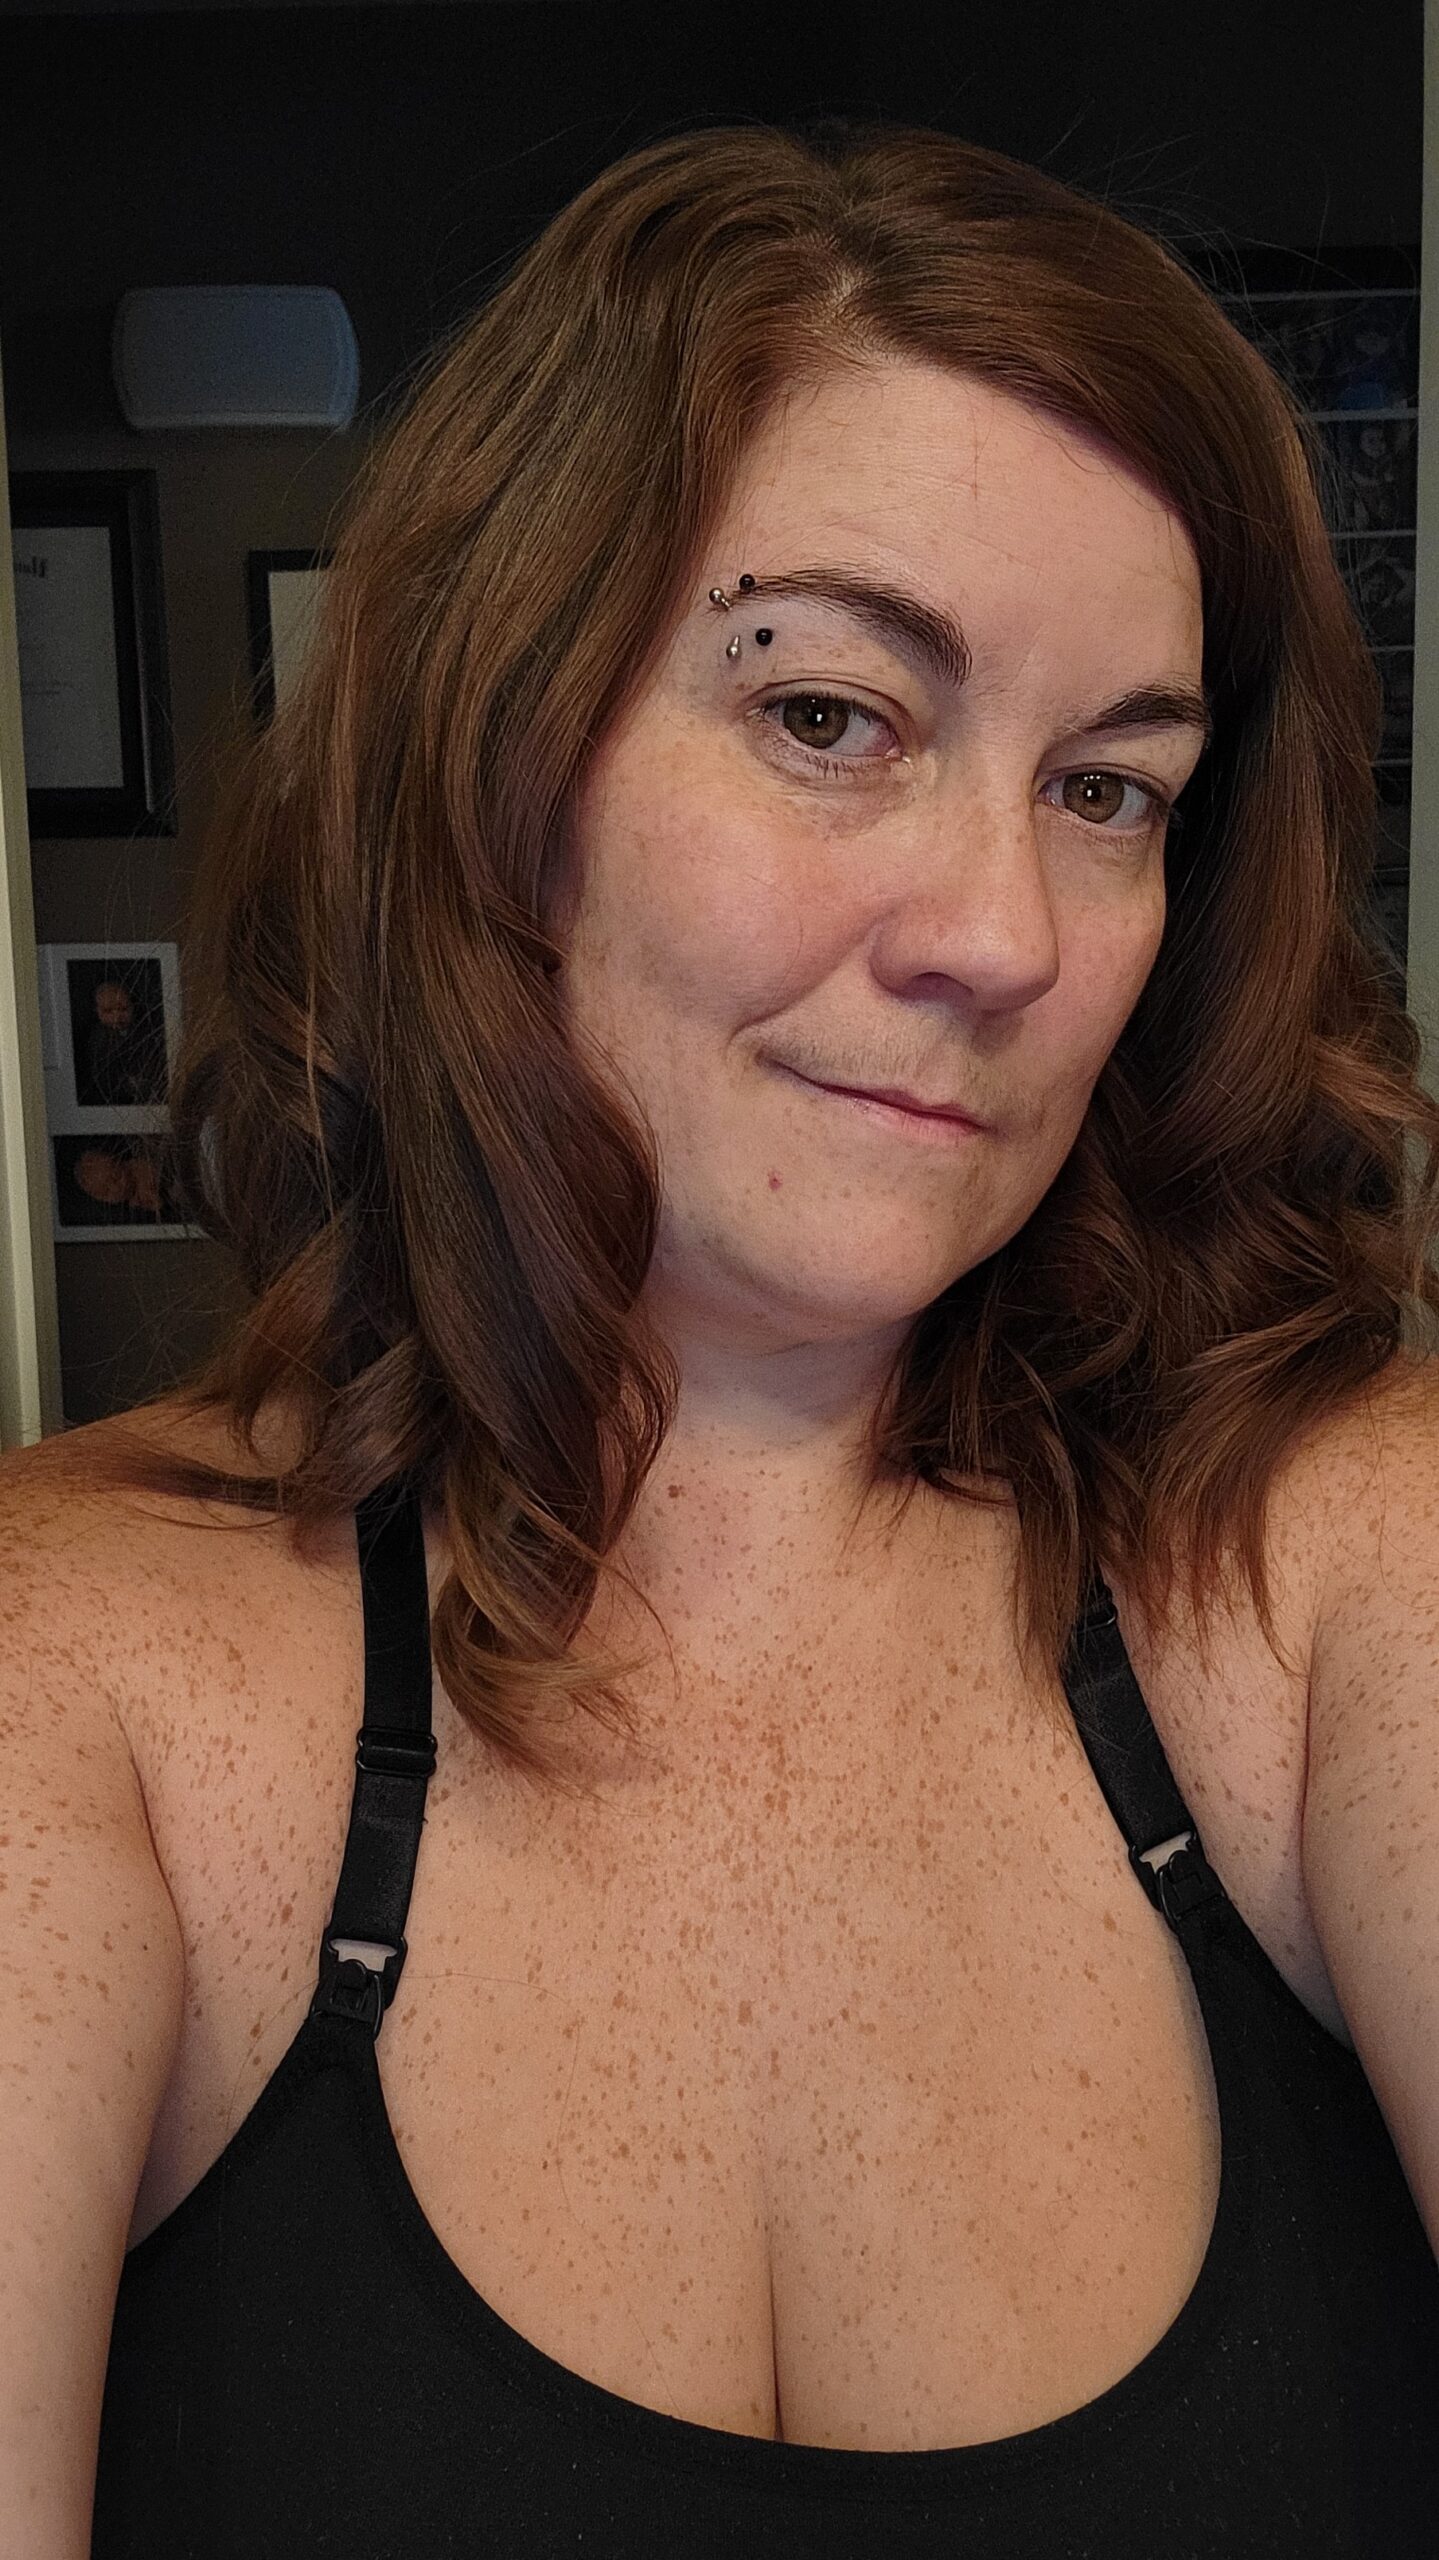
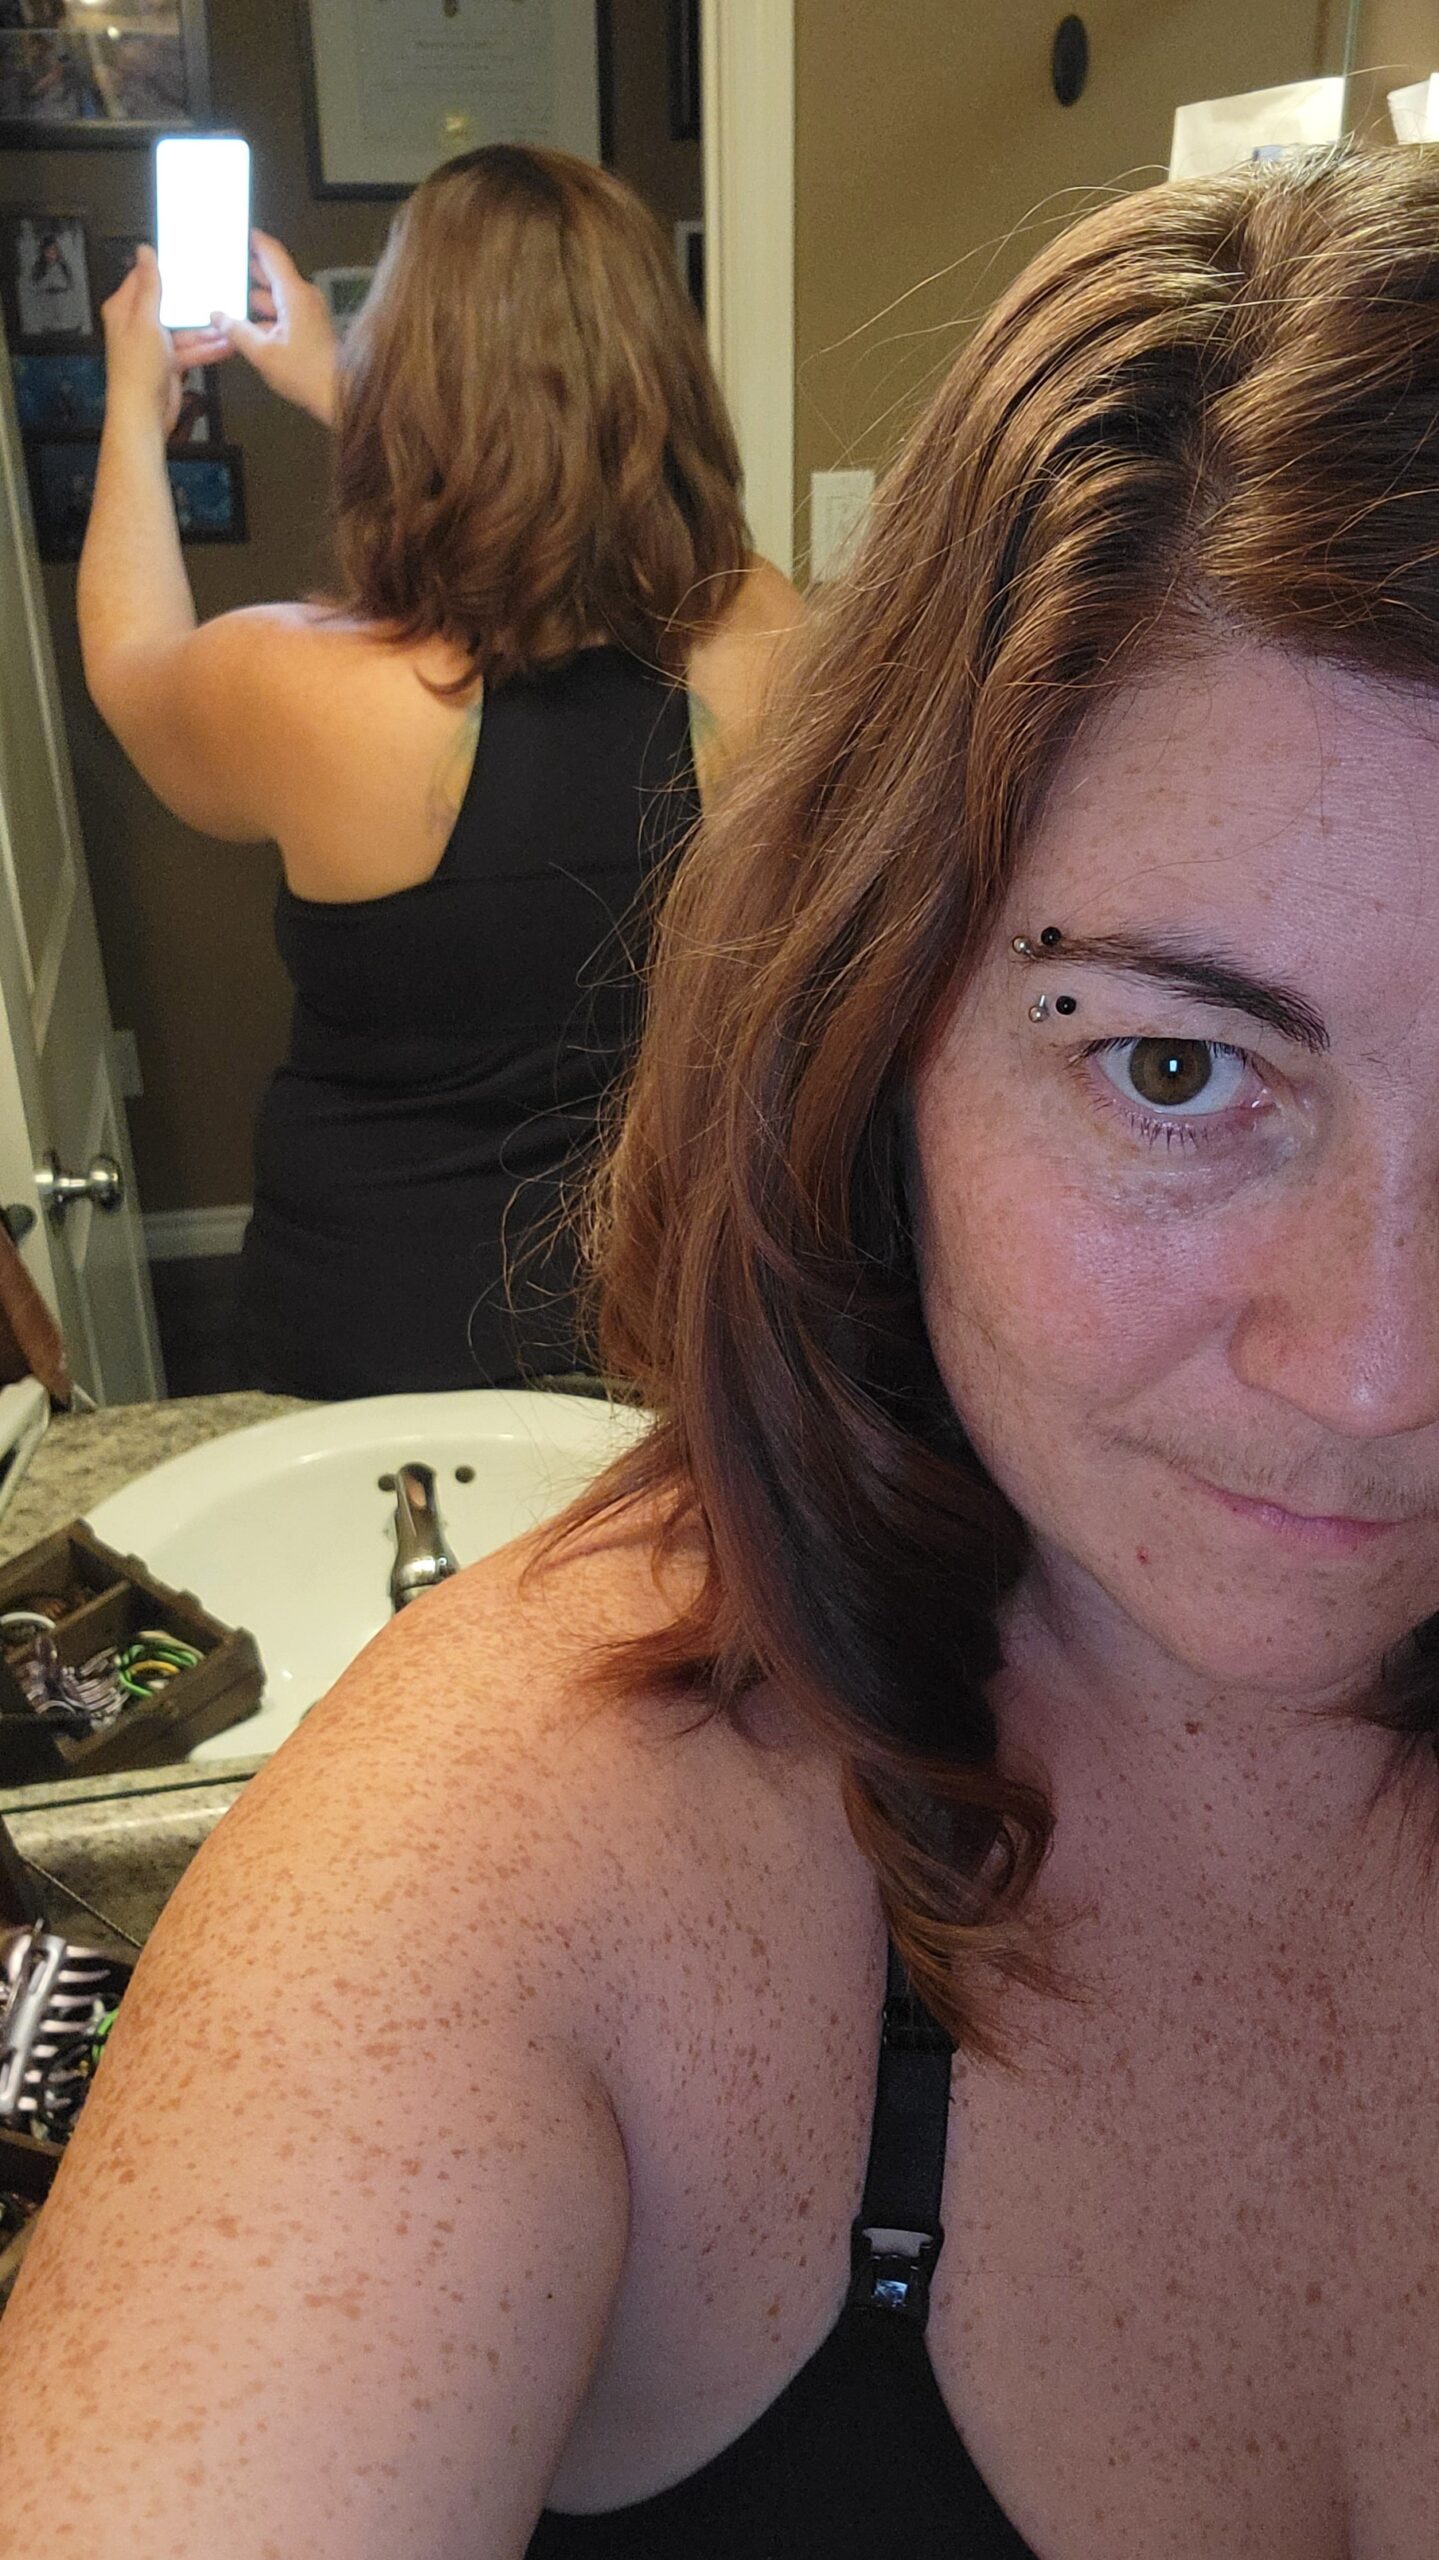
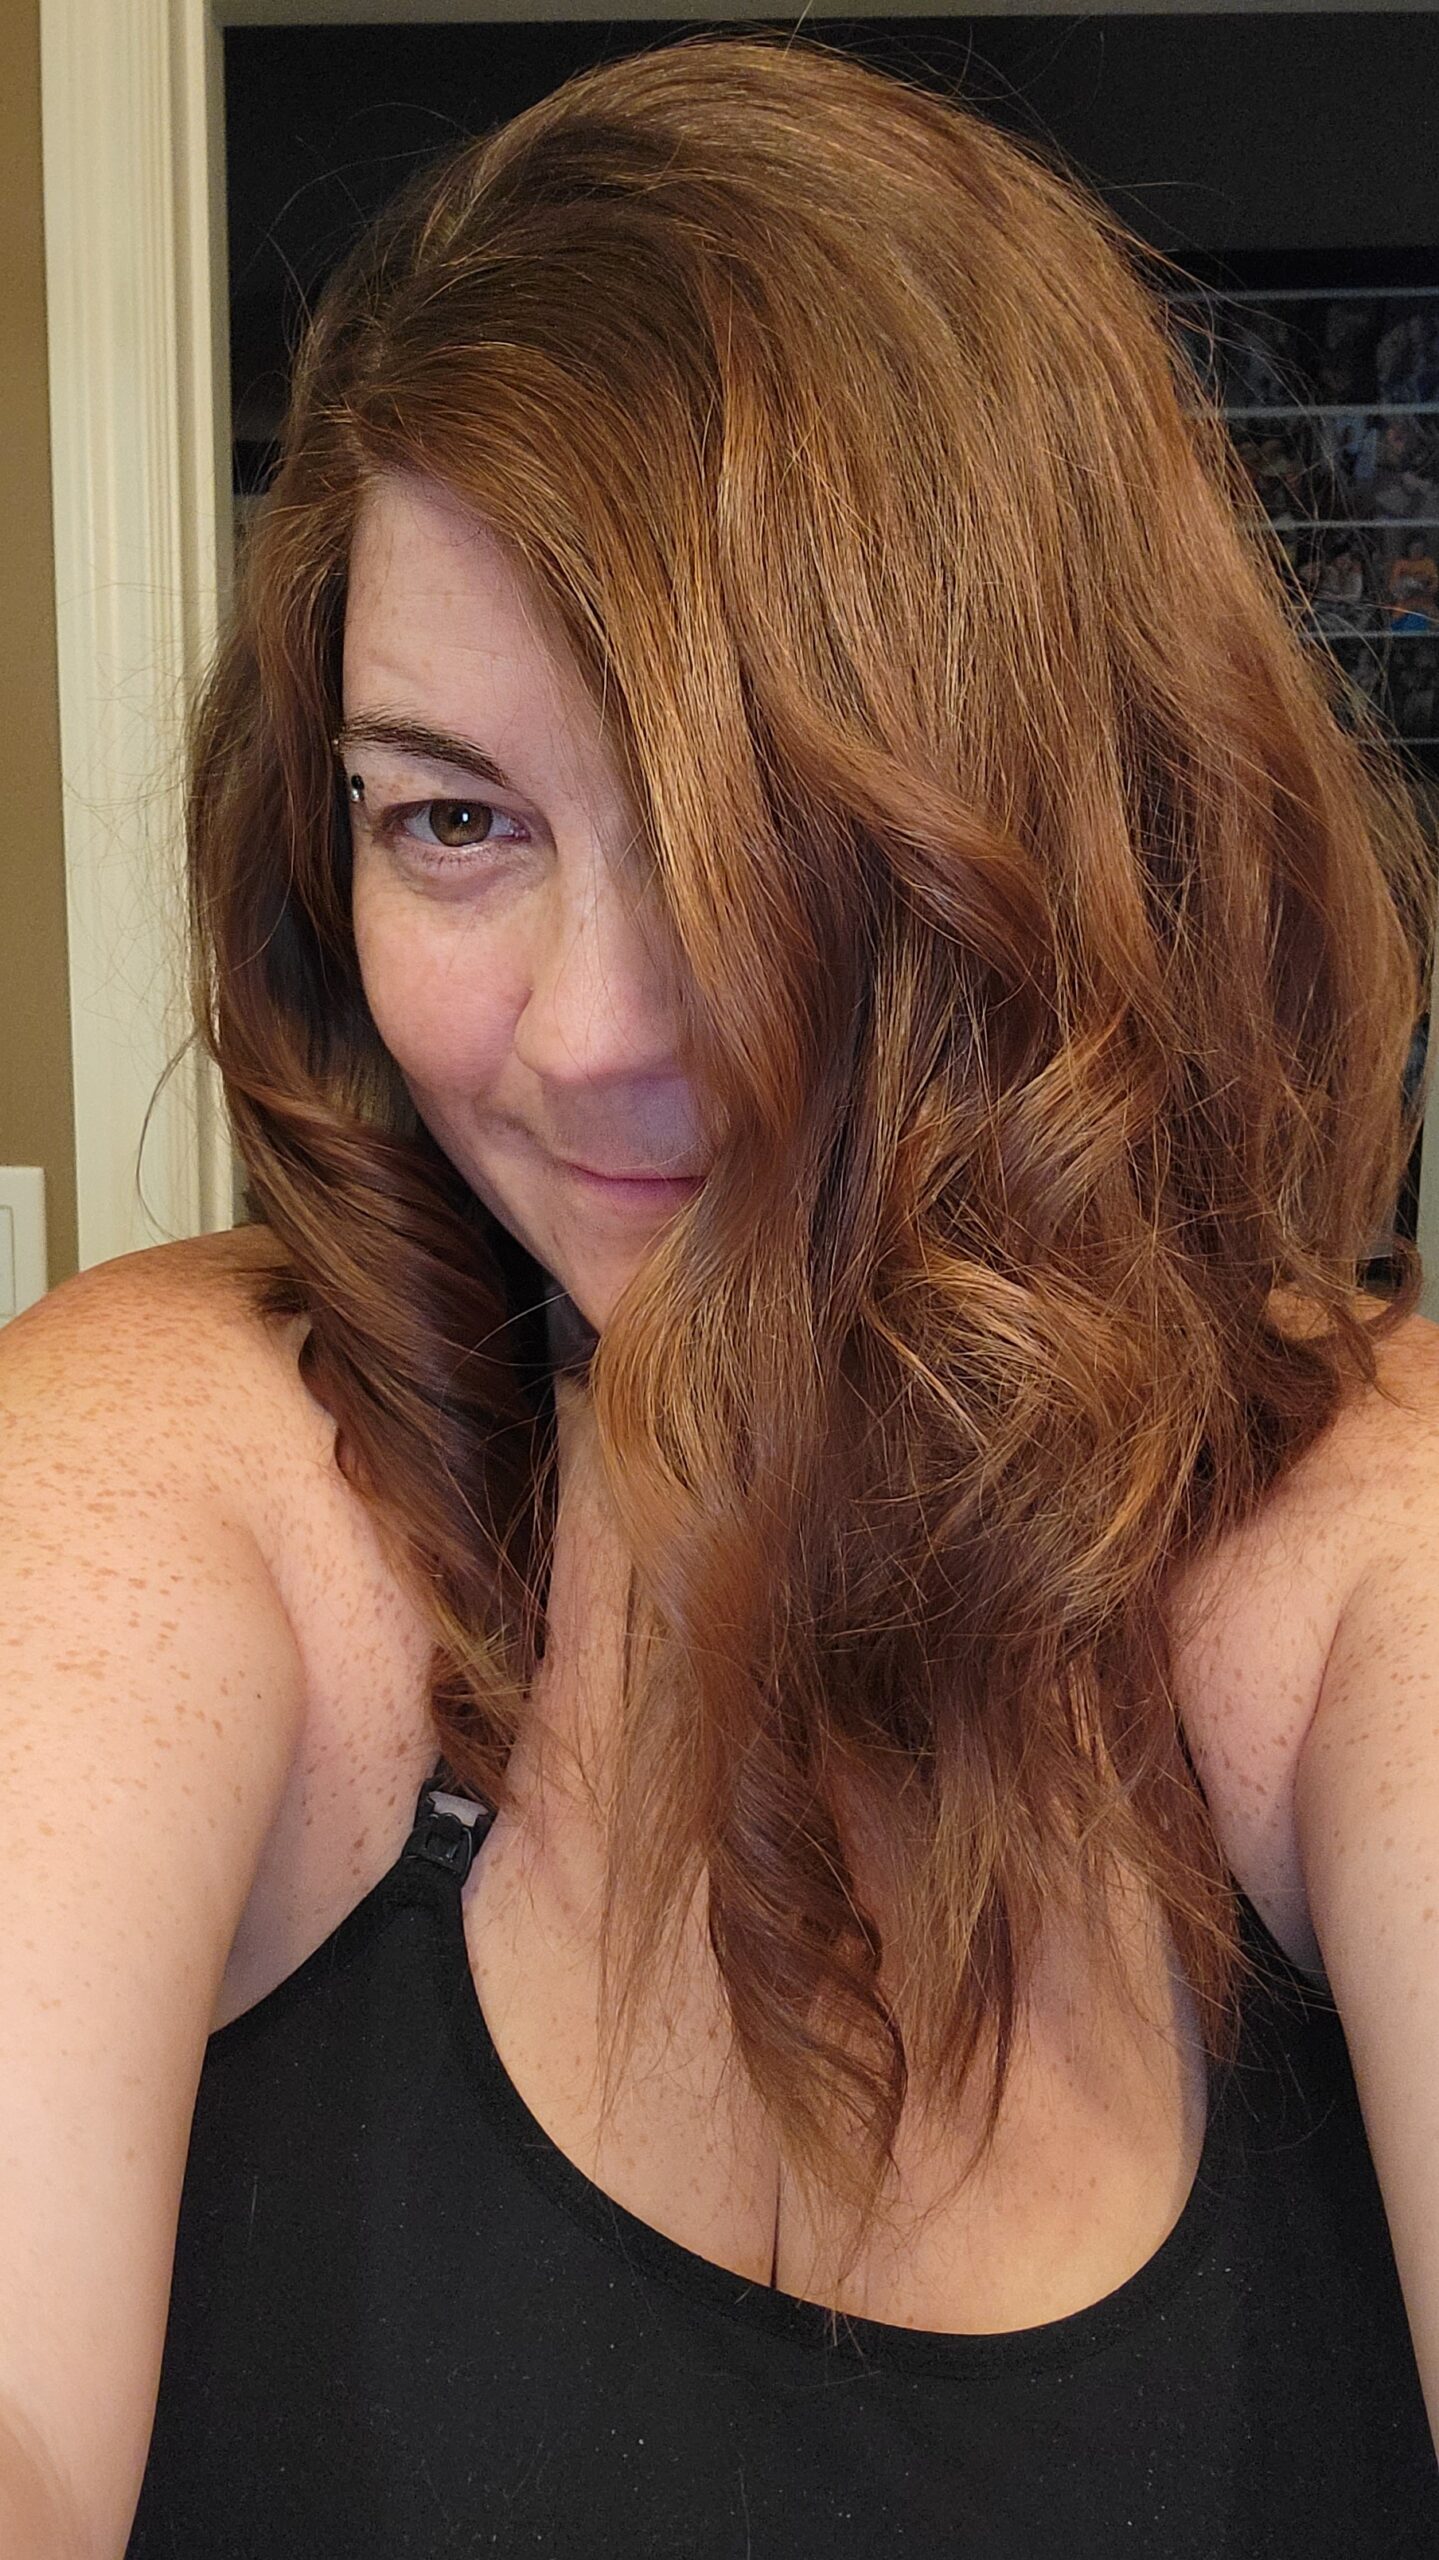
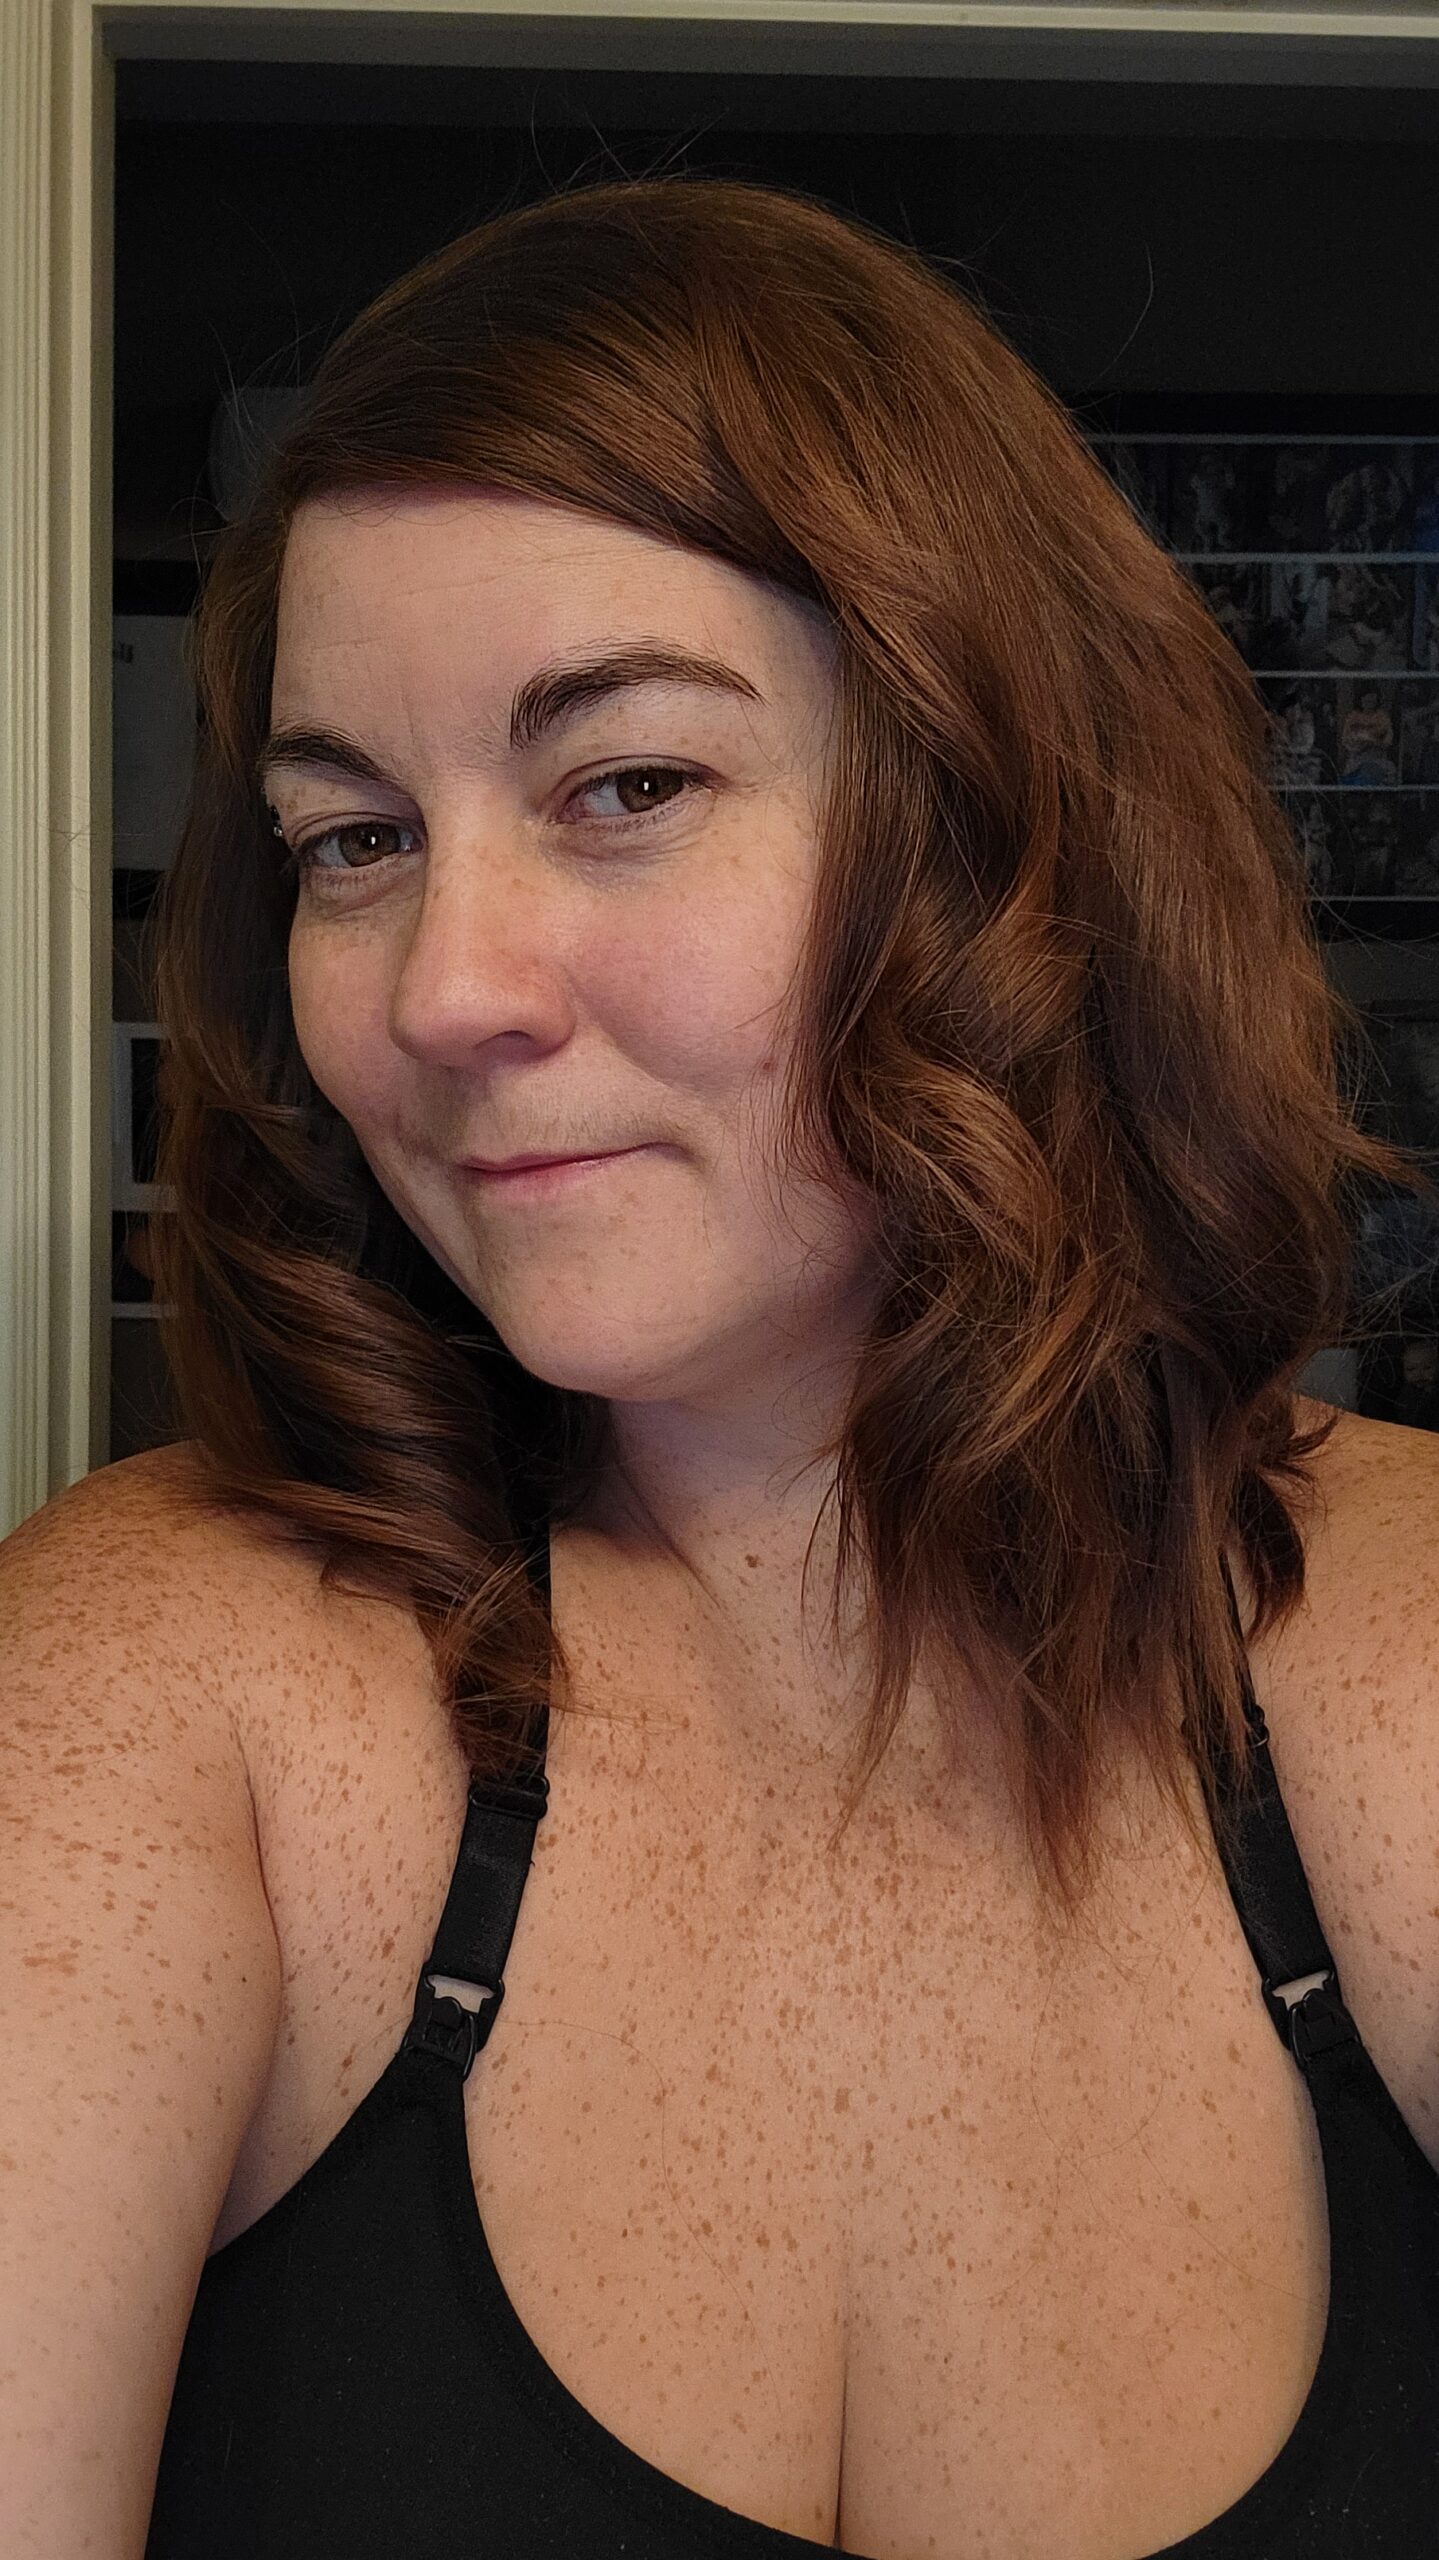
With Nathalies guidance, I went to work putting her tutorial into action to show you that even if you don’t have any experience styling your own hair you can definitely style your own hair for your shoot. It just takes some practice.
In this post, you’ll find a written step-by-step with a few photos to demonstrate some of the directions (literally the direction you turn the flat iron on each side haha), but you may find more value in the 15-minute video of me putting the steps into action spliced together with Nathalies video tutorial (you can find that at the bottom; if you just want to jump to the video just click here: JUMP TO VIDEO.)
Whether you’re new to the world of boudoir or a seasoned pro, this tutorial will help you achieve the boudoir glam look you are aiming for.
Full transparency: I’ll be sharing the products I used and what Nathalie used and recommends. The links will take you to Amazon.
Yes, if you purchase through the link, I will make a commission.
DIY Hair Styling for your Boudoir Shoot using a Flat Iron with Expert Tips from Nathalie Crosby
Preparing Your Hair For Styling
Preparing your hair for a boudoir photoshoot is crucial for achieving that perfect look. To help you get your hair ready, I’ve gathered some essential tips from Richmond Boudoir Photography:
1. Hair Color: If you plan to recolor your hair, schedule it 2 to 3 days before the shoot. Doing it too early might reveal roots, while doing it too late could leave color residue on your scalp.
2. Haircut Caution: Avoid getting a new haircut right before your photoshoot. You wouldn’t want any haircut regrets on your special day.
3. Deep Conditioning: Pamper your hair with a deep conditioning masque or treatment in the week leading up to your shoot.
4. Hydration Matters: Stay hydrated by drinking plenty of water in the weeks before your shoot, benefiting both your hair and skin.
5. Nutritional Boost: Nourish your hair and skin with a diet rich in skin- and hair-friendly vegetables.
6. Scalp Care: If you have a dry, flaky scalp, consider using a moisturizing shampoo and even a dandruff shampoo in the weeks before the shoot.
7. Styling Tip: Avoid using hot tools on damp hair; instead, wash your hair the night before styling.
Follow these steps to ensure your hair is boudoir-ready, and you’ll be well on your way to a successful photoshoot.
What You Absolutely Need (And What I Found Helpful)
What You Absolutely Need (And What I Found Helpful)
1. Flat Iron
I used the FHI Go Styling Iron – you could have a look at this one: FHI Heat Platform Ceramic Styling Iron
Nathalie recommends: Avanti brand flat irons like this one – Avanti Nano-Silver Tourmaline and Ceramic Flat Iron
2. Heat Protectant Spray
I used L’Oreal Paris Heat Slayer
What Nathalie uses: Living Proof Heat Styling Spray
3. Hair Brush
4. Hair Clips/Alligator Clips/Hair Bands
Anything to keep your hair sectioned and out of your face.
5. A Mirror
D’uh. Of course, you need a mirror when you’re styling your own hair! How else are going to see what you’re doing?
6. Hair Spray
I didn’t use hair spray for my tutorial since I wasn’t preparing for a photoshoot.
Nathalie uses: Living Proof Flex Hair Spray
Helpful Additions:
7. Wide Toothed Comb
Used at the end after the hair spray. Can also use your fingers.
8. Second free-standing mirror
I found it insanely useful to have a second mirror behind me so I could see the back of my head more easily.
How To Curl Your Hair (step-by-step)
How To Curl Your Hair (step-by-step)
Step 1: Apply Heat Protectant
Preheat your flat iron – 350 degrees or lower. Too hot can inhibit your work.
Apply your chosen heat protectant following the directions on the bottle.
I chose to section my hair top from bottom then spray each section individually and work it through with my fingers then brush it through. Not sure if this helped or not…but that’s how you apply Dry Shampoo….sooooo?
Tip/Hint: At this point it was helpful for me to move the part of my hair from the side part I usually wear to the middle part for the process. That helped make sure I was dealing with even sections on each side. I reapplied my natural part later because I was uncomfortable with the middle part.
Step 2: Section Your Hair
Step 3: Use The Flat Iron To Curl 1 Inch Sections
Brush out each large section before starting to curl.
Tip/Hint: It’s easier to start from the back and work forward so you’re not fighting to keep curls out of the way as you’re working. But you can work from the front to the back also.
Take approximately 1 to 1.5 inch vertical section of hair – smaller is better than larger. If you feel there is too much hair, take less.
To Curl:
Holding the flat iron vertically and use your flat iron logo (or a designated side if your flat iron has two logos) as a reference point. Start with it facing the mirror.
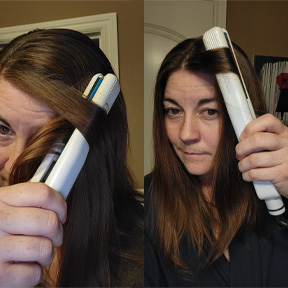
Apply the flat iron close to the root of the hair, pull out about 1 inch from the root, then start to turn the flat iron:
Always turn the flat iron away from your face so that the hair goes over top of the flat iron instead of underneath the flat iron. See the photo for reference.
(I definitely screwed this one up myself as I overthought the shit out of which way to turn it – it still looked good going the other way as far as I was concerned, but I did a whole half of my head going the wrong way.)
Make a complete turn so the logo/designated side is back facing the mirror then gently pull the flat iron through the section of hair.
Tip/Hint: It’s much easier to use the fingertips of both hands to turn the flat iron and have more precise control of the pressure being applied.
Tip/Hint: As you’re pulling the flat iron over the hair you can use your other hand to hold the tips of the section you’re working with to help guide the hair through the flat iron.
Optional: Add an extra turn at the tips for a little extra curl
Step 4: Repeat Step 3 Until You’re Done All Sections
Tip/Hint: The faster you pull the iron through the hair, the looser the curl will be.
Tip/Hint: If your curl is too tight, straighten the ends a bit to loosen the curl.
When I went to the top, I released only half of the hair from the clip. This was where I SHOULD have created further sections but it worked out okay as I had it.
The uncurled hair rests on top of the curled hair so it’s not too difficult to separate the uncurled stuff from the curled stuff when you’re doing the top, but it’s okay if you accidentally pull in some curled hairs when you’re doing the top sections.
Step 5: Comb Your Fingers Through
Let your hair cool for a few moments then comb your fingers or a wide-toothed comb through your hair.
Step 6: Apply Hair Spray (Optional)
Follow the given directions and apply your hair spray evenly.
Optional: apply hair oil to the ends of your hair.
Step 7: Reapply Your Natural Part (Optional)
As I said earlier, I wasn’t a fan of the center part on my hair so I reapplied my side part and I found I enjoyed the look so much more. You want your look to be different than your every day look but not so different you’re uncomfortable and that’s what the middle part did for me…made me uncomfortable.
Other Tips/Hints:
Use a freestanding mirror: Have the freestanding mirror in a position that allows you to see the back of your head in the front mirror. I also found that turning around to face the back mirror allowed the back of my head to be better lit for better visibility.
Watch The Video!
Final Thoughts
Final Thoughts
Practice makes perfect, and trust me, I’ve been there. It took me three attempts to get even close to doing justice to this look as you’ll see in the video, and even then, I admit I didn’t get it *quite* right. But that’s all part of the fun and learning process.
Though it can be done, I strongly recommend having a professional stylist work their magic on your hair for the shoot. Why? Well, your boudoir experience should be all about pampering yourself, embracing your beauty and feeling confident. You don’t want the added stress of tackling your hair on a day filled with new experiences and probably a touch of nervous excitement (totally normal, by the way).
However, if you’re feeling super gung-ho about doing it yourself, I’m here to tell you that it’s absolutely doable! It just takes some practice beforehand. I’d also like to encourage you to balance your cost vs benefit. If you have to purchase a bunch of things brand new to do this…is it going to cost you more to do this than it would to pay a talented stylist? If you think you’ll use the products over and over again then there is benefit to you to buy them. But if it’s a one time deal and you’ll never use them again, just book with a stylist (such as Nathalie!)…or borrow from a friend haha.
So, whether you’re seeking the perfect waves from a stylist’s expert hands or taking the DIY route, remember that confidence and practice are your best allies on this boudoir journey!
If you liked this post, you might also like:
Ready to embark on your personal boudoir journey with me? Contact me today to book your exclusive boudoir shoot experience. Let’s create moments of empowerment, confidence, and undeniable beauty together. Your story is waiting to be captured, and I’m here to make it a reality. Get in touch now and let’s start your boudoir adventure! Find my Contact info here.
If you’re not ready to book then you can stay connected with me and get the inside scoop on all things boudoir by joining my mailing list to enjoy exclusive stories, first dibs on bookings, model calls, and fantastic deals from awesome collaborators. It’ll keep you in the loop and make sure you never miss a chance to embrace your inner beauty through my lens.
Just put your info in the form right here!
OR!
Or if you’re seeking a supportive, empowering community of like-minded women, then my private Facebook group – Roses & Scars Badass Babes: Celebrate and Empower You! is the place for you! Join us to discover self-care, empowerment, loads of laughs and the camaraderie of women on their own journeys. Connect with us, engage, and get a real sense of who I am while experiencing the power of female support. Together, we’ll create a space where beauty knows no bounds, and confidence reigns supreme.